METAL X PRINTER USER GUIDE
54
PRINTING A METAL PART
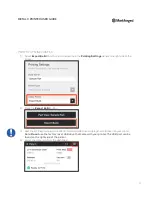
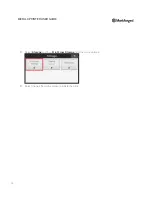
Make sure the print sheet is set up on the print bed before you start printing. Follow the instructions in
Adjust
Part Orientation
, below, then continue on to one of the following subsections based on your printer’s status:
●
Print to Online, Available Printer
●
Print to Online, Busy Printer
●
Print to Offline Printer
IMPORTANT NOTE ABOUT PART SIZES
It is important to distinguish between the maximum printable size for printed parts from the Metal X, and the
maximum sinterable size for parts going into the Sinter-1.
The Metal X is able to print parts larger than the setter plate of the Sinter-1. However, a printed part, including its
raft
, must fit entirely on the setter plate when sintering. For very large parts, Eiger offers an
External Sintering
setting.
See the
Metal X Design Guide
for information on designing your parts for successful printing, washing, and
sintering with the Metal X System.
IMPORTANT NOTE ABOUT MATERIAL BUILDUP
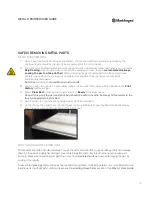
Note that some material buildup on the side of the nozzle is normal during the first few layers of a print (the
raft). There is no need to pause or cancel your print when you observe this behavior, which should resolve
after the initial layers and should not cause problems with the part itself. In case of error, the printer will pause
automatically and prompt you for input.
ADJUST PART ORIENTATION
1.
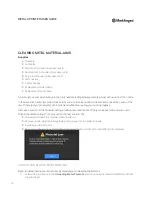
Open your part in Eiger and configure it as needed. Change the part’s orientation on the print bed by
clicking on a face of the part in the main view (which will make that face the base of the print), or by
selecting
Manual Rotation
and entering the desired values.
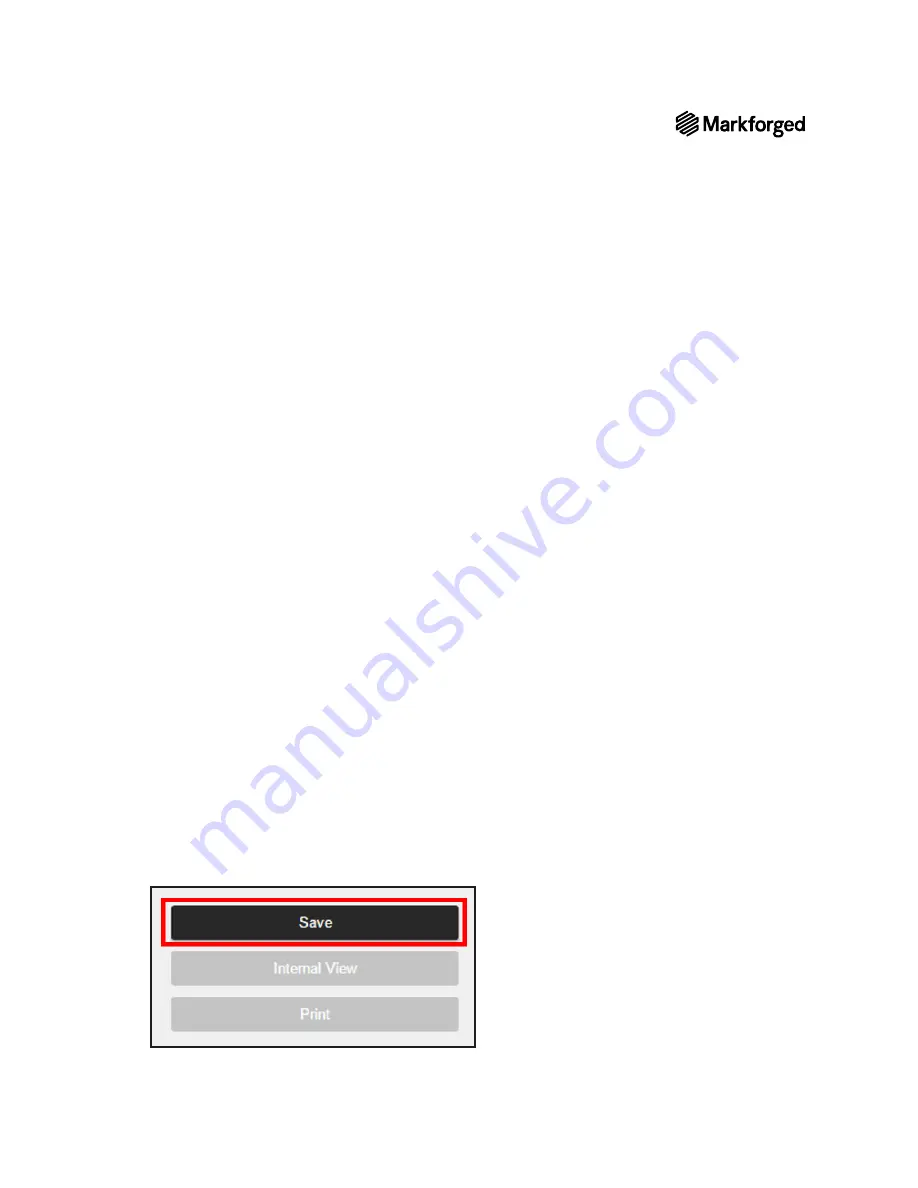
2.
Press
Save
.

