METAL X PRINTER USER GUIDE
62
8.
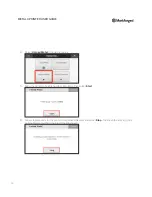
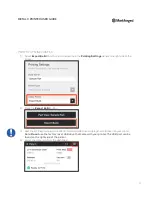
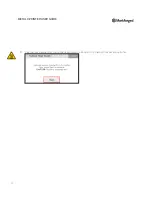
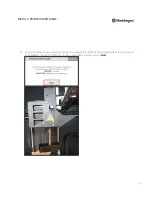
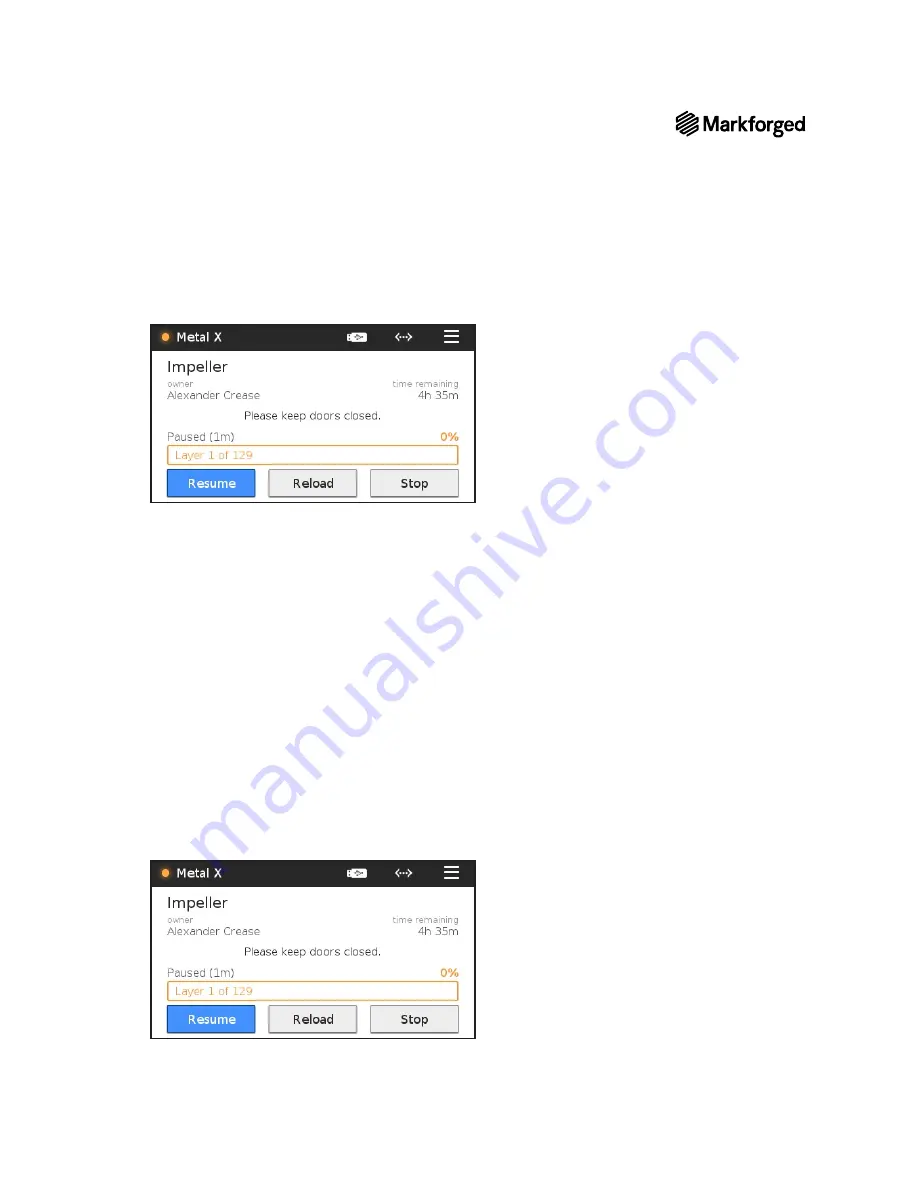
From the main screen, press
Resume
to resume the paused print job.
If using the purge rod effectively clears the material jam, allow the print to complete, then replace the lower feed
tube (see below).
If using the purge rod does not resolve the jam, proceed to the next step and install a replacement nozzle.
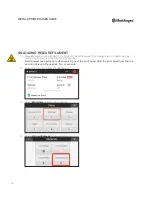
INSTALL REPLACEMENT NOZZLE
While your print job is paused, you will be unable to run the Remove Nozzle utility. It is necessary
to
manually
remove the nozzle to complete this step. Unloading the metal print material will heat the nozzle
enough to safely remove it without damaging the print head.
1.
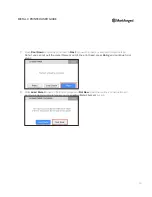
Follow the instructions in the
Unloading Metal Filament
section to clear the loaded metal filament from
the print head.
Do not attempt to manually move the print head.
2.
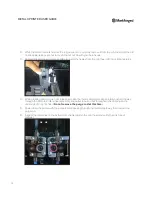
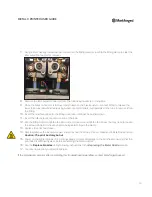
While the nozzle is hot, use the torque wrench to carefully remove it from the print head. Set the old
nozzle aside, taking care not to touch the hot nozzle with your bare hands.
3.
Carefully apply Anti-Seize to the threads of the replacement nozzle.
4.
Using the nozzle wrench, tighten the metal nozzle partway, then unscrew it completely to distribute Anti-
Seize across the threads. Finally,
fully
tighten the nozzle with the nozzle wrench until the wrench clicks.
5.
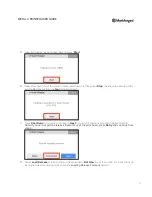
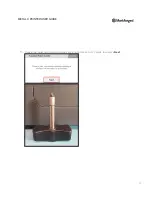
From the main screen, press
Resume
to resume the paused print job.

