65
METAL X PRINTER USER GUIDE
7.
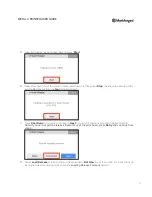
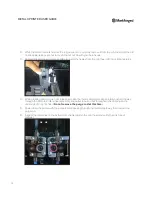
Using a 2mm hex key, loosen but do not remove the fitting clamp screw. Flip the fitting clamp to clear the
idler output connector for removal.
8.
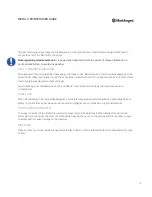
Remove the idler output connector from the tube using tweezers or thin pliers.
9.
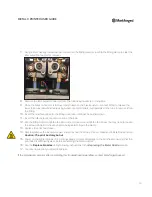
Once the brass connector is removed, push down on the black push-to-connect fitting to release the
lower feed tube; simultaneously, using tweezers or small pliers, pull upwards on the tube to remove it from
the fitting.
10.
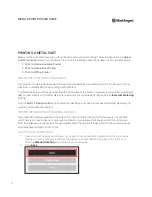
Insert the new feed tube into the fitting until it can no longer be pushed down.
11.
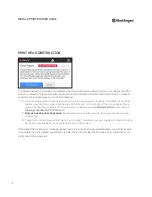
Insert the idler output connector on top of the tube.
12.
Flip the fitting clamp to tighten the idler output connector and tighten the screw. You may need to loosen
the screw using a 2mm hex key before being able to flip up the clamp.
13.
Replace the print head cover.
14.
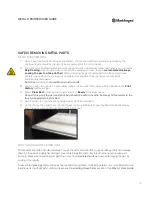
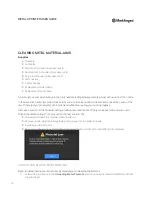
Carefully remove the incomplete part and print sheet from the print bed. Clean and reinstall the print bed.
Caution: The print bed may be hot
.
15.
Power on the printer. (Steps 13-14 are necessary to prevent damage to the print head, ensuring that the
print head is sufficiently warm before reinstalling the metal nozzle.)
16.
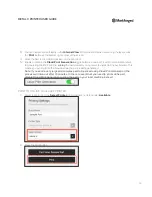
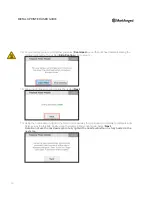
Run the
Replace Nozzles
utility, following instructions in the
Replacing the Metal Nozzle
section.
17.
You may now reprint your part from Eiger.
If the material jam persists after completing this troubleshooting workflow, contact Markforged Support.

