METAL X PRINTER USER GUIDE
76
12.
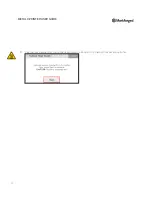
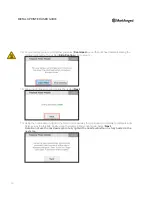
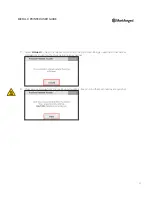
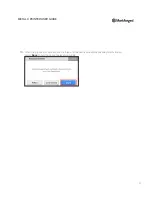
For your safety, we recommend that you select
Cool Head
to cool the print head before installing the
replacement nozzle. If you select
Skip Cooling
, skip to step 14.
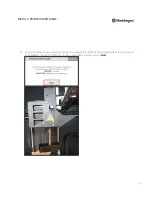
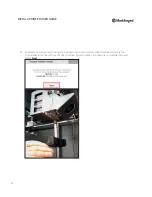
13.
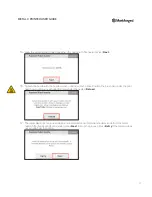
Allow the print head to cool entirely, then select
Next
.
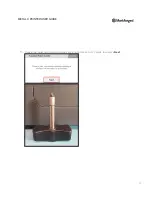
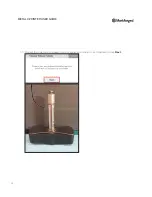
14.
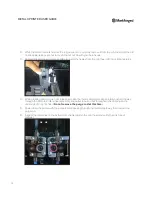
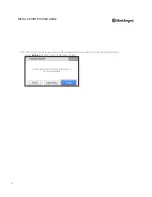
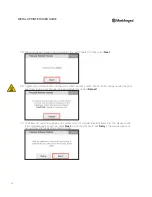
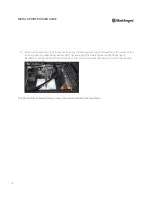
Using the nozzle wrench, tighten the metal nozzle partway, then unscrew it completely to distribute Anti-
Seize across the threads. Finally, screw the nozzle in finger-tight again. Select
Next
.
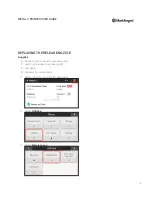
Note: Do not use the nozzle wrench to fully tighten the nozzle until after it is fully heated in the
next step.


