background image

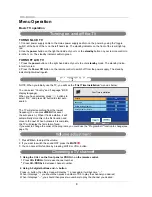
1. Use 

ɼ

/

ɽ

(PROG+/-) button to select what you want to 

    adjust in the Setup menu.
2. Press 

ɺ

/

ɻ

button to Adjust.

3. When you are satisfied with your adjustment, press 

 MENU

 button.

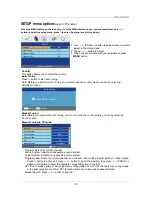
Country

This option allows you to select the country.

Auto Tuning

Press

ɺ

button to

start auto tuning.

Note: Before you perform Auto Tuning, you must choose the country where you are by selecting 
COUNTRY option.

Manual Tuning

Note: Before you perform Manual Tuning, you must choose the country where you are by selecting 
Country option.

SETUP menu options

(used in TV source)

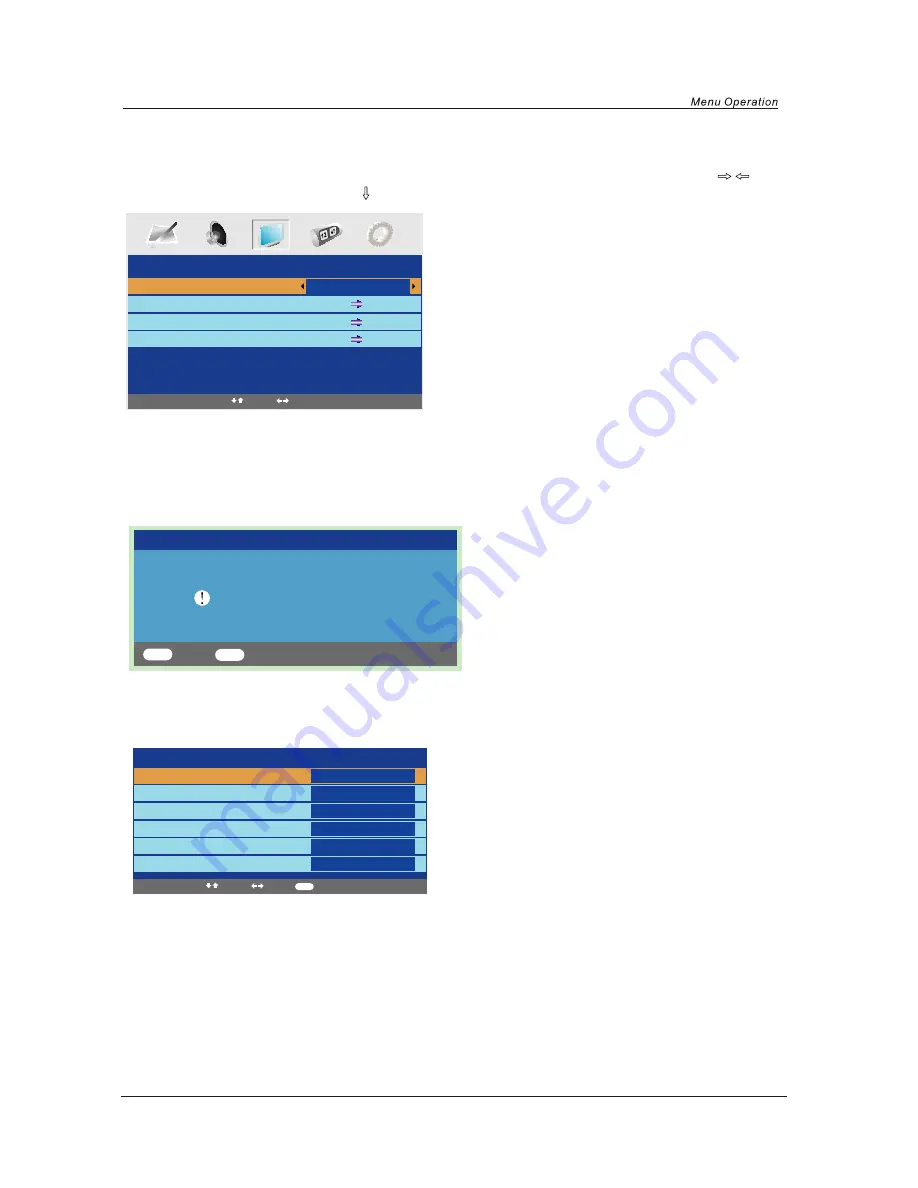
Manual Tuning

Program

Sound System

Colour System

Program Label

AFT

Manual Search

1

I

PAL

Off

471.43MHz

Select

Adjust

Input

SETUP

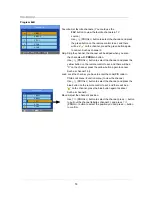
Country

Auto Tuning

Manual Tuning

Program Edit

UK

Select

Adjust

Auto tuning

Press OK key to start

Enter

Return

OK

MENU

Program: Select the current channel.
Sound System: Select a corresponding sound system.
Colour System: Select a corresponding colour system.
Program Label: Name the current channel, you can also rename the program which you have named.
    Press 

ɺ

button to enter, and press 

ɺ

/

ɻ

button to select the position, then press 

ɼ

/

ɽ

(PROG+/-)

    button or 0-9 button to enter the character, press 

OK

 button to confirm.

AFT: Due to weak signals or a wrong antenna configuration, some of the channels may not be turned 
    to the best reception condition. AFT function allows you to fine tune channel selected.
Manual Search: Press 

ɺ

/

ɻ

button to search.

0-9

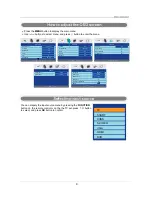
Manual Tuning in TV mode

Press the MENU button on the top of your tv or the MENU button on your remote control then use 

/

button to select the setup menu, press  to enter the menu. (see picture below).

 13

Summary of Contents for MS2251

Page 1: ...LCD digital colour TV MS2251 USER GUIDE...

Page 2: ...y appear or bright points of light red blue or green may appear constantly on the LCD screen and is not a malfunction If you have any problem setting up this Television trouble getting a signal or dif...

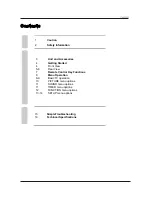
Page 3: ...y Information Unit and Accessories Getting Started Front View Rear View Remote Control Key Functions Menu Operation Basic TV operation PICTURE menu options SOUND menu options TIMER menu options FUNCTI...

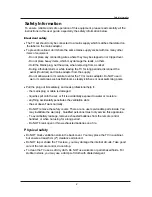
Page 4: ...within an equilateral triangle is intend to alert the user to the presence of important operating and maintenance servicing instructions in the literature accompanying the appliance Correct disposal o...

Page 5: ...rooms steamy kitchens or near swimming pools x Pull the plug out immediately and seek professional help if the mains plug or cable is damaged liquid is spilt onto the set or if it is accidentally expo...

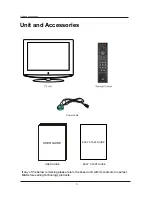
Page 6: ...s Power cable USER GUIDE EASY START GUIDE EASY START GUIDE Unit and Accessories USER GUIDE If any of the below is missing please return the boxed unit with its contents to nearest M S store selling Te...

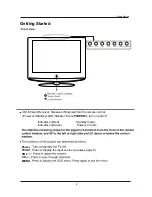
Page 7: ...TV AV IR Infrared Receiver Receives IR signals from the remote control Power on Standby LED Indicator Press POWER to turn on and off Press to display the input source menu see page 9 Indicator on Red...

Page 8: ...Getting Started 5 TV Signal TOGGLE SWITCH Turn on off the AC power...

Page 9: ...I VGA IN VGA signal from computer output Connect to the composite terminal of your DVD VCR S Video IN Video IN AUDIO L R IN PC Audio IN Headphone RF Connect to power supply SCART Connect to the HDMI o...

Page 10: ...again to cancel HOLD Hold or carry on the current subpage REVEAL Reveals any hidden text MENU System setup menu QUICK START To tune in your TV FAV Means favorite to display the favorite channel list d...

Page 11: ...Program Analog Program Search UK English OK Cancel Select Adjust 1 Using the CH on the front panel or PROG on the remote control Press CH PROG to increase channel number Press CH PROG to decrease cha...

Page 12: ...me Sound Mode Bass Treble Balance 20 Music 60 52 50 SETUP Country Auto tuning Manual tuning Program Edit UK FUNCTION Language Video Size Blue Screen Child Lock First Time Installation Reset English Au...

Page 13: ...C mode Sharpness Select sharpness mode of the picture Colour Temperature in VGA mode Select an optimum color temperature mode to suit your eyes for viewing among Normal Warm and Cold DNR If the broadc...

Page 14: ...dby mode after a specified period of time The period of time for automatic switch off can be selected in steps 15 30 45 60 75 90 105 120 and 0 Min Off You can also select the automatic sleep time by p...

Page 15: ...ode Set pin code Old PIN Code The default is no password press OK to confirm If the Pin code has been changed you must enter the present code New PIN Code Enter the new password Enter Again Enter the...

Page 16: ...ng Program Edit UK Select Adjust Auto tuning Press OK key to start Enter Return OK MENU Program Select the current channel Sound System Select a corresponding sound system Colour System Select a corre...

Page 17: ...ss the blue button again to cancel Such as channel 5 Move Adjust the channel s position Use PROG button to select the channel press button to pull out the channel label as channel 3 and press PROG but...

Page 18: ...s FUNCTION button to select correct source Noisy snowy ghosting picture TV Poor aerial signal If using an indoor aerial try moving the aerial Check aerial connections Volume set too low Check volume s...

Page 19: ...VSystem PAL SECAM BG DK I Screen size 22 diagonal Resolution 1680x1050pixels RGB Aerial input 75 unbalanced Audio output power 2x3 W Remote control Type Control distance Control angle Batteries Dimens...

Page 20: ...der of the guarantee period we will arrange for the product to be repaired Once the tamperproof seal on your technology product is broken refunds can only be given in accordance with your legal rights...

Reviews: