background image


Chapter 1 Safety Instructions 

Always follow these safety instructions when setting up and using this product: 

1  Operation 

1.1  Please use the product in the recommended operating environment. 

1.2  Do not place this product in tilted position. 

1.3  Do not place the product on an unstable trolley, stand or table. 

1.4  Do not use this product near water or source of heat. 

1.5  Use attachments only as recommended. 

1.6  Use the type of power source indicated on this product. If you are not sure of the type 

of power available, consult your distributor or local electricity company for advice. 

1.7  Always take the following precautions when handling the plug. Failure to do so may 

result in sparks or fire: 

  Ensure the plug is free of dust before inserting it into a socket. 

  Ensure that the plug is inserted into the socket securely. 

1.8  Do not overload wall sockets, extension cords or multi-way plug boards as this may 

cause fire or electric shock. 

1.9  Do not block the slots and openings in the case of this product. They provide 

ventilation and prevent this product from overheating. 

1.10  Except as specifically instructed in this User Manual, do not open or remove covers, 

otherwise it may expose you to dangerous voltages and other hazards. Refer all 

servicing to licensed service personnel. 

1.11  Unplug this product from the wall outlet and refer servicing to licensed service 

personnel when the following situations happen: 

  If the power cords are damaged or frayed. 

  If liquid is spilled into the product or the product has been exposed to rain or water. 

2  Installation 

2.1  For security considerations, please make sure the standard hanging rack you bought 

is in line with UL or CE safety approbations and installed by technician personnel 

approved by agents. 

3  Storage 

3.1  Do not place the product where the cord can be stepped on as this may result in 

fraying or damage to the lead or the plug. 

3.2  Never push objects of any kind through cabinet slots. Never allow liquid of any kind to 

spill into the product. 

3.3  Unplug this product during thunderstorms or if it is not going to be used for an 

extended period. 

3.4  Do not place this product or accessories on top of vibrating equipment or heated 

objects. 

4  Cleaning 

4.1  Unplug all the cables before cleaning. Use a damp cloth for cleaning. Do not use 

liquid or aerosol cleaners. 

5  Remote control (if the accessories are equipped with remote control) 

5.1  Using an incorrect battery type in the remote control may result in breakdown. Follow 

local instructions on how to dispose of used batteries. 


Precautions 

Warning: To reduce the risk of fire or electric shock, do not expose this appliance to rain 

or moisture. 

If the HD camera will not be used for an extended time, unplug it from the power socket. 


Caution: To reduce the risk of electric shock, do not remove cover (or back). No 
user-serviceable parts inside. Refer servicing to licensed service personnel. 


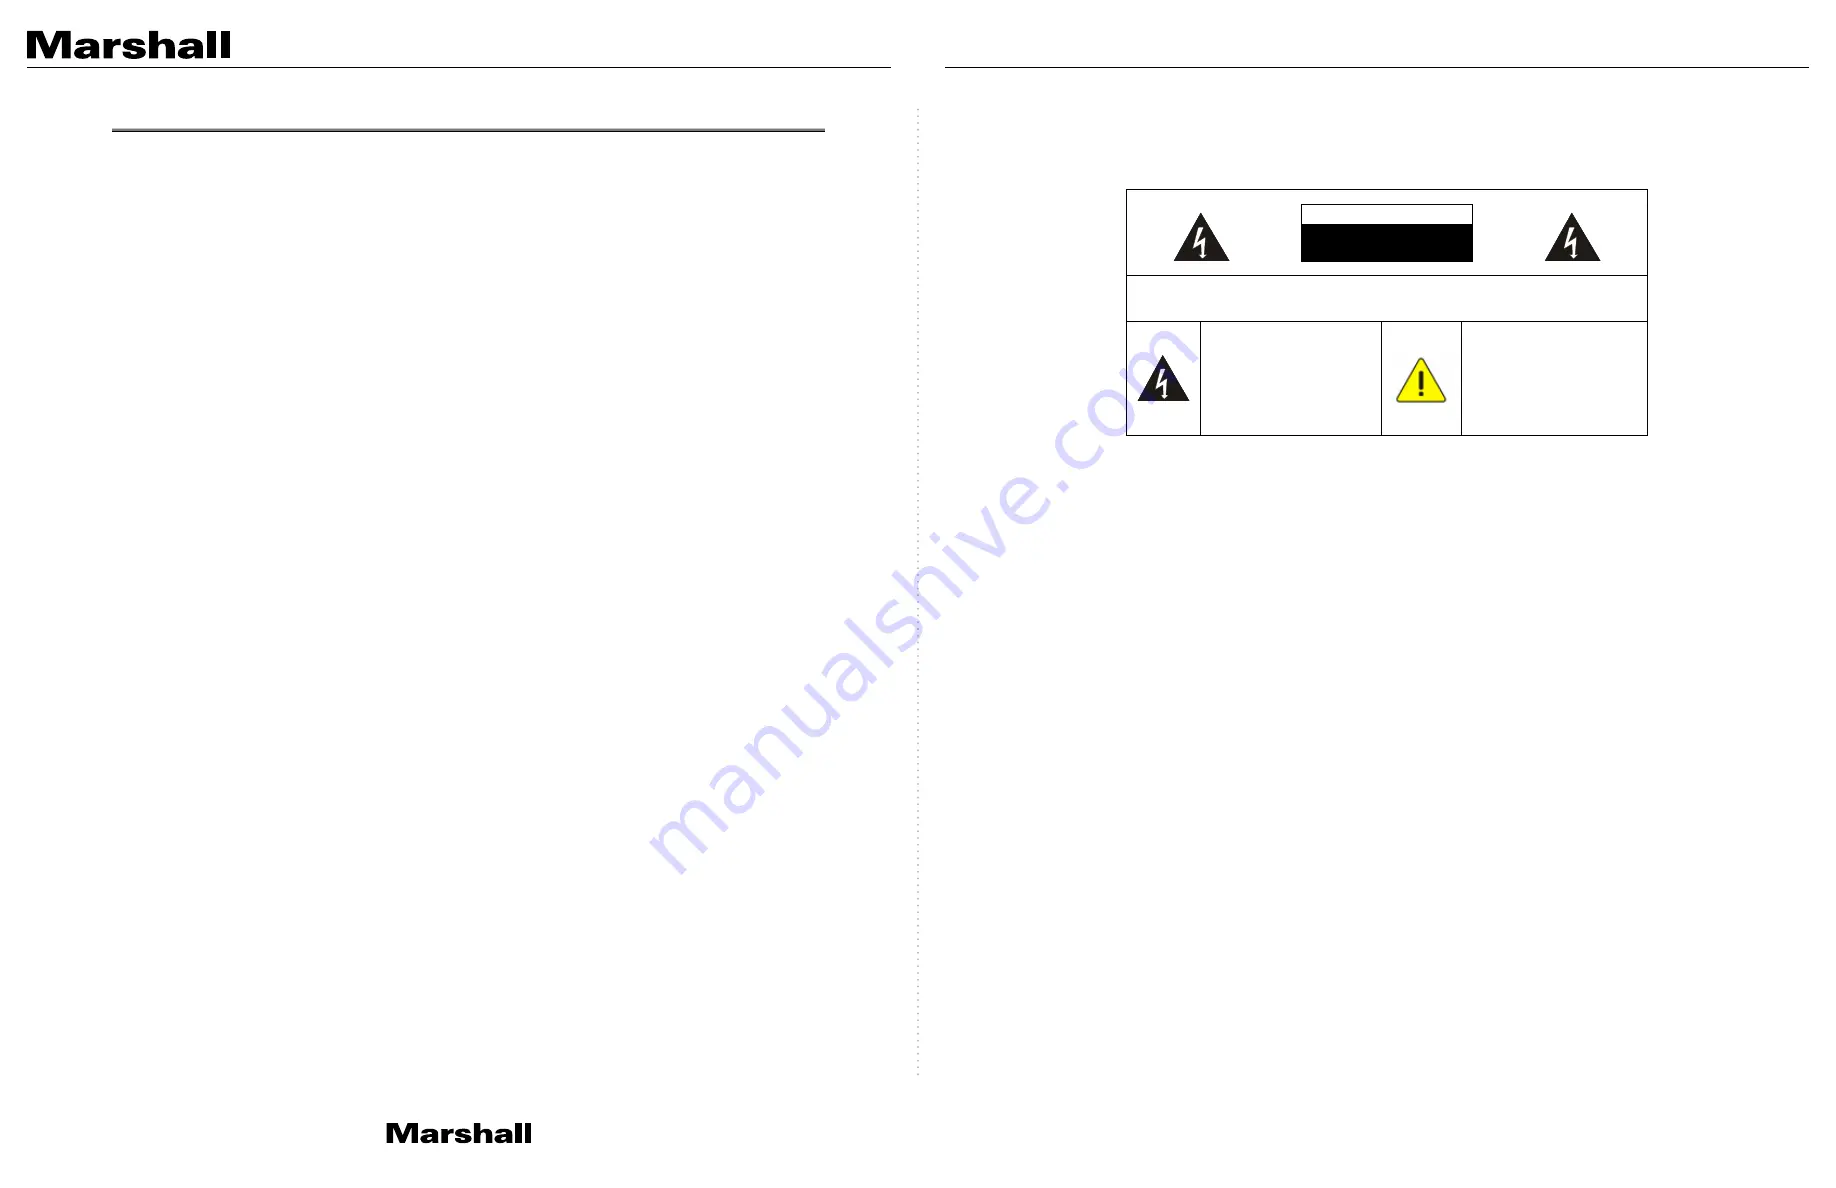
This symbol indicates that 
this equipment may contain 
dangerous voltage which 
could cause electric shock. 


This symbol indicates that 
there are important 
operating and maintenance 
instructions in this User 
Manual with this unit. 


FCC Warning 

This HD Camera has been tested and found to comply with the limits for a Class A computer 

device, pursuant to Article 15-J of FCC Rules. These limits are designed to provide reasonable 

protection against harmful interference in a residential installation. 


This digital apparatus does not exceed the Class A limits for radio noise emissions from digital 

apparatus as set out in the interference-causing equipment standard entitled “Digital 

Apparatus,” ICES-003 of Industry Canada. 


Cet appareil numerique respecte les limites de bruits radioelectriques applicables aux appareils 

numeriques de Classe A prescrites dans la norme sur le material brouilleur: “Appareils 

Numeriques,” NMB-003 edictee par l’Industrie. 


EN55032 (CE Radiation) Warning 

Operation of this equipment in a residential environment could cause radio interference. 


Caution 

Risk of Electric Shock 

Please do not open it by yourself. 

CV730 Manual

www.marshall-usa.com

3

4

Summary of Contents for CV730

Page 1: ...Broadcast A V Division CV730 HD UHD Camera 30X PTZ Video Camera User Manual...

Page 2: ...is a trademark of Marshall Electronics Incorporated Copying reproducing or transmitting this file is not allowed if a license is not provided by Marshall Electronics Inc unless copying this file is f...

Page 3: ...h cabinet slots Never allow liquid of any kind to spill into the product 3 3 Unplug this product during thunderstorms or if it is not going to be used for an extended period 3 4 Do not place this prod...

Page 4: ...O functions Introduction 3 1 1 Front View NO Item Function Descriptions 1 Tally Lamp Display the Tally Lamp status of the camera 2 Camera lens 30x HD camera lens 3 Power LED indicator Display the stat...

Page 5: ...roviding USB signal images 16 12G SDI output 12G SDI output Audio output supported 8 3 1 3 Bottom NO Item Function Descriptions 17 Mute cooling fan The cooling fan automatically controls its rotation...

Page 6: ...er the camera is set at a proper distance from other light sources 4 2 Instruction for installation 4 2 1 I would like to install camera on the desk 4 2 1 1 Precautions for installation Please install...

Page 7: ...tion dimension of camera 4 2 2 4 Size Diagram 1 Bottom of machine The camera can be mounted on a 1 4 20 UNC PTZ tripod deck by using the lock holes on the bottom for the tripod 13 CV730 Manual www mar...

Page 8: ...Metal plate B ceiling side Metal plate B locking screw Metal plate B locking bolt M3 threaded hole M3 threaded hole M3 threaded hole 15 Metal plate A machine side Metal plate A locking screw CV730 Man...

Page 9: ...ion steps 1 Please adjust resolution on DIP switch at first Remark Please refer to Chapter 7 DIP Switch Setting for the relevant descriptions on DIP switch 2 Fix the metal plate A on the machine base...

Page 10: ...cted RS 232 pins definition instructions 18 at most 7 Marshall PTZ cameras can be connected finition instructions 19 4 3 2 Connecting RS 422 With RS 422 at most 7 Marshall PTZ cameras can be connected...

Page 11: ...Move the lens Back Light Turn on off back light compensation Camera select Choose Camera ID 1 3 Focus Manual Far Near Turn on manual focus to adjust the focal length Focus Auto Auto Focus Freeze Freez...

Page 12: ...the Exposure mode is set to Shutter Pri 1 10000 1 10000 1 5000 1 5000 1 3000 1 3000 1 2500 1 2500 1 2000 1 1750 1 1500 1 1250 1 1000 1 1000 1 725 1 600 1 500 1 425 1 350 1 300 1 250 1 215 1 180 1 150...

Page 13: ...12 dB 3 15 dB 4 18 dB 5 21 dB 6 24 dB 7 27 dB 8 30 dB 9 33 dB 10 36 dB 11 39 dB 12 42 dB 13 45 dB Max limit value of electron gain Iris Limit 1 F3 2 2 F3 8 3 F4 5 4 F5 4 5 F6 3 6 F7 8 7 F9 8 F11 Max...

Page 14: ...Pan Left Limit 170 0 Limit the left angle Tilt UP Limit 0 90 Limit the upward angle Tilt Down Limit 30 0 Limit the downward angle Pan Flip On Off Activate the reverse Pan direction Tilt Flip On Off Ac...

Page 15: ...eys or the numeric keys 29 Audio Audio In Line In Mic In Set Audio In Audio Enable On Off Turn on off audio output Audio Volume 0 A 10 Volume Setting Encode Sample Rate 1 48 KHz AAC 2 44 1 KHz AAC 3 1...

Page 16: ...ctory Reset On Off Resume the factory default setting Status Display the current setting status 31 Chapter 6 Network Function Settings Description 6 1 Connecting Camera to Network 6 1 1 Connecting to...

Page 17: ...er connecting to network Note When using automatic search the camera and computer must be in the same network segment e g 192 168 4 X Marshall Network Camera Account admin Password 9999 33 6 1 4 Using...

Page 18: ...efault 9999 3 Language selection Currently the system supports English Traditional Chinese and Simplified Chinese 4 Remember password Save user account name and password to the browser When you log in...

Page 19: ...to Full Screen Switch the preview window to full screen 4 3 2 1 5 6 37 6 2 3 Account Management No Item Function Descriptions 1 Add user account Enter a user name and password to add a new user 2 Per...

Page 20: ...d to 1 12 characters Please use a camera name by mixing uppercase and lowercase letters or numbers Do not use and space or special symbols 3 Streaming 1 Streaming 2 Streaming 3 CV730 supports 3 stream...

Page 21: ...hutter Speed The shutter speed is adjustable when the exposure mode is set to Manual or Shutter Priority 5 4 3 2 1 41 3 White Balance Mode Select the color temperature mode Auto Indoor Outdoor One Pus...

Page 22: ...djustment Adjustable when the image mode is set to Custom 8 Contrast Contrast adjustment Adjustable when the image mode is set to Custom 9 Saturation Saturation adjustment of the image Adjustable when...

Page 23: ...eaming After the SRT streaming is opened it will be connected automatically upon startup 2 The port number must be set in the range above 1024 with a maximum value of 9999 The following port has been...

Page 24: ...Service No Item Function Descriptions 1 Reset to the default value Select the reset button to resume the factory default setting as the web page setting 2 Setting File The web page setting parameters...

Page 25: ...he problem still occurred please contact your distributor or the service center No Problems Solutions 1 Boot without power signal 1 Make sure you have plugged in the power cord 2 When using a PoE conn...

Page 26: ...ase provided with a warranty claim Marshall Electronics reserves the right not to honor the warranty set forth above Therefore labor and parts may be charged to the consumer This warranty does not app...

Reviews: