12
13
Release the switch and the FX led will start blinking.
If you want to erase the footcontroller memory press the
switch #5. To keep the memory press any of the #1 to #4
switches. Please note that once the memory is erased it
cannot be recovered.
Release the switch and the footcontroller will synchronise
with the amplifi er.
The factory default is as follows:
FSW #1: Clean/Mid Shift
FSW #2: Crunch Mode
FSW #3: OD1 Mode
FSW #4: OD2 Mode
FSW #5: Master
FSW #6: Gate
Hints
Hint 1: It is possible to use different modes in the same
channel with different volumes to avoid imbalance which
can be especially interesting in the Clean channel. To do
this simply create 2 presets in the footcontroller assigning
MASTER 1 or MASTER 2 to any of the modes.
If you do not connect any effect to the programmable
SERIAL FX LOOP the RETURN LEVEL control can be used
to act like an extra volume control in any of the channels.
Hint 2: To have a tuner output muting the amplifi er, connect
the tuner to the FX send and select the Clean channel. Turn
the RETURN LEVEL control to CUT and switch the FX loop
on. Store this preset as described before and label it for
example as ‘tuner’. Obviously in this confi guration it is not
possible to connect any other effect to the loop.
Hint 3: To use a different preamplifi er and combine it
with the JVM channels, connect the external preamplifi er
output to the Programmable Serial loop return and turn the
RETURN LEVEL to desired external preamp level. Connect
the external preamp input with a splitter to the amplifi ers
input (it might be necessary to use an active splitter to keep
a high impedance and/or an isolated one to avoid ground
loops). Switching the effects loop ON and OFF will alternate
between the external preamp and the JVM preamp.
Hint 4: Notes about using 2 heads simultaneously. The
suggested procedure is connect the ‘master’ head
PREAMP OUT to the ‘slave’ head POWER AMP IN and
switch the POWER AMP INSERT to ACTIVE in the ‘slave’
amplifi er.
In order to track the master volume settings in both heads
(as the master volume circuitry is wired after the loop) it
is suggested to use MIDI control with both amplifi ers
programmed in the same way. Connect the MIDI IN of one
of the amplifi ers to the MIDI THROUGH of the other and
the pedalboard or MIDI equipment to the remaining MIDI
IN.
The JVM range features a fully confi gurable
footcontroller. Connection to the amplifi er
requires a standard mono 1/4" jack to jack
cable. Any guitar lead will work and practically
there should be no limit in its length.
When the front panel FOOTCONTROLLER / MIDI PROGRAM
switch is off, the footcontroller operates in safe mode and
executes the commands the moment the switch is pressed
down.
If you enter the FOOTCONTROLLER PROGRAM mode
(LED red) you will be able to program the footcontroller but
nevertheless the footcontroller and the amplifi er will remain
fully operational with the only difference that the commands
will be executed when releasing the footcontroller’s, as
opposed to the normal mode.
Each of the individual footcontroller’s has 2 modes of
operation:
preset store and switch store.
In
preset store mode, any of the footcontroller’s can be
confi gured to store the current amplifi er status. The current
channel, master, FX and noise gate status will be stored and
recalled when the respective footcontroller is pressed.
To store the current status simply:
Set the amplifi er to FOOTCONTROLLER PROGRAM mode
(red light ON).
Press and hold the desired switch for about 3 seconds.
The FX footcontroller LED will fl icker a couple of times
indicating that the preset has been stored.
In
switch store mode, any of the footcontroller’s can be
confi gured to replicate the front panel switches and the
amplifi er will react exactly in the same way as when you
operate them on the front panel.
All the front panel switches can be mapped to any of the
footcontrolleres without any limitation. The only exception
is the FOOTCONTROLLER / MIDI PROGRAM key which
cannot be assigned to the footcontroller.
To assign any of the front panel keys (except
FOOTCONTROLLER / MIDI PROGRAM) to any of the
footcontrolleres simply:
Set the amplifi er to FOOTCONTROLLER PROGRAM mode
(red light ON).
Press and hold the desired footcontroller.
While holding the footcontroller down, in less than 3 seconds,
press the front panel switch you want to map.
The FX footcontroller LED will fl icker a couple of times
indicating that the switch has been mapped.
From now on the selected footcontroller will act exactly in the
same way as if you press the related front panel switch.
Keys and presets can be assigned as wished without limitation
and in any order (again, except the FOOTCONTROLLER /
MIDI PROGRAM key). The footcontroller confi guration is
stored in the footcontroller itself, not in the amplifi er. Resetting
the amplifi er will not affect the footcontroller confi guration as
well.
The footcontroller can be hot-swapped and synchronises
itself with the amplifi er after connection. However it is
recommended to connect the footcontroller lead to the
footcontroller side fi rst and then connect it to the amplifi er.
MIDI operation
Pressing the FOOTCONTROLLER / MIDI PROGRAM switch
twice puts the amplifi er in MIDI waiting mode, the LED will
fl ash until a valid MIDI program change command is received.
On reception of a MIDI program change command the
amplifi er stores the current status (C FX + Noise Gate
+ Master Settings) in the MIDI program number received. It is
possible to store up to 128 different MIDI presets.
To exit this status without waiting for incoming MIDI data
press the FOOTCONTROLLER / MIDI PROGRAM switch
again.
Note about MIDI channels: By default the amplifi er is
confi gured to listen to MIDI channel #1 but it can be changed
to listen to any of the 16 MIDI channels as follows:
Switch the amplifi er off (Power switch, not Standby).
Press and hold the FOOTCONTROLLER / MIDI PROGRAM
switch.
Switch the amplifi er on (Power switch).
Release the FOOTCONTROLLER / MIDI PROGRAM switch,
the LED will start to fl ash.
Send ANY MIDI command using your MIDI pedalboard or
any other MIDI equipment.
The amplifi er will detect which channel came in and confi gure
itself to listen to that MIDI channel only. From now on any
MIDI preset you had previously stored will be activated only
on the new channel regardless of what channel you used
before, this allows a fast reconfi guration should there be a
MIDI confl ict with any other outboard equipment.
If you want to exit the MIDI channel selection without any
action press the FOOTCONTROLLER / MIDI PROGRAM
switch while waiting for MIDI data.
Footcontroller Reset:
It is possible to reset the footcontroller to the factory default
status. This is achieved as follows:
Unplug the footcontroller at any of the cable sides.
Press and hold the switch #6 (right switch).
Plug in the footcontroller cord.
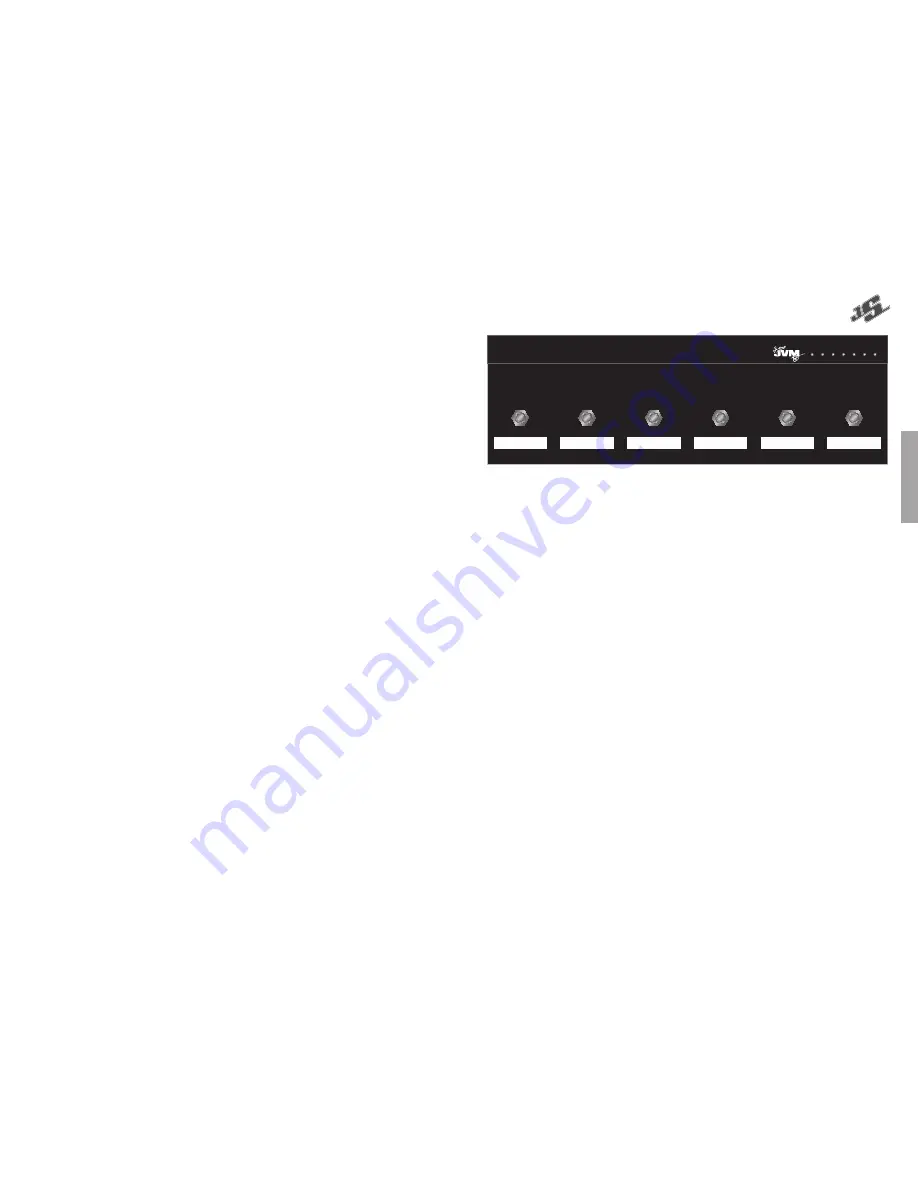
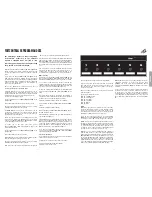
1
2
3
4
5
6
GATE
FX
MASTER
OD2
OD1
CRUNCH
CLEAN/
MODEL: PEDL-00055
410HJS
MID-SHIFT
FOOTCONTROLLER PROGRAM AND USE
ENGLISH
Summary of Contents for JVM410HJS Joe Satriani
Page 1: ......


