17
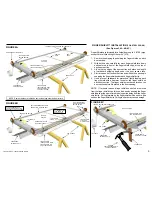
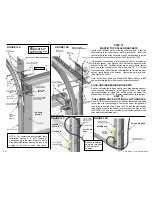
1. The temperature should be above 60°F (15° C). The weather should be dry.
2. Raise the door into the curve of the track where the Finger Shield™
opens away from the door section rib.
3. Clean all moisture, dirt, oil, wax, etc. From the bottom of the door
section rib. (See Figure R1)
4. Remove the adhesive cover from the back of the Rain Shield™. (See Figure R1)
5. Apply the Rain Shield™ firmly to the bottom of the door section rib
between the right and left end stile rivets. Do not cover rivets.
(See Figures R1, R2, R3)
6. Firmly press all air bubbles out from between the adhesive and the steel, so
that the Rain Shield will bond solid to the bottom of the door section rib.
7. Slowly open and close the door as you observe and make sure the
Finger Shields™ are properly fitting under each Rain Shield lip. After
the first closing, the Finger Shields™ should always properly fit under
each Rain Shield lip. (See Figures R2 and R3)
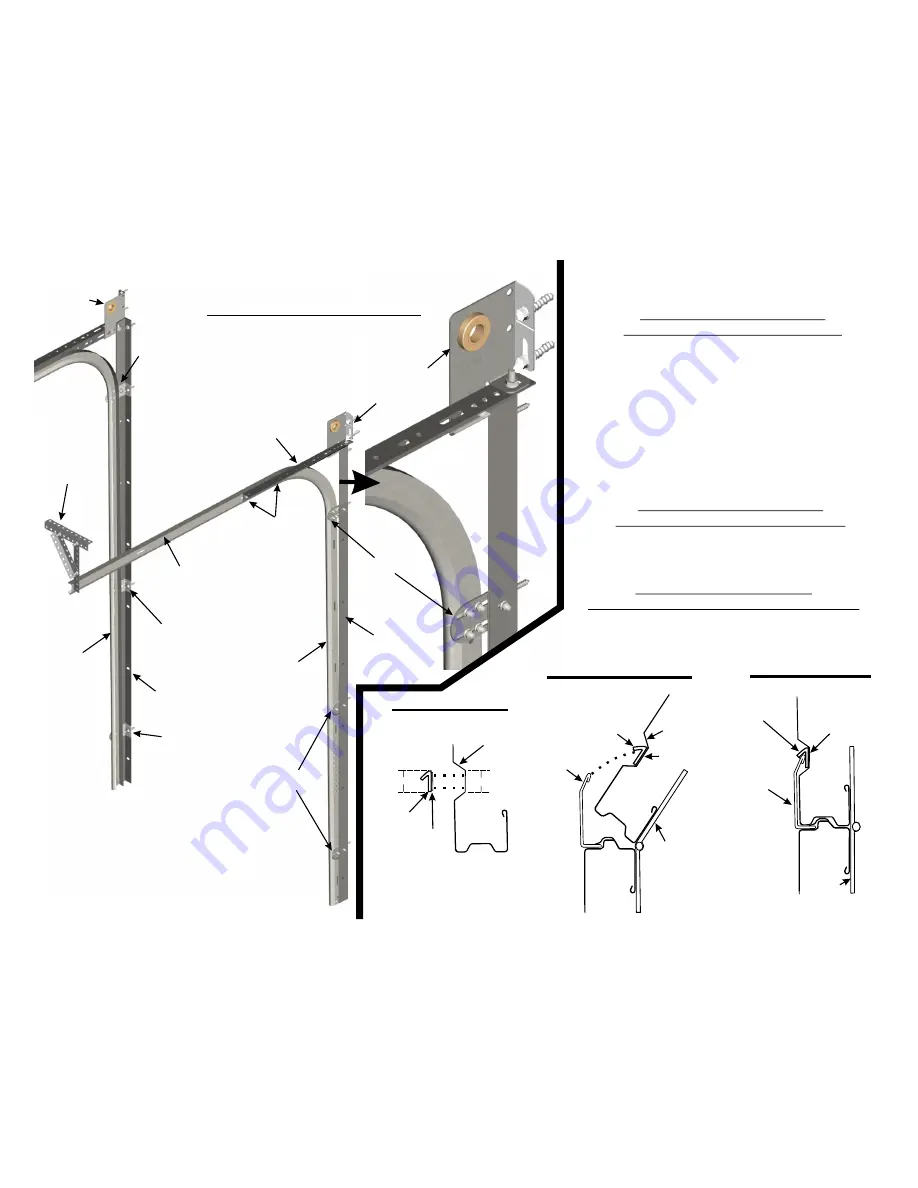
FIGURE R1
0.75” (19)
0.75” (19)
RAIN SHIELD™
ADHESIVE
COVER
DOOR SECTION RIB
DOOR
SECTION
FIGURE R2
RAIN SHIELD™
BONDED TO
BOTTOM OF RIB
RAIN SHIELD
LIP
DOOR
SECTION
RIB
FINGER SHIELD™
LOW PROFILE
HINGE
DOOR
SECTION
DOOR
SECTION
ORDER FROM YOUR MARTIN DOOR DEALER
INSTALLING A DOOR WITH
PREVIOUSLY INSTALLED RAIN SHIELD™
INSTALLING RAIN SHIELD™
BEFORE THE DOOR IS INSTALLED
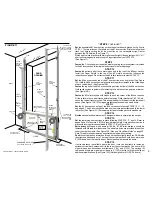
a. Complete numbers 1, 3, 4, 5, and 6 above.
b. If re-packaging the door, make sure each Finger Shield™ properly fits under the
Rain Shield™ lip before re-taping the Finger Shield™ to the door section.
(See Figure R3)
a. As the door sections are being installed in the door opening, make sure the
Finger Shields™ fits properly under each Rain Shield™ lip. (See Figure R3)
b. After the door is installed follow the advise in number 7 above.
RAIN SHIELD™
INSTALLING RAIN SHIELD™
AFTER THE DOOR IS INSTALLED
(STEEL DOORS)
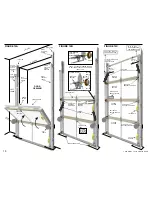
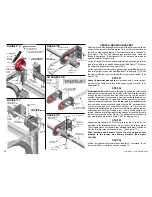
REVERSE BRACKET SHIELDS™
(RB Shields)
INSTALLATION MODIFICATIONS
PUNCHED ANGLE
TRACK HANGER
LEFT REVERSE
BRACKET SHIELD
RIGHT REVERSE
BRACKET SHIELD
TRACK
BRACKET
REVERSE BRACKET SHIELDS
INSTALLATION AND MEASUREMENTS
ARE THE SAME AS REVERSE ANGLE
SHIELDS
NOTE: THE FACE OF THE DOOR SEALS
AGAINST THE JAMBS, NOT THE REVERSE
BRACKET SHIELDS
LOOSEN TWO BOLTS
IF NECESSARY TO
FIT SIDE BEARING
BRACKET TO JAMB
SPLICE BRACKET
VERTICAL
TRACK
TRACK
BRACKETS
TRACK
BRACKET
SPLICE BRACKET
LEFT LOCK-ON
SIDE BEARING
BRACKET
RIGHT LOCK-ON
SIDE BEARING
BRACKET
HORIZONTAL
TRACK
ANGLE
HORIZONTAL TRACK
VERTICAL
TRACK
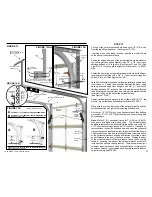
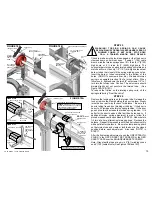
FIGURE R3
RAIN SHIELD
LIP
DOOR
SECTION
RIB
FINGER
SHIELD™
LOW
PROFILE
HINGE
DOOR
SECTION
DOOR
SECTION
Note: If jambs are sheetrocked, the reverse bracket shields
must be replaced with reverse angle shields.
COPYRIGHT © 2004 MARTIN DOOR


