5
2.4.2 Half Fold Operation
Half Fold Operation requires only one fold table be used (the first fold table in the 1501). First,
the second fold table must be put into the single fold position
(see figure #17)
. Do this by pulling
out on the bottom edge of the fold table and lowering it so that the “single fold” hole is aligned
with the mounting post. Fold table may then be pushed onto its mounting post. Once the second
fold table is in the “single fold” position, this fold table is disabled and moving its paper stop will
have no effect. The first fold table paper stop must now be adjusted for the half fold
(see section
2.5 and figure #15 for paper stop placement)
.
Note: Use only the second exit tray as shown
in figure #19.
2.4.3 Custom Folds
To make custom folds, simply use
the rulers to gauge the fold length
measured from the paper stop edge
to the fold. If the fold is longer on
one side than the other, adjust the
paper stop with a slight tilt to
compensate.
2.5 Exit tray set-up
Place the first exit tray behind the folder
with the long end up and the short lip
pointed toward the folder
(see figure #18)
.
The first exit tray should be centered and touching the folder. Place the second exit tray directly behind
and on top of the first. The distance between the exit trays will vary with different types of folds. This
distance can be adjusted until the desired paper stack is obtained.
Note: Use only the second exit tray
when making half folds with the 1501 (see figure #19)
.
Choose the
appropriate
icon and align
each folding
table with the
same one.
Figure #18
Figure #19
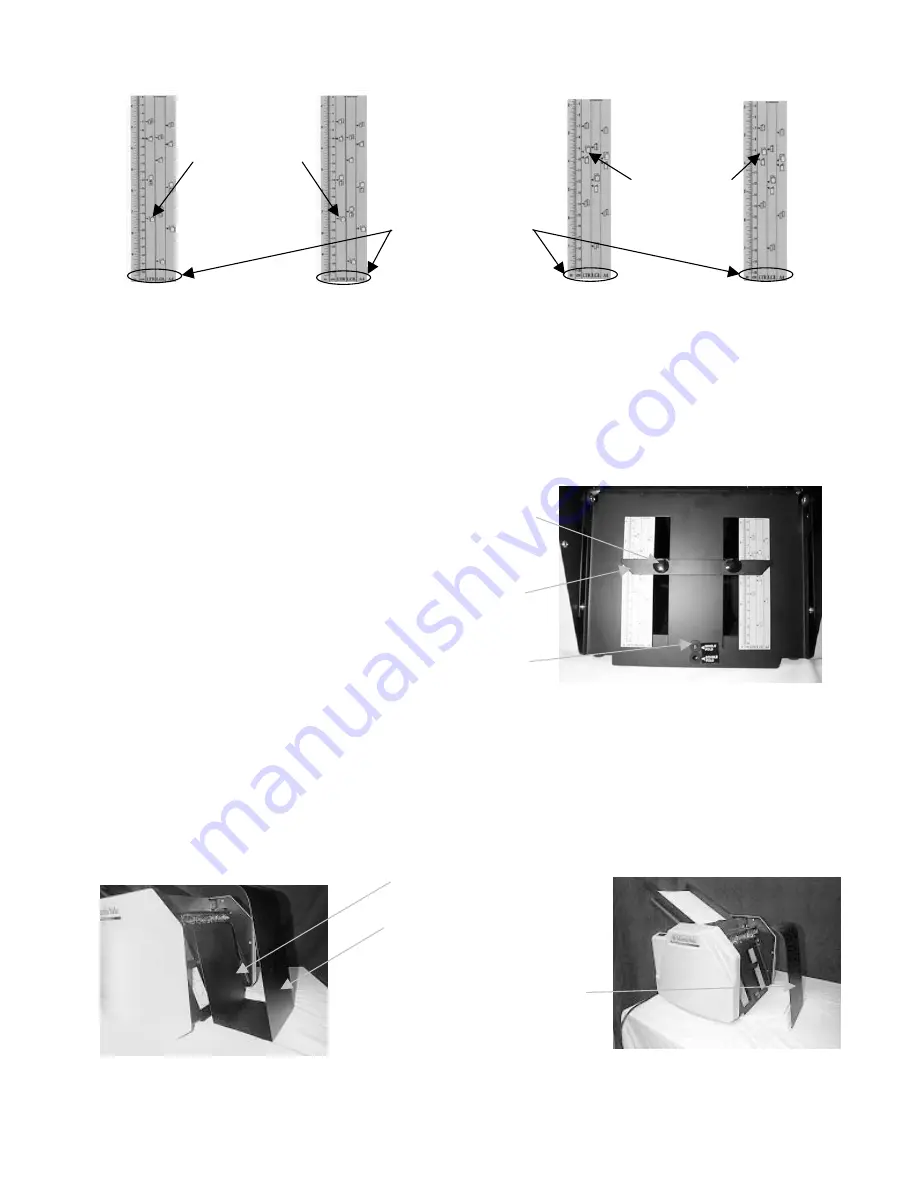
Figure #15
First Fold Table Rulers
Figure #16
Second Fold Table Rulers
Columns indicating
paper size
Choose the
appropriate
icon and align
each folding
table with the
same one.
Figure #17
Second fold table in single fold position
Paper Stop
Adjusting
Knob
Paper
Stop
Single fold
hole
First exit tray
Second exit tray, base goes
on top of first exit tray
1501 set up for half folds,
only second exit tray is used


