Installation
9
Installation
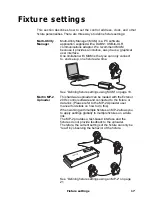
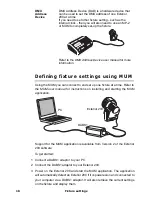
This section describes in general terms how to mount the fixture and
connect it to data and AC power. These procedures shall be performed by
qualified professionals.
Unpacking
The Exterior 200 comes with the following items:
• Philips CDM-SA/T 150 W discharge lamp (installed)
• User manual
Fastening method
Notice!
It is the installer’s responsibility to determine the anchoring
method.
The Exterior 200 may be permanently fastened to any flat surface, pedestal,
or other support that can safely bear the weight of all installed fixtures and
hardware.
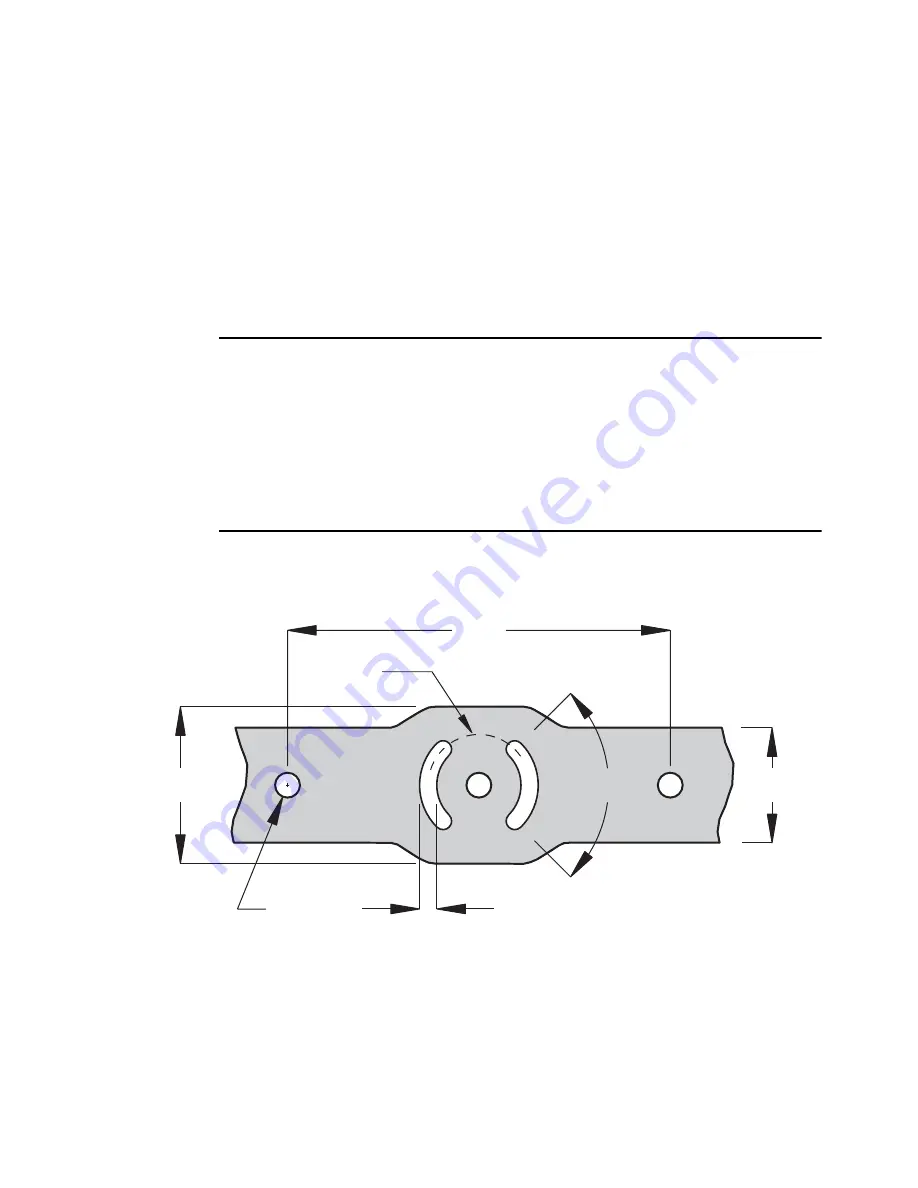
The mounting bracket provides 3 holes for 12 mm (1/2 in.) hardware,
spaced 100 mm on center, and 2 quarter-circle slots with a center radius of
26.5 mm for 8 mm (5/16 in.) hardware.
200
Ø53
82
Ø13
9
60
90°
Summary of Contents for Exterior 200
Page 1: ...Exterior 200 user manual mar tinar chi tect ura l ...
Page 5: ...5 SECTION 1 GETTING STARTED ...
Page 27: ...General operation 27 SECTION 2 STAND ALONE OPERATION ...
Page 48: ...48 Synchronous triggering during Stand Alone operation ...
Page 49: ...Synchronous triggering during Stand Alone operation 49 SECTION 3 DMX CONTROL ...
Page 53: ...DMX Controller operation 53 SECTION 4 OPTICS ...
Page 57: ...Lens options 57 SECTION 5 SERVICE AND TROUBLESHOOTING ...
Page 65: ...SECTION 6 REFERENCE ...
Page 75: ......


