180
GTXI User's Guide
Installation of the GTXI Interfaces
Remove the Original GTXI Door
1. Before you proceed further, make sure you have a clean work
area large enough to remove the GTXI door.
2. Make sure you have a Phillips screwdriver and a container to
hold the loose screws.
3. Carefully unpack the GTXI door from the shipping box.
4. Remove the old door:
a. Remove three screws on bottom hinge using the Phillips
screwdriver. Save the screws in a container.
b. Pull the old door off.
Add the GTXI Interface Door
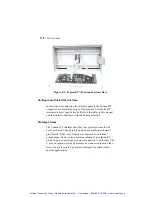
1. Align the three holes on the hinge and place the new door on
the front of the GTXI platform.
2. Reinstall the screws, being careful not to tighten any one screw
completely until all screws are inserted.
Connect the Cables
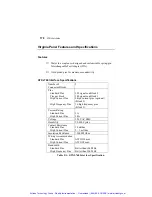
Note:
Depending on the boards ordered with the GTXI, consult the
GTXI interface specifications to determine the maximum
current ratings. Design the connections so they do not exceed
the recommended maximum current ratings.
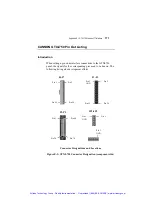
Connect cables from the boards in the platform to the Interface PCB
by connecting the following cables (depending on which boards
were ordered):
Artisan Technology Group - Quality Instrumentation ... Guaranteed | (888) 88-SOURCE | www.artisantg.com


