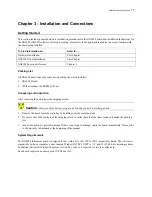
Installation and Connections
23
Plug & Play Driver Installation
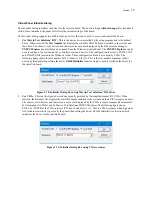
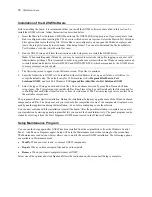
Plug & Play operating systems such as Windows notifies the user that a new board was found using the
New
Hardware Found
wizard after restarting the system with the new board.
If another Marvin Test Solutions board software package was already installed, Windows will suggest using the
driver information file: HW.INF. The file is located in your Program Files\Marvin Test Solutions\HW folder. Click
Next
to confirm and follow the instructions on the screen to complete the driver installation.
If the operating system was unable to find the driver (since the GXSW driver was not installed prior to the board
installation), you may install the GXSW driver as described in the prior section, then click on the
Have Disk
button
and browse to select the HW.INF file located in
C:\Program File\Marvin Test Solutions\HW
. On 64 bit systems
the HW.INF file is located in
C:\Program File (x86)\Marvin Test Solutions\HW
.
If you are unable to locate the driver click
Cancel
to the found New Hardware wizard and exit the New Hardware
Found Wizard, install the GXSW driver, reboot your computer and repeat this procedure.
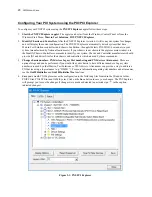
The Windows Device Manager (open from the System applet from the Windows Control Panel) must display the
proper board name before continuing to use the board software (no Yellow warning icon shown next to device). If
the device is displayed with an error, you can select it and press delete and then press F5 to rescan the system again
and to start the New Hardware Found wizard.
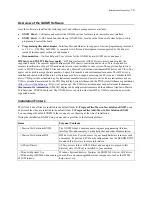
Removing a Board
Remove the board as follows:
1.
Turn off the PXI chassis and unplug the power cord.
2.
Locate a PXI slot on the PXI chassis.
3.
Disconnect and remove any cables/connectors connected to the board.
4.
Un-tighten the module’s front panel screws to the chassis.
5.
Push out the ejector handles and slide the PXI board away from the chassis.
6.
Optionally – uninstall the GXSW driver.
Summary of Contents for GX6384-1
Page 2: ......
Page 7: ...GX6384 User s Guide v Index 55 ...
Page 8: ...vi GX6384 User s Guide ...
Page 36: ...28 GX6384 User s Guide ...

