background image

2019-07-29

2

Inswing and Outswing Locking Handle

19915821

Service Instructions-Retrofit

Installing the Handle

NOTE: Before installing the handle check the door for
proper panel alignment and operation. If adjustments
are required refer to the installation instructions for your
door.

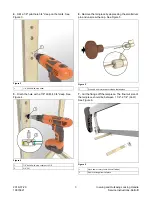
1.

Open the panels. Remove the screws fastening the 

handles to the panel and the multi-point lock on the 
secondary panel. Discard the interior non-locking 
handle and set the screws aside. See Figure 1.

Figure 1

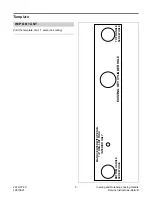
2.

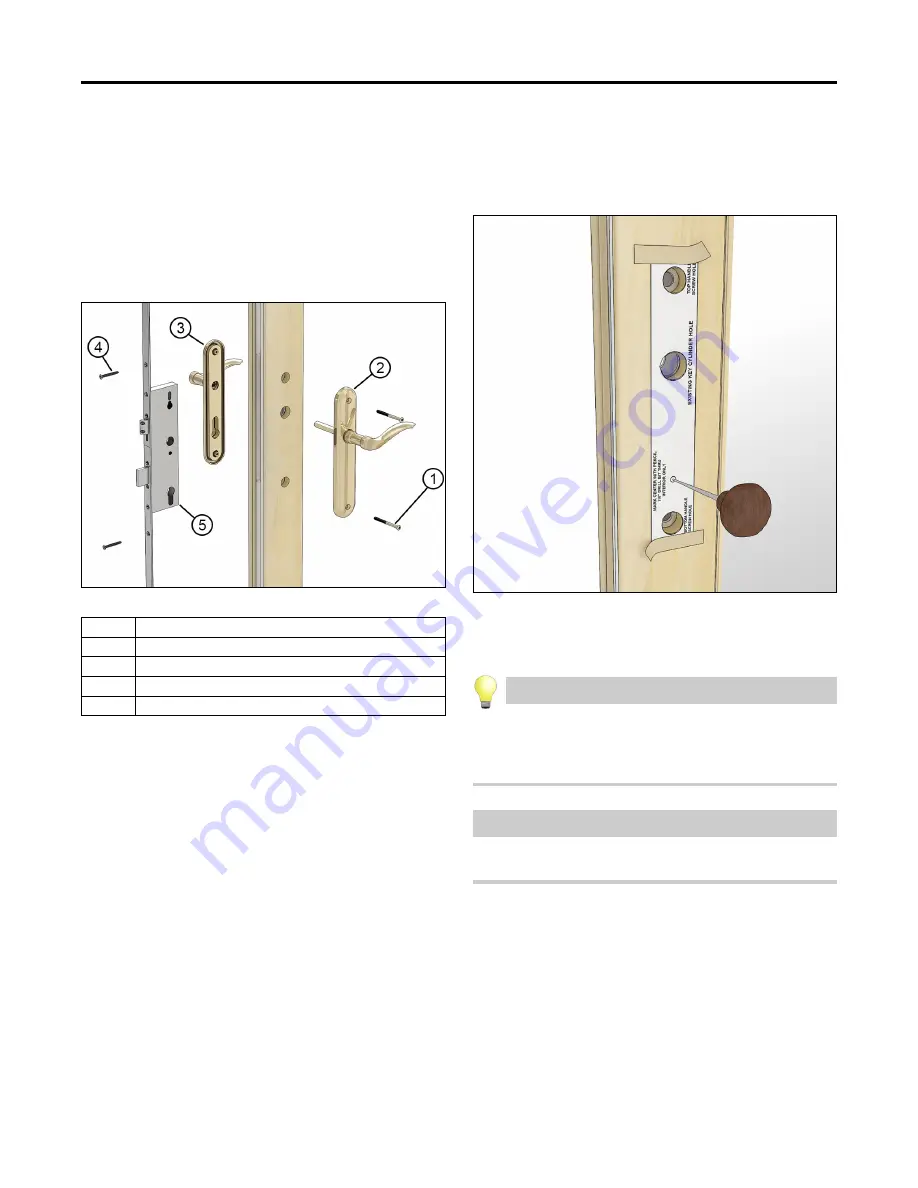
Cut out the template found at the end of this 

instruction. Align the template with the handle screw 
holes and key cylinder hole on the interior of the panel 
and tape the template in place. See Figure 2.

Figure 2

3.

Mark the hole to be drilled, with a pencil or scratch 

awl and remove the template.

H i n t

Use a stop collar on your drill bit for the next two steps.
This will ensure that you do not drill too deep into the
panel.

I M P O R T A N T

DO NOT drill all the way through the panel.

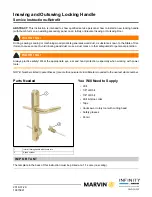
1

Handle screws.

2

Interior escutcheon and handle

3

Exterior escutcheon and handle

4

Multipoint screws

5

Multipoint lock

Summary of Contents for INFINITY Inswing

Page 1: ...oid inhaling wood dust or use a dust mask or other safeguards for personal protection WA R N I N G Always practice safety Wear the appropriate eye ear and hand protection especially when working with power tools NOTE Numbers listed in parentheses are metric equivalents in millimeters rounded to the nearest whole number Parts Needed You Will Need to Supply Drill 1 8 drill bit 7 8 drill bit Drill bi...

Page 2: ...set the screws aside See Figure 1 Figure 1 2 Cut out the template found at the end of this instruction Align the template with the handle screw holes and key cylinder hole on the interior of the panel and tape the template in place See Figure 2 Figure 2 3 Mark the hole to be drilled with a pencil or scratch awl and remove the template H i n t Use a stop collar on your drill bit for the next two st...

Page 3: ...the tail piece by depressing the small silver pin and unscrew the cap See Figure 5 Figure 5 7 Cut the flange off the tail piece The final cut size of the tail piece should be between 1 1 2 2 1 4 38 57 See Figure 6 Figure 6 1 1 8 drill bit with stop collar 1 7 8 drill bit with stop collar set to 3 4 2 3 4 19 1 Press pin and rotate cap to release the tailpiece 1 Hack saw or rotary tool with cutoff w...

Page 4: ...ure 8 Figure 7 Figure 8 9 Reinstall the multi point lock on the panel See Figure 9 Figure 9 10 Install the exterior handle Then install the interior handle aligning the tail piece with the slot in the multi point lock and assemble with screws removed earlier See Figure 10 Figure 10 11 Test the thumb turn to ensure proper function 1 modified tail piece 1 Silicone 1 Multipoint lock 1 Exterior handle...

Page 5: ...ndle 19915821 Service Instructions Retrofit Template I M P O R TA N T Print the template at a 1 1 scale no scaling BOTTOM HANDLE SCREW HOLE MARK CENTER WITH PENCIL 7 8 DRILL BIT THRU INTERIOR ONLY TOP HANDLE SCREW HOLE EXISTING KEY CYLINDER HOLE ...

Reviews: