background image


g.


Each of the three steps, 2, 3, and 4, can be adjusted as necessary using the thumb 
slides located on both ends of each step (figure 8). 


h.


The stair is now ready to be used. 


Caution:  When climbing up or down the telescoping stairs, use both hands to securely 
grasp the supports.  This will help you maintain balance and minimize the risk of 
injury or damage to the stairs. 


2. Closing the stairs: 

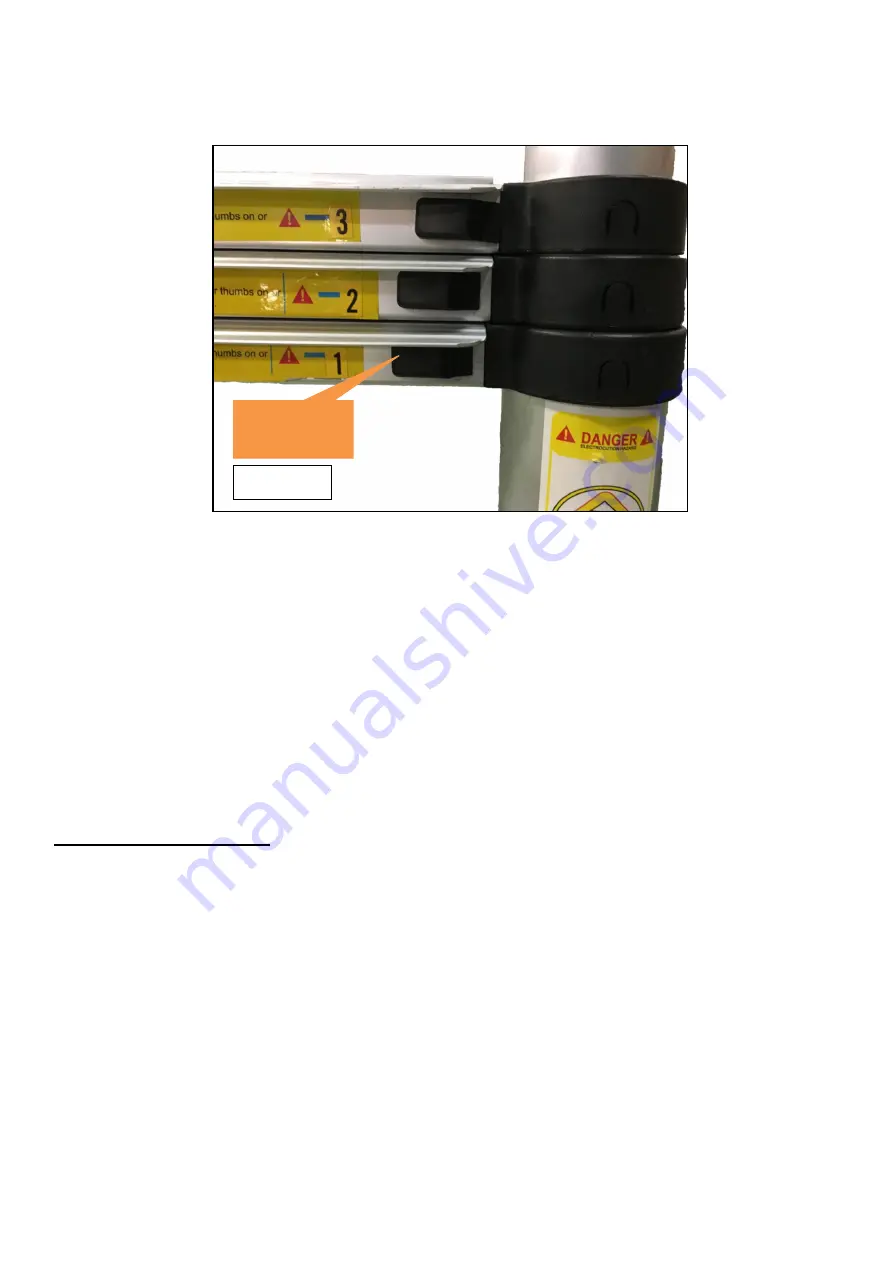
a. Note that steps 2, 3, and 4 have numbers next to the black, spring-loaded slide levers.  
In order to close the stair, with the feet still on the floor, one or more of these adjustable 
steps will need to be slid or telescoped upward so that the stair retracts completely. 

b. Grasp the stair legs with both hands just below the second step and place your thumbs 
on the slide levers marked #1 (figure 9). 

Figure 8 

Thumb slides 

(2 per step) 

Summary of Contents for Telescoping Attic Stair

Page 1: ...the door to the bottom of its travel If your stair has an eye bolt use the pull rod to lower the door to the bottom of its travel figures 1 and 2 b Now disengage the pull rod from the door s eyebolt and insert the pull rod hook into the T bracket located on the bottom side of the bottom stair step The pull rod hook has a V shape which prevents the rod from slipping out of the hole figure 3 Figure ...

Page 2: ...ll rod from the T bracket figure 4b Set the pull rod aside to be used to retract the stairs when ready d At this point both stair feet should be near or on the floor but the stairs are not yet ready to climb Grasp the stair feet just above the 1st step with both hands and lift off the floor slightly figure 5 Step backward pulling down on the stair to extend them until all of the red levers from th...

Page 3: ...h the feet on the floor figure 7a With an 8 7 to 9 6 ceiling height steps 2 and 3 will be together figure 7b With a 9 7 to 10 ceiling height all three steps will be separated figure 7c Caution your telescoping stairs should be in one of the above mentioned configurations otherwise injury and or stair damage may result Figure 5 Figure 7a Figure 7b Figure 7c 45 deg Red lever 2 per step Figure 6 ...

Page 4: ...ce and minimize the risk of injury or damage to the stairs 2 Closing the stairs a Note that steps 2 3 and 4 have numbers next to the black spring loaded slide levers In order to close the stair with the feet still on the floor one or more of these adjustable steps will need to be slid or telescoped upward so that the stair retracts completely b Grasp the stair legs with both hands just below the s...

Page 5: ...evers marked 2 and 3 respectively figures 10a and 10b e Once step four contacts step 5 you can begin retracting the remaining steps f If you cannot hook the stairs back onto the support rod on the door you will need to use the pull rod While holding the stair with one hand insert the pull rod hook into the t bracket hole and lift the stair onto the support rod on the door figures 11a and 11b Figur...

Page 6: ...s you retract and place them on the support rod on the door g When the stair hook has fully engaged the support rod on the door the pull rod can be removed from the t bracket h Using either the pull cord or the pull rod swing the door upward under control and close the door Figure 11a Figure 11b ...

Reviews: