MXC
+
ECC
Air
31
29
26
25
32
27
39
38
28
Sx.
Dx.
2
41
42
2
41
42
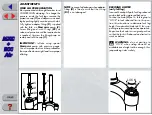
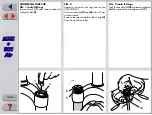
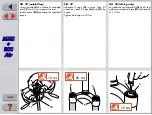
PUMPING ROD CHANGE
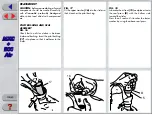
FIG. 13
Remove the foot buffer
(26)
with the o-ring
(25)
from the pumping rod
(32)
end.
Withdraw the complete pumping rod
(32)
and the rebound spring
(29)
from the top.
Replace the seal ring
(31)
if damaged or
worn out.
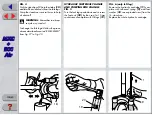
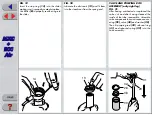
VALVE ASSEMBLY CHANGE
FIG. 14 (only right leg)
To check that the valve assembly is operat-
ing correctly, it is necessary to work on the
inside of the stanchion tube.
Slip off the stop ring
(27)
using pointed
pliers.
Pull the valve assembly out of the tube with
one finger in the following order: covering
(39)
, valve
(38)
and washer
(28)
.
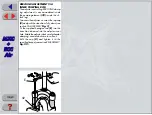
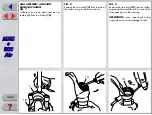
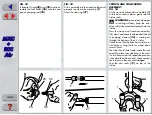
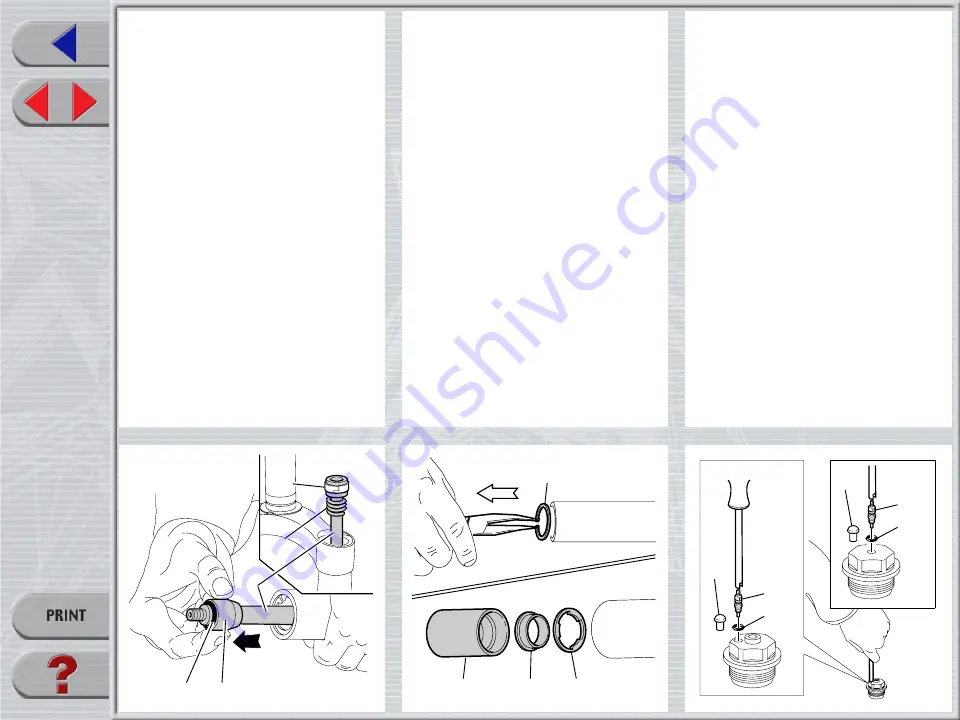
REPLACING AIR VALVE
FIG. 15
This operation can be performed when fork
is fully assembled and fitted on bike, but
only after draining inner pressure.
If the air valve is disassembled with the fork
removed, keep the fork vertical so as to
avoid any oil leakage.
Remove the air valve
(41)
and its O-ring
(42)
from cap using a standard valve
wrench.
Check O-Ring and blow compressed air
onto valve to eliminate possible clogging.
Immediately replace damaged valve.
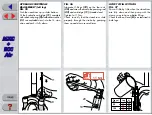
When reassembling, slightly lubricate the
O-ring
(42)
and screw the air valve
(41)
until it stops without forcing. Then, refit the
cap
(2)
.


