background image

15

Print Bed Leveling / Calibration

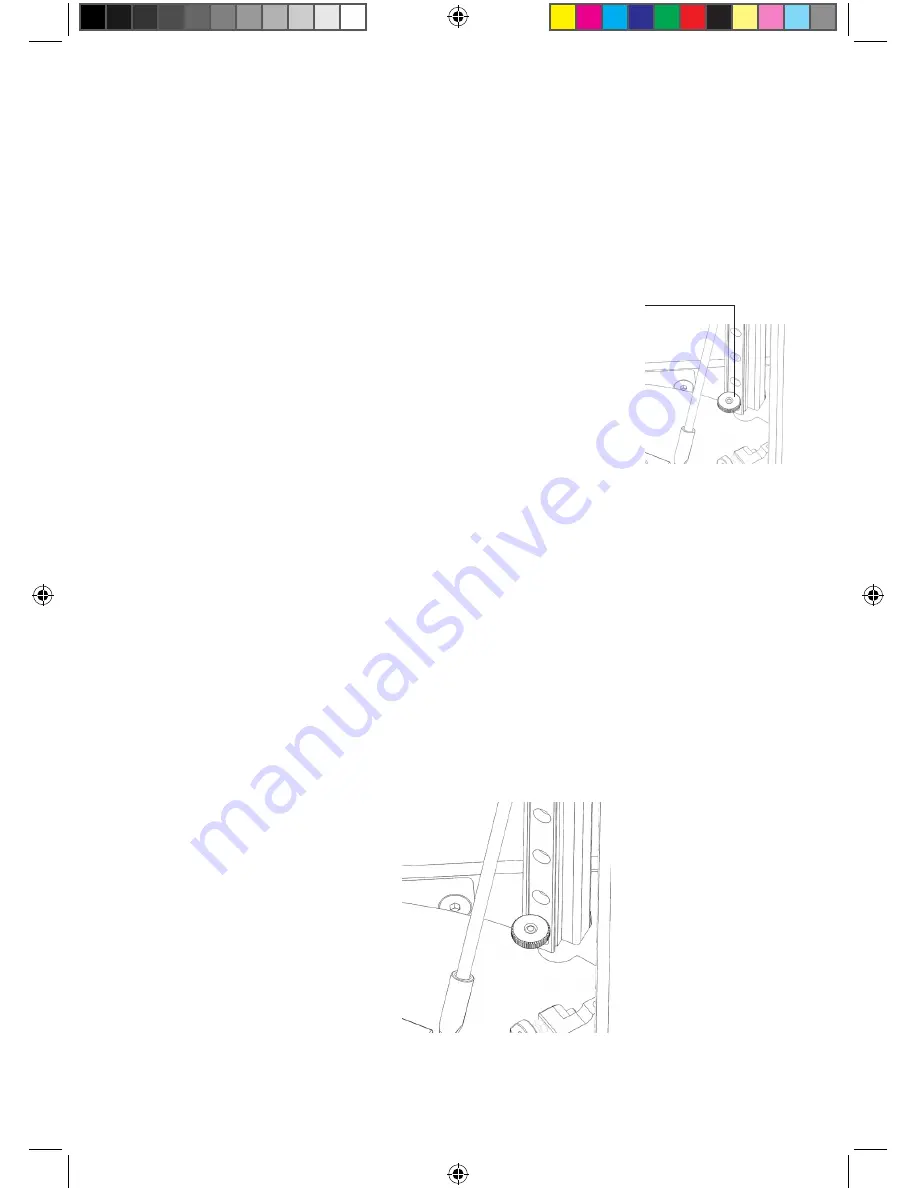
The print bed on Mass Portal printers is held in place with three 
thumbscrews. The slope and height of the print bed can be 
adjusted by turning the thumbscrews. As a general rule, the 
printbed should not be slanted — the thumbscrews are used 
to keep it level. Normally the thumbscrews would not need 
adjusting by more than 1mm or 2mm at max.

Mass Portal printers have a built in sensor, that can measure the 
printbed height and slant. The built in firmware (software that 
runs on the printer) can use these measurements to automatically 
calibrate the printer — use these measurements to set the 
printhead in correct distance from the printbed. This is done to 
ensure that first layer of prints is correctly printed — that it is not 
too high (material not sticking to the printbed) or too low (nozzle 
too close to the printbed, material “smeared” into printbed).

It is not neccessary to use automatic calibration before each print, 
or even regularly. If the first layer of the print is correctly printing, 
there is no need to recalibrate the printer. The printer can go for 
a long time before needing to be recalibrated.  

Automatic Calibration

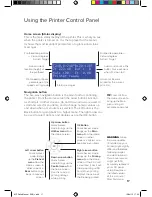
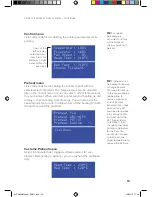
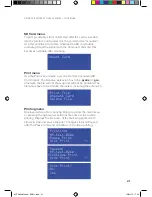
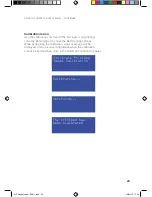
To use automatic calibration, on the printer control panel:
1. Press 

OK

 button to bring up the main menu

2. Scroll down, select 

Calibration

3. Select 

Calibrate Printbed

4. The printhead will move down to make the measurements
5. You will see a message on screen, confirming that the printer 
has been calibrated. You can print now.

WARNING

 Before automatic 

calibration the inner screw 
should not poke out from any of 
the thumbscrews (they should 
be approximately level) — the 
thumbscrews MUST NOT be 
screwed in till lowest possible 
position. The printbed must have 
some play, so the springs below 
it can compress — you must be 
able to move printbed down a bit 
when pressing on it. This is also 
a safety measure in case if the 
printhead moves too low.

TIP

 The printbed can 

be leveled manually 
by adjusting the 
three thumbscrews 
that hold the glass 
printbed. 

INFO

 To 

ensure correct 
measurements, 
Automatic calibration 
works ONLY when 
the printer is at room 
temperature. If you 
attempt using the 
auto calibration when 
the printer is hot, 
you’ll see a warning 
and the calibaration 
will not be done.

WARNING

 The 

printhead will 
move down when 
calibrating to make 
the measrurements. 
Make sure there 
are no objects or 
previous prints on 
the printbed before 
performing the 
automatic calibration, 
otherwise the 
printhead can hit 
them.

MP Delta Manual  ENG +.indd   15

15/04/15   17:03

Summary of Contents for Pharaoh ED

Page 1: ...Mass Portal Pharaoh ED Desktop 3D Printer User Manual MP Delta Manual ENG indd 1 15 04 15 17 03...

Page 2: ...SS PORTAL SIA ALL OTHER TRADE MARKS ARE USED FOR INFORMATIONAL PURPOSES ONLY AND ARE PROPERTY OF THEIR RESPECTIVE OWNERS English language version 1 4 If you have any comments about this user manual pl...

Page 3: ...ibration 15 Standalone Printing 16 Using the Printer Control Panel 17 Printing Software Owerview 24 Software Simplify3D 25 Software Simplify3D 26 Software Repetier Host 30 Printing materials Printing...

Page 4: ...familiarize yourself with this manual before connecting the printer to your computer installing the Simplify3D software and tinkering with settings Successful prints The manual is designed to guide yo...

Page 5: ...play the most important role for quality printouts Software Mass Portal 3D printers ship with Simplify3D a computer program that you use to prepare models for printing and control the printer when pri...

Page 6: ...able door hinges Automatic calibration sensor Exchangeable nozzle Part cooling fans Part ilumination LED Airflow guides Delta arm rod ends Pharaoh Print Head Front Backside radiator cooling fan Print...

Page 7: ...er Back Extruder body Bowden tube Bowden tube mount Back operated filament load release lever pushknob not shown Filament drive gear USB cord socket On Off switch Power cord socket Fuse panel Ventilat...

Page 8: ...damage do not touch the printer s head and heated print bed unless they have cooled down to 40 C or less These temperatures are displayed on the built in LCD display and in the printing software inte...

Page 9: ...IGNS OF DAMAGE OR MALFUNCTION DO NOT USE WORN ELECTRICAL SOCKETS STATIC ELECTRICITY Release your body s static electricity by touching a grounded object before any repair or service operation POWER MU...

Page 10: ...ent roll This is important especially in cold weather In winter it may take a long time don t rush it 4 Attach the filament spool holder It s in the cardboard box in the printer It simply slides in to...

Page 11: ...button 5 Select MyFirstPrint and press OK button then wait 5 Wait until the printhead and heated bed warm up The printer will start printing only when printbed and printhead are heated up to the necce...

Page 12: ...G codes is usually aslo called slicing Mass Portal uses the Simplify3D program for slicing and printer control Although G code is used to control many 3D printers it generally must be created for each...

Page 13: ...red with the built in tools or host or slicing software and there are also software applications just for that purpose Infill and perimeters of walls You can choose whether the printed object will be...

Page 14: ...d with different coatings There s a Custom menu option for that Glue Glue can be used to get difficult prints to stick for example usual office glue stick You should apply the glue before heating up t...

Page 15: ...tion To use automatic calibration on the printer control panel 1 Press OK button to bring up the main menu 2 Scroll down select Calibration 3 Select Calibrate Printbed 4 The printhead will move down t...

Page 16: ...kes a long time for larger objects independent of computer When printing repeat objects when you know that all the settings in your G code are just fine To save electricity by not having the computer...

Page 17: ...of the printhead Printhead temperature Celsius degrees Actual Target Print speed multiplier percentage of the speed set in g code Status messages Right arrow button Quick Access mode Brings up the Pri...

Page 18: ...Left arrow to go back to the home screen About command Displays information about the printer serial number harware version firmware version Pharaoh ED by MASS PORTAL HW v1 4 ID 12345 FW ver 123 4567...

Page 19: ...0 Flowrate 100 Fan Speed 0 Head Temp 210 C Bed Temp 210 C Change Filament Preheat PLA Preheat ABS HIPS Preheat PET XT Preheat Custom Cooldown Head Temp 240 C Bed Temp 120 C The at the left indicates s...

Page 20: ...und with your hads useful for printer maintenance Extrude Extrudes the filament Useful to check the flow and loading of the filament before starting a print The printhead must be heated to the tempera...

Page 21: ...or gco otherwise the file will not show up and will not be printable The filenames have to be 26 latin characters including the extension Printing menu Displayed while a file is printing Bring it up f...

Page 22: ...s for the first couple of layers so the bounced airflow form the printbed does not cool the nozzle Bed Coating menu Use to select the printbed coating that you use This must be set correctly for the a...

Page 23: ...on menu Use the calibration command if the first layer is not printing correctly Rememeber to check the Bed Coating settings While performing the calibration status message will be displayed and a suc...

Page 24: ...jobs and has a choice of integrated slicing software Slic3r CuraEngine and Skeinforge Cura Renowned open source slicing program that s a bit lacking on printer control features but has the best slici...

Page 25: ...Simplify3D Setup After the installation of Simplify 3D please choose the Other from the printer models popup menu and enter the following data exactly as on the picture MP Delta Manual ENG indd 25 15...

Page 26: ...les you to work with your models 4 Processes The build operations to create your 3D print are listed here along with buttons commands enabling you to work with process functions 5 Toolbar This toolbar...

Page 27: ...lify3D Software Typically a 45 or greater overhang will benefit from support material underneath it Simplify3D rovides a unique ability to customize your supports with add and delete support buttons I...

Page 28: ...s that specify how your model will be constructed 1 Select Profile Allows you to choose a pre configured printer profile 2 Auto Configure for Material Allows you to select the material you will be pri...

Page 29: ...with the basics and are ready for more options advanced settings can be found by clicking Show Advanced in the bottom left corner of the FFF Settings window Visit Simplify3D com where you will find a...

Page 30: ...s in the following formats gcode gco stl obj 3ds 2 Save Job by pressing this button to save G Code 3 Run Pause job you can start the printing by pressing this button If the printing has already been s...

Page 31: ...It should always be at Home position before printing objects It is not recommended to press it and other movement control buttons under printing Movement of X and Y axis move the printing head to left...

Page 32: ...of triangulation edges Show Faces Strg F Toggles display of triangulation faces Show Compass Alt C Toggles display of coordinate compass at the left bottom This blocks allow it to change the temperat...

Page 33: ...ed object removes it from the selection Note You can view description of each function just by hovering cursor over it If the lock is closed all axes are changed simultaneously If you click on the loc...

Page 34: ...typing material of choice It is the same plastic likely later used for injection molding and the prints can be easily post processed sanded painted polished ABS can be treated with acetone vapour to o...

Page 35: ...ament mixed with metal brass copper steel chalk wood carbon fibre and other materials Usually these filaments are based on PLA but there are filaments based on PET and ABS also Depending on the percen...

Page 36: ...rinter In that respect you can think of it as being similar to iron If you were to expose it to continuous moisture or leave it outside it would rust and become unusable in short order But if you had...

Page 37: ...ger lifespan is more impact resistant and has a more matte look and finish ABS Filament has a high melting point so it s suitable for machine or car parts also the filament is soluble in acetone so yo...

Page 38: ...tough durable plastic and is ideal for use in any prints that need to be stable when exposed to water PET prints at a relatively high 250 C for best results It is transparent in its natural form and t...

Page 39: ...ll when mated parts need to glide along one another or at a hinged joint Unlike ABS nylon is a 100 thermoplastic It can be re melted and used again and again without loosing its bonding properties Nyl...

Page 40: ...use multi tool for carving grinding cleaning sanding etc Typical accessories are Carving tools to carve holes that you can t print Grinding sanding tools to remove imperfections or irregular bottom la...

Page 41: ...41 MP Delta Manual ENG indd 41 15 04 15 17 03...

Page 42: ...anical removal but care must be taken not to scratch the printbed Cleaning outer side of the nozzle Removing excess plastic from the nozzle should be done before each print Cleaning must be performed...

Page 43: ...from the drive gear The drive gear teeth can sometimes become filled with plastic parts from filament when the print head has been clogged and the drive gear has dug into the filament Replacing the e...

Page 44: ...n Increasing the temperature to 230 C it may help If you can push through the blockage your problem is solved and you can restart your print again Check your filament spool if there isnt any knot so t...

Page 45: ...sible to push it out To remove filament from bowden tube heat up printhead and push with two fingers bowden tube s mount button then remove tube firstly pushing it in then out The same bowden tube mou...

Reviews: