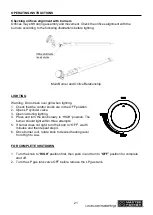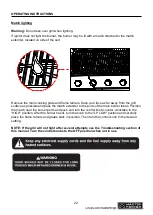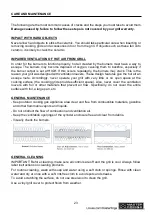
16
OPERATING INSTRUCTIONS
5. Make sure all burner knobs are in the OFF position.
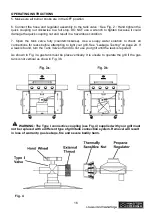
6. Connect the hose and regulator assembly to the tank valve
(
See Fig. 2
)
Hand tighten the
quick coupling nut clockwise to a full stop. DO NOT use a wrench to tighten because it could
damage the quick coupling nut and result in a hazardous condition.
7. Open the tank valve fully (counterclockwise). Use a soapy water solution to check all
connections for leaks before attempting to light your grill. See “Leakage Testing" on page 24. If
a leak is found, turn the Tank Valve off and do not use your grill until the leak is repaired.
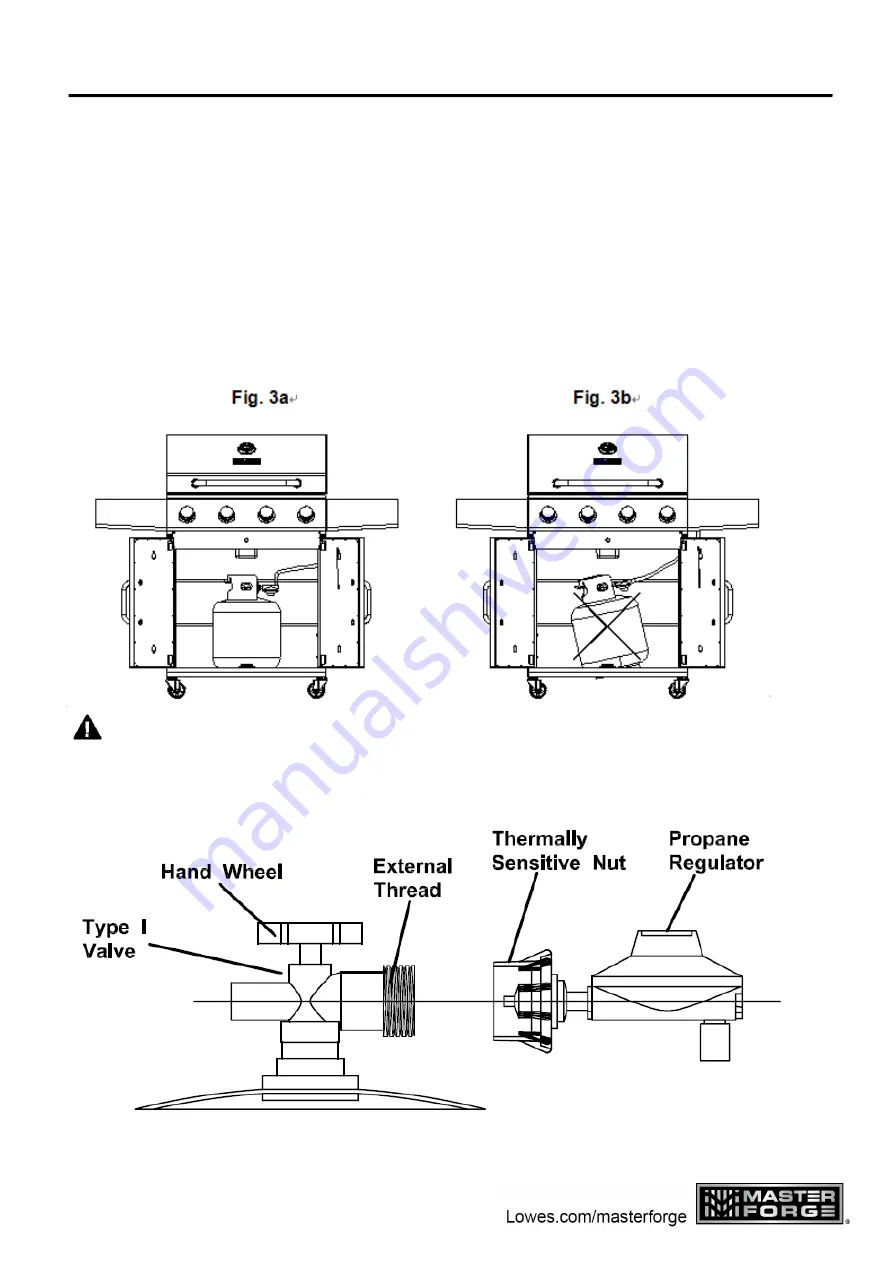
As shown in Fig. 3a gas tank must be place vertically. It is unsafe to operate the grill if the gas
tank is not vertical as show in Fig. 3b.
WARNING: The Type I connective coupling (see Fig. 4) supplied with your grill must
not be replaced with a different type of grill/tank connection system. Removal will result
in loss of warranty, gas leakage, fire and severe bodily harm.
Fig. 4


