6
Bolting Down Your Safe
Bolt down kit contents:
2 Lag screws
2 Washers
Tools needed to bolt safe to a surface:
Drill
Wrench
1
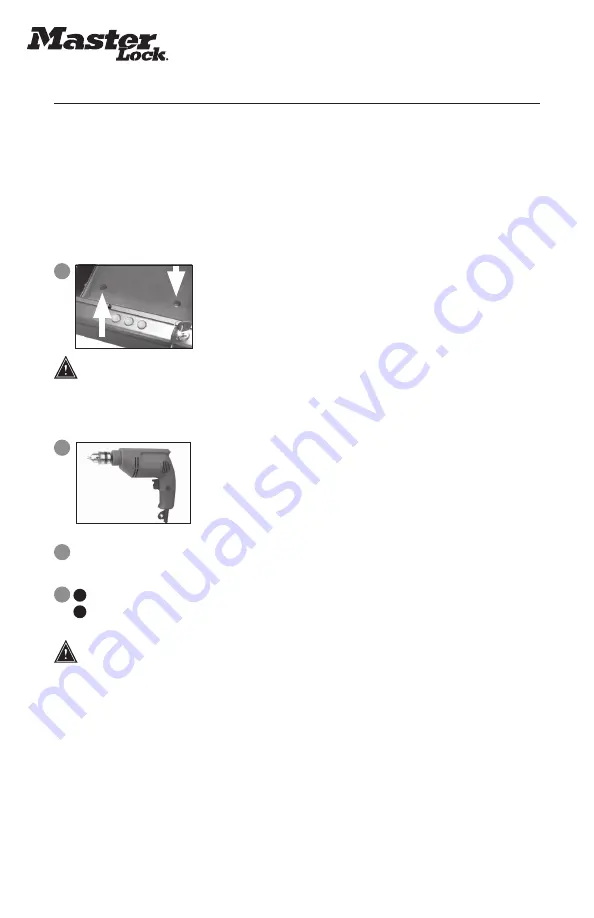
Select a suitable location for your safe. Set the safe in place, and use
the pre-drilled holes provided on the bottom of the safe to mark the
location of the holes to be drilled in the surface.
WARNING
DO NOT DRILL FROM ANY LOCATION INSIDE THE SAFE.
NOTE:
This product is intended to be mounted with a horizontal orientation.
2
Move the safe while you drill the marked holes in the surface.
3
Drill the holes in the surface using the appropriate diameter and depth for the type of
hardware and the mounting surface being used.
4
A
Replace the safe over the newly created holes.
B
Install the screws and washers as required.
WARNING
MASTER LOCK IS NOT RESPONSIBLE FOR COSTS INCURRED IF THE UNIT IS TO BE
REPLACED.
BOLTING/UNBOLTING THE UNIT IS AT A CONSUMER’S EXPENSE AND DISCRETION
Summary of Contents for ML08EB
Page 44: ...44 Master Lock Master Lock 1 2 4 AA 3 1 2 3 4 1 1 2...
Page 45: ...45 1 3 LED 2 LED 4 5 2 1 3 LED 2 LED 3 5 10 LED 3 LED 4 LED 5 5 10 LED...
Page 47: ...47 LED 3 1 1 2 1 1 2...
Page 48: ...48 2 2 1 2 3 4 A B MASTER LOCK...
Page 49: ...49 LED LED LED AA AA LED LED AA masterlock eu safes...
Page 98: ...98 Master Lock Master Lock 1 2 4 AA 3 1 2 3 4 1 1 2...
Page 99: ...99 1 3 2 4 5 2 1 3 2 3 5 10 4 5 5 10...
Page 100: ...100 2 1 3 2 3 3 4 5 10 5 6 5 10 1 3 2 10 1 3 2 3 3 10 10...
Page 101: ...101 3 1 1 2 1 1 2...
Page 102: ...102 2 2 1 2 3 4 MASTER LOCK...
Page 103: ...103 AA AA AA masterlock eu safes...
Page 110: ...110 Master Lock Master Lock 1 2 3 4 3 1 2 3 4 1 1 2...
Page 111: ...111 1 3 LED 2 4 5 6 LED 3 4 5 1 2 1 3 LED 2 LED 3 5 10 LED 3 LED 3 4 LED 5 5 10 LED 3...
Page 113: ...113 LED 3 2 2 1 1 2 1 1 2...
Page 114: ...114 2 2 1 2 3 4 A B MASTER LOCK...
Page 115: ...115 LED 3 LED 2 5 2 LED 10 3 4 3 4 LED 3 LED 5 3 4 masterlock eu safes...


