19
DO NOT DIVE.
INSTALLATION INSTRUCTIONS
1.
Put spa in final position that allows for access to equipment and spa components.
2.
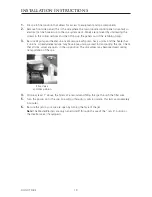
Remove front side panel (This is the side where the main topside control panel is located) so
electrical can be hooked up to the spa system pack. Panels are removed by unscrewing the
screws in the corner sections and then lifting up the panels out of the retaining tracks.
3.
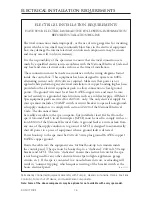
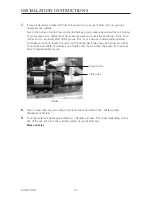
Be sure all pump and heater unions are secure. Each pump has 2 unions and the heater has
2 unions. A newly delivered spa may have loose unions caused in transporting the spa. Check
that all slice valves are open, in the up position. The slice valves may become closed during
transportation of the spa.
4.
Fill spa at least 1” above the filters. We recommend filling the spa through the filter area.
5.
Turn the power on to the spa. Spa will go through its priming mode. This lasts approximately
5 minutes.
6.
Be sure the jets in your spa are open by turning the face of the jet.
Note:
The Master Blasters are only turned on/off through the use of the “Jets 3” button or
the diverter valve (if equipped).
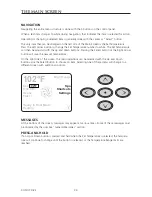
Slice Valve
and Pump Union

