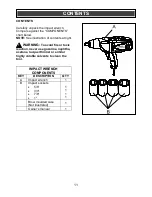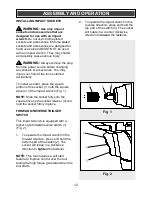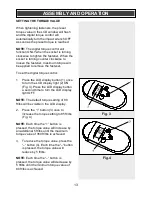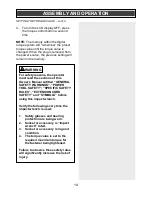
17
TIGHTENING WHEEL NUTS
– cont’d
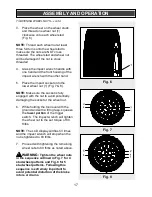
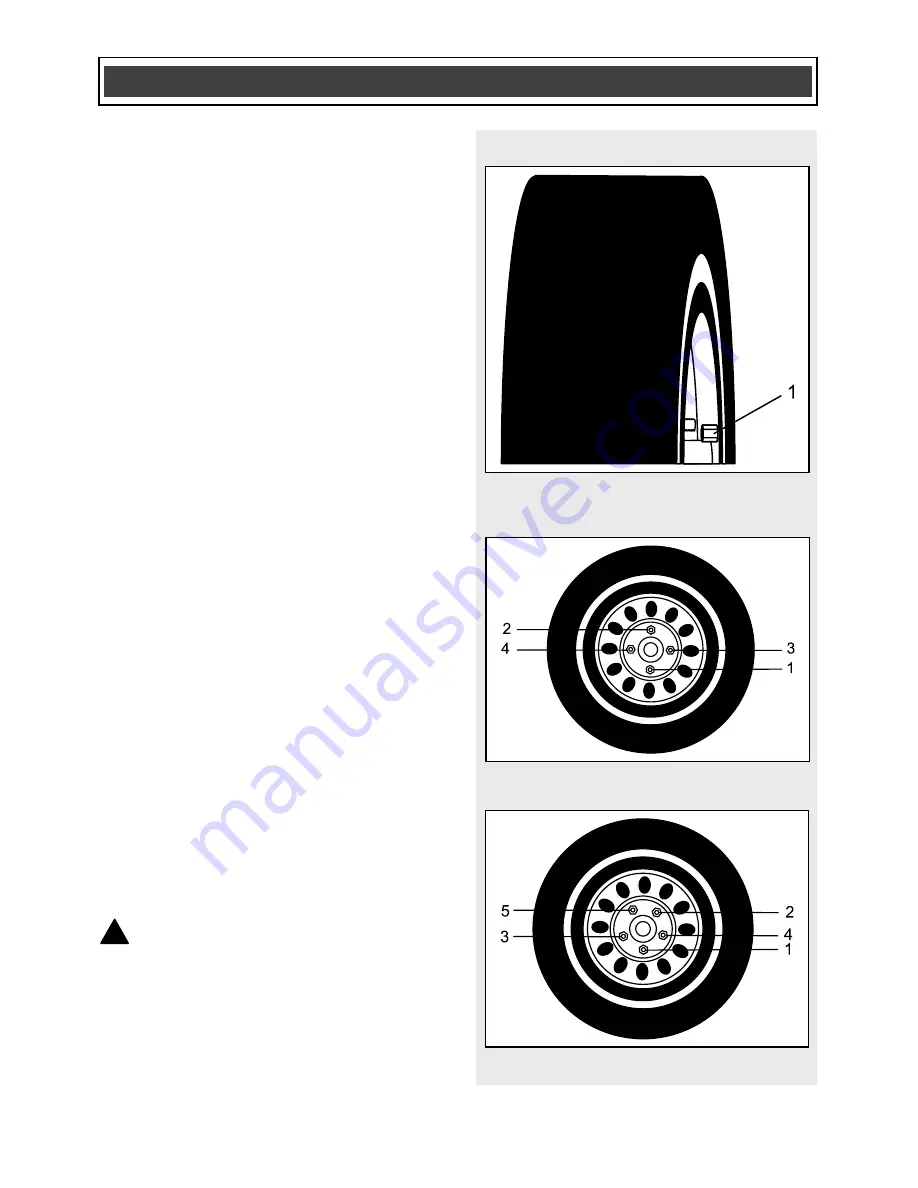
3. Place the wheel on the wheel studs
and thread one wheel nut (1)
clockwise onto each wheel stud
(Fig. 6).
NOTE:
Thread each wheel nut at least
three full turns onto the wheel stud to
make sure the nuts are NOT cross
threaded. The wheel stud and wheel nut
will be damaged if the nut is cross
threaded.
4. Grasp the impact wrench handle with
one hand and the front housing of the
impact wrench with the other hand.
5. Place the impact socket onto the
lower wheel nut (1) (Fig. 7 & 8).
NOTE:
Make sure the socket is fully
engaged with the nut to avoid potentially
damaging the socket or the wheel nut.
6. While holding the tool level with the
ground and with a firm grasp, squeeze
the
lower portion
of the trigger
switch. The impact wrench will tighten
the wheel nut to the set torque of 80
ft/lbs.
NOTE:
The LCD display will flash 3 times
and the impact wrench will stop when the
nut is tightened to 80 ft/lbs.
7. Proceed with tightening the remaining
wheel nuts to 80 ft/lbs as noted above.
WARNING:
Tighten the wheel nuts
in the sequence outlined in Fig. 7 for 4
stud wheel patterns and Fig. 8 for 5
stud wheel patterns.
Following this
sequence is extremely important to
avoid potential distortion of the brake
rotors or drums.
ASSEMBLY AND OPERATION
Fig. 6
Fig. 8
Fig. 7
!
ASSEMBLY AND OPERATION
Summary of Contents for 054-1265-6
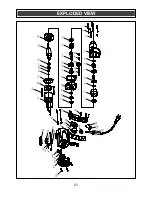
Page 21: ...21 EXPLODED VIEW...

