background image

INSTRUCTION
MANUAL

4 1/2" (11.5 cm)
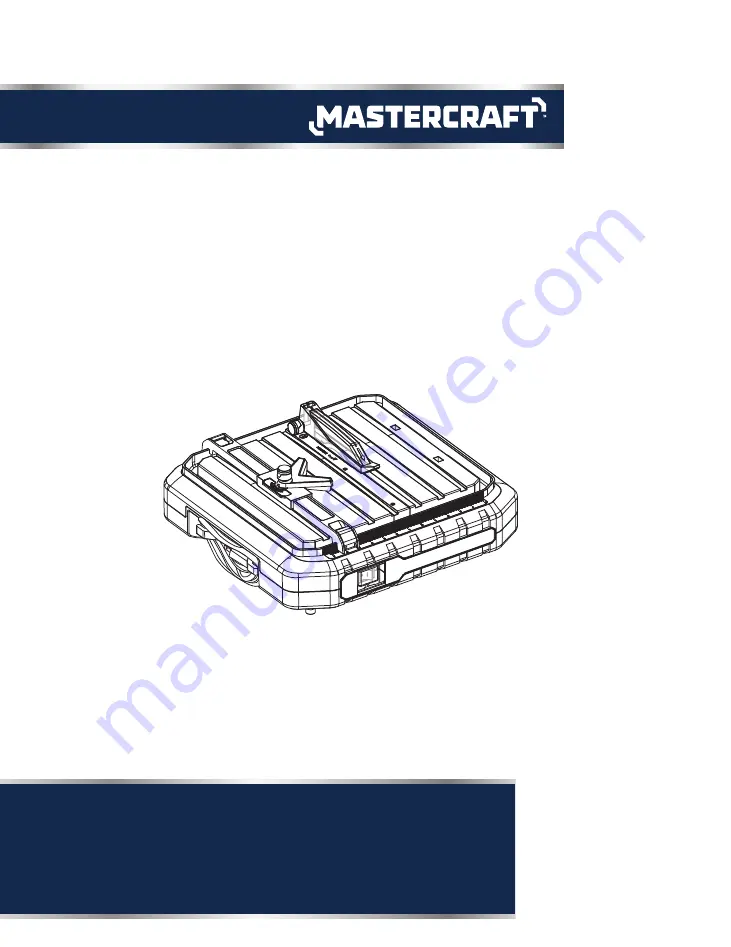
TABLETOP WET TILE SAW

055-6789-8

continuation tabs

IMPORTANT:

Please read this manual carefully before using this wet tile saw
and save it for reference. 

Summary of Contents for 055-6789-8

Page 1: ...INSTRUCTION MANUAL 4 1 2 11 5 cm TABLETOP WET TILE SAW 055 6789 8 bs IMPORTANT Please read this manual carefully before using this wet tile saw and save it for reference ...

Page 2: ...parts are missing or damaged or if you have any questions please call our toll free helpline at 1 800 689 9928 TABLE OF CONTENTS Quick Start Guide Specifications Safety Guidelines Know Your Wet Tile Saw Assembly Instructions Operating Instructions Maintenance Troubleshooting Exploded View Parts List Warranty 4 5 6 13 15 23 30 31 32 33 34 model no 055 6789 8 contact us 1 800 689 9928 ...

Page 3: ...um depth of cut Weight 120 V AC 60 Hz 4 1A 5300 RPM no load 0 45 4 1 2 11 5 cm 5 8 1 59 cm 13 x 14 11 64 33 x 36 cm 7 8 2 2 cm at 90 12 lb 5 5 kg 5 SPECIFICATIONS 4 QUICK START GUIDE 3 Position the rip guide 1 the desired distance from the wheel for the cut and securely lock levers Place the material on the table firmly against the rip guide Make sure the material is clear of the cutting wheel bef...

Page 4: ...ob better and safer at the rate for which it was designed USE THE RIGHT TOOL Don t force tool or attachment to do a job for which it was not designed DON T OVERREACH Keep proper footing and balance at all times REDUCE THE RISK OF UNINTENTIONAL STARTING Make sure switch is in the OFF position before plugging in DIRECTION OF FEED Feed work into a cutting disc against the direction of rotation of the...

Page 5: ... in the cutting disc and fly out of control Never cut workpieces on which there are ropes cords bands cables or wires containing such materials Make regular checks to ensure that the cutting disc is correctly fastened Make sure that during the cutting operation an adequate quantity of cooling water reaches the cutting surfaces of the disc at all times Never cut wood or metal with this saw Always m...

Page 6: ...s that are specially designed to filter out microscopic particles POSITION OF TILE SAW To avoid the possibility of the appliance plug or receptacle getting wet position tile saw to one side of a wall mounted receptacle to prevent water from dripping onto the receptacle or plug The user should arrange a drip loop in the cord connecting the saw to a receptacle The drip loop is the part of the cord b...

Page 7: ... Rear rip guide scale Min fill line Carrying handle Overflow drain Lower blade guard Work table Hook wrench Angle wrench 4 5 21 22 16 15 17 10 9 20 19 18 12 11 3 2 13 14 1 7 8 6 model no 055 6789 8 contact us 1 800 689 9928 AMPERAGE RATING OF THE TOOL 120 V CIRCUIT ONLY MORE THAN 0 6 10 12 NOT MORE THAN 6 10 12 16 25 7 6 m 18 18 16 14 50 15 2 m 16 16 16 12 100 30 5 m 16 14 14 Not recommended 150 4...

Page 8: ...mounted during the operation and can be lowered to the workpiece Lower blade guard The lower blade guard prevents accidental contact with the cutting wheel and stops workpiece parts and cooling water from being flung out Riving knife The riving knife prevents a workpiece from being caught by the cutting wheel and being hurled at the operator The riving knife must always be mounted during operation...

Page 9: ...s are damaged or missing do not operate this tool until the parts are replaced Use of this product with damaged or missing parts could result in serious personal injury Do not attempt to modify this tool or create accessories not recommended for use with this tool Any such alteration or modification is misuse and could result in a hazardous condition leading to possible serious personal injury Do ...

Page 10: ...BLY INSTRUCTIONS Place cutting wheel 13 onto arbour with arrows on the cutting wheel pointing to the front of saw in the counter clockwise direction Replace the outer washer 24 The double D flats on washers align with flats on arbour Replace arbour nut 25 on arbour Using hook wrench 21 and angle wrench 22 tighten arbour nut securely Loosen and remove the screw 27 and washer 28 from the riving knif...

Page 11: ...ead locking knob 2 onto hex bolt 29 Tighten to the desired height Fig 4h Fig 5a Fig 5b Fig 6 Fig 4i 27 3 2 7 30 1 29 14 14 14 28 13 7 7 14 1 28 NOTE Rip guide 1 can be used as alignment tool if needed NOTE ALWAYS adjust the upper blade guard horizontally to the table and slightly above tile thickness Upper blade guard should not touch the tile model no 055 6789 8 contact us 1 800 689 9928 Push the...

Page 12: ...g in possible serious injury DO NOT use any attachments or accessories not recommended by the manufacturer of this tool The use of attachments or accessories not recommended can result in serious injury Fig 7 Fig 8 Fig 9 18 1 18 11 APPLICATIONS This tile saw shall be used only to cut tiles to a required size or shape It shall not be used to cut inflammable explosive or toxic materials This product...

Page 13: ...ting Carefully check the workpiece to be machined There must not be objects such as utility lines nearby that will present a hazard while working The product is not suitable for cutting materials such as marble fine stoneware and granite Tile floor made up of these materials must not be cut Wait until the cutting wheel has reached its maximum speed before commencing work Before commencing work che...

Page 14: ...ial into the wheel Hold the material firmly against the mitre guide and table Feed the material into the cutting wheel When the cut is made turn the saw OFF Wait for the cutting wheel to come to a complete stop before removing any part of the material ALWAYS draw the line to be cut on the tile using a marker or grease pencil If the tile is shiny and hard to mark place masking tape on the tile and m...

Page 15: ...ial MAKING AN L CUT Fig 17a 17b L cuts are cuts that remove a piece of tile to fit in a corner around a cabinet or a piece of moulding and are made by making two separate cuts Using a marker or grease pencil mark the area to be cut on material Remove the mitre gauge Place the material on the table firmly against the rip guide 1 Make sure the material is clear of the cutting wheel before turning on...

Page 16: ...e with local regulations Replace the overflow drain Tighten securely Dry off the tool Never use water or any other chemical liquids to clean the electrical parts of the machine Keep the ventilation slots clean to prevent overheating of the motor Use a damp soft cloth to clean the water and dust off the tile saw LUBRICATION The tool is properly lubricated at the factory and is ready for use However ...

Page 17: ...45 46 47 48 49 50 51 54 55 56 58 59 60 61 62 63 64 Description Mitre knob Locking knob Hex bolt Upper blade guard Cross screw M4 x 20 Riving knife Cross screw ST2 9 16 Table insert Bevel table Table holder Inner washer Cutting wheel Outer washer Hex nut M8 Lower blade guard Chain Overflow drain O ring Front rip guide scale Main label Rubber insert B Pad Flat wire Hook wrench Angle wrench Switch bo...

Page 18: ...adjustments e this warranty will not apply where damage is caused by repairs made or attempted by others i e persons not authorized by the manufacturer f this warranty will not apply to any product that was sold to the original purchaser as a reconditioned or refurbished product unless otherwise specified in writing g this warranty will not apply to any product or part thereof if any part from ano...

Reviews: