background image

19

18

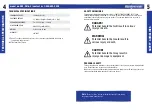
NOTE:

       The standard CONTACT TRIP MECHANISM and the optional SQUENTIAL 

       TRIP MECHANISM are safe if used as described above and according to 

       all warnings and instructions.

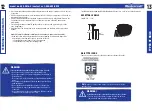
       Always handle nails and container carefully. If nails are dropped, collating 

       wire may be damaged and cut, which will cause mis-feeding and jamming.

       After nailing: disconnect air hose from the nailer, remove all nails from the 

       nailer, add 5-10 drops of pneumatic tool lubricant into the air plug in the 

       nailer and open the petcock on the air compressor tank to drain any 

       moisture.


 OPERATING INSTRUCTIONS

 OPERATING INSTRUCTIONS

model no. 058-9809-8 | contact us 1-800-689-9928

The installed sequential fire (single shot) mechanism is useful for when precision nail placement 
is desired. It may also reduce the possibility of bodily injury to you or others in the work area as 
it is less likely to drive an unwanted nail by accidentally bumping the push lever while the trigger 
is pulled. The bump fire (multiple shot) mechanism is useful when repetitive, fast firing is required. 

model no. 058-9816-0 | contact us 1-800-689-9928

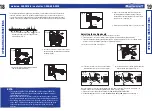
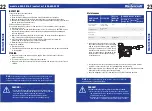
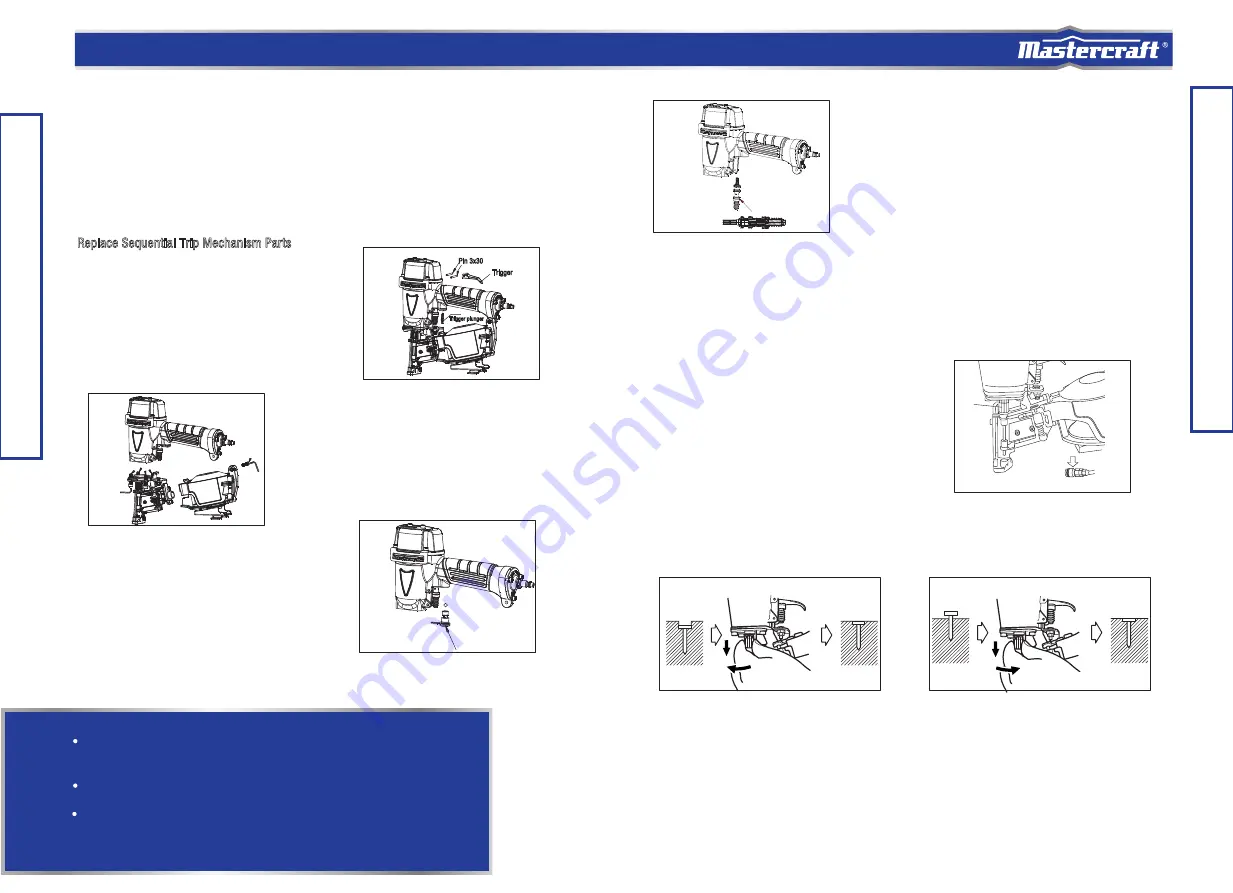
1. Insert a rod into the trigger hole, tapping the rod 
    with two pins and remove the trigger and the 
    trigger plunger (Fig. L).

Replace Sequential Trip Mechanism Parts

2. Use a M5 hex wrench to remove the screw as
    shown, releasing the magazine and nail guide 
    assembly (Fig. M).

3. Remove the trigger valve bushing assembly 
    and the urethane ball (Fig. N).

Pin 3x30

Trigger

Trigger plunger

Fig. L

Ball

Fig. N

Fig. M

4. Remove the contact trip valve seat components  
    (including plunger and plunger spring), and then 
    changed into sequential trip valve seat components 
    and grease the o-rings (Fig. O).

5. Reassemble by comleting step 1 to 3 in reverse order.

Fig. O

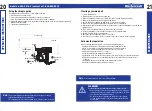
Fig. P

Fig. Q

Fig. R

Part#111

Adjusting the nailing depth

h

s

u

l

F

p

e

e

d


o

o

T

Turn adjuster

2

Turn adjuster

Too shallow

Flush

2

To assure that each nail penetrates to the same depth, be sure that:

① 

The air pressure to the nailer remains constant (regulator is installed and working properly).

 The nailer is always held firmly against the workpiece. If nails are driven too deep or too shallow into the 

     workpiece, adjust the nailing depth using the following instructions.

1

.

 Disconnect air hose from nailer (Fig. P).

2a. If the nails are driven too deep, pull the adjuster 
      downward and turn counter-clockwise (Fig. Q).

Adjuster

Disconnect air hose

2b. If nails are driven too shallow, pull the adjuster
      downward and turn clockwise (Fig. R).

When the adjuster is released it will spring back up and can be set with a click at each 1/4 rotation. The 
adjuster changes the nailing depth approximately 0.25 mm per 1/4 rotation. 
3. Connect the air hose and perform a nailing test. ALWAYS WEAR EYE PROTECTION. 
4. If additional adjustments are necessary, DISCONNECT AIR HOSE FROM NAILER and repeat step 2. 

Summary of Contents for 058-9816-0

Page 1: ...OPERATING MANUAL IMPORTANT For your own safety read and follow all of the Safety Guidelines and Operating Instructions before operating this nailer Keep this manual for future reference AIR POWERED C...

Page 2: ...10 13 14 21 24 26 27 28 TABLE OF CONTENTS TECHNICAL SPECIFICATIONS SAFETY GUIDELINES KEY PARTS DIAGRAM TECHNICAL INFORMATION TYPES OF NAILS OPERATING INSTRUCTIONS MAINTENANCE TROUBLESHOOTING EXPLODED...

Page 3: ...ote The word Note is used to inform the readers of something they need to know about the tool WARNING CAUTION DANGER This manual contains information that relates to PROTECTING PERSONAL SAFETY and PRE...

Page 4: ...essor s maximum pressure Tampering with the pressure switch or the safety valve may cause personal injury or property damage Risk of bursting Make sure the regulator is adjusted so that the compressor...

Page 5: ...ational Standards Institute ANSI Z87 1 requirements and must provide protection from flying particles from the front and the sides Air powered tools are loud and the sound can cause hearing damage Alw...

Page 6: ...the elements and provides consistently accurate results over the life of the tool An ideal tool for a variety of construction projects including installation of asphalt roofing shingles and insulatio...

Page 7: ...re that the proper power source is being used verify that the tool is in proper working order Potential hazard that could result in serious injury or death Do not use the tool if it is not in proper w...

Page 8: ...ges of workpiece Nails can be driven through or away from workpiece and hit someone Never use nailer which is defective or operating abnormally Never use nailer as hammer OPERATING INSTRUCTIONS OPERAT...

Page 9: ...the nailer along the workpiece with a bouncing motion Each depression of the push lever will drive a nail When the required nails have been driven remove finger from the trigger Fig K Previously pull...

Page 10: ...own releasing the magazine and nail guide assembly Fig M 3 Remove the trigger valve bushing assembly and the urethane ball Fig N Pin 3x30 Trigger Trigger plunger Fig L Ball Fig N Fig M 4 Remove the co...

Page 11: ...r to ensure proper operation To clear a jammed nail Verify if the compressor tank has been properly drained prior to use Keep tools as warm as possible using any safe convenient method Place up to 6 d...

Page 12: ...stopper and sub nail stopper slide smoothly by pushing them with finger If not smooth nails can be driven at an irregular angle and hurt someone Never use gasoline or other highly flammable liquids N...

Page 13: ...816 0 contact us 1 800 689 9928 DANGER Potential hazard that will result in serious injury or death If any of the following symptoms appear while the tool is in use turn it off and disconnect it from...

Page 14: ...nger B Valve rubber cover O ring 8 75 x 1 8 O ring 14 2 x 1 9 Feed piston O ring 11 2 x 1 8 Cover sealing ring Feed piston cover Magazine bushing Bolt M5 x 10 Feeder spring 1 1 1 1 1 1 2 1 1 2 5 1 1 3...

Page 15: ...e maintenance and consumable items such as but not limited to fuel lubricants vacuum bags blades belts sandpaper bits fluids tune ups or adjustments This warranty will not apply where damage is caused...

Reviews: