8
ASSEMBLY AND ADJUSTMENTS
WARNING:
Remove the circular saw from the carton, and examine it carefully. Do not
discard the carton or any packaging material until all parts are examined.
WARNING:
If any part of the saw is missing or damaged, do not plug the circular saw
in until the damaged part is repaired or replaced.
Fig. 3
WARNING:
To avoid injury, ALWAYS turn the switch to the OFF position, and unplug
the circular saw from the power outlet before installing or changing the saw blade.
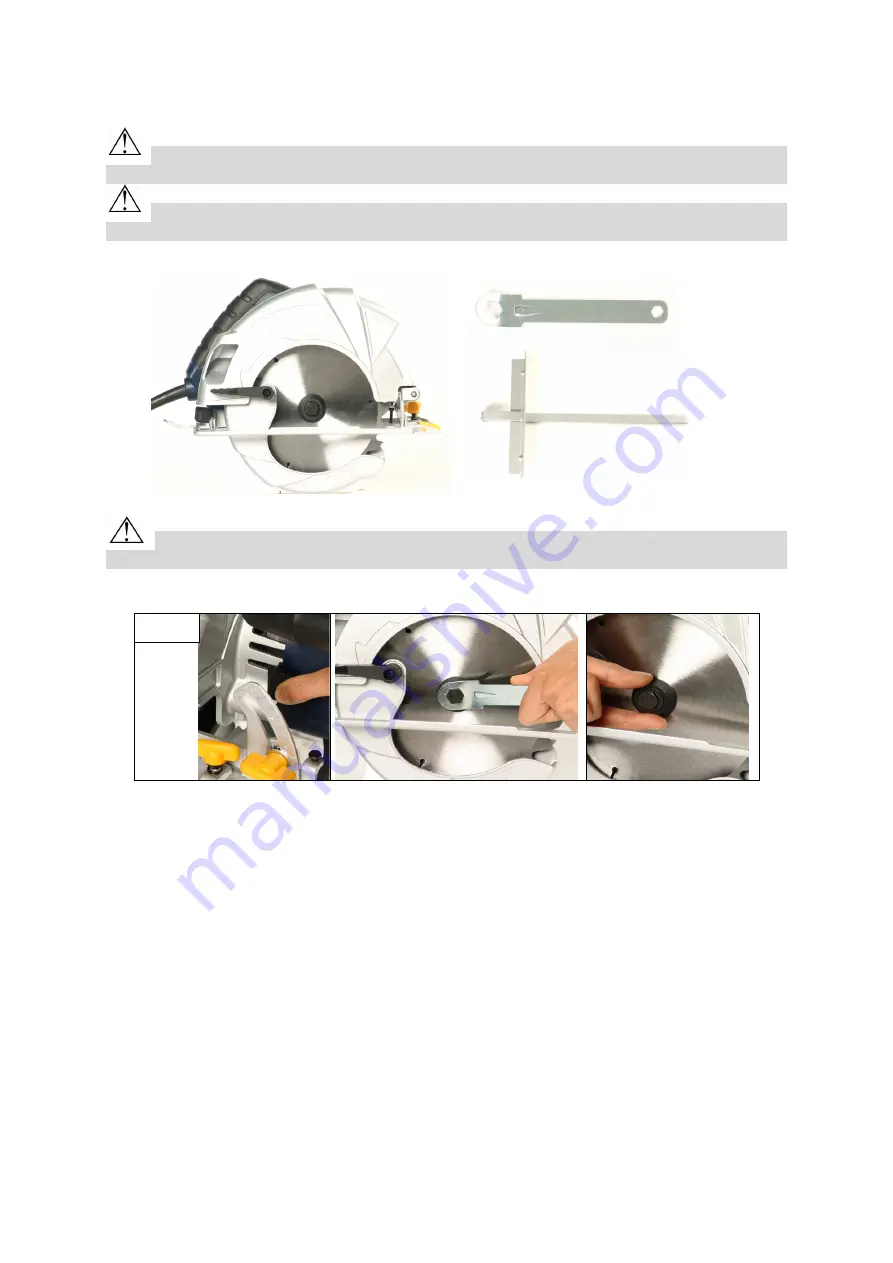
INSTALLING AND REMOVING THE SAW BLADE (FIG. 4)
1. Rotate the saw blade by hand, and depress the spindle lock button until the blade locks.
2. Unscrew the hexagon screw using the spanner that is provided.
3. Remove the outer blade flange and the hexagon screw.
4. Remove the saw blade from the inner flange, and pull it out.
5. Clean the flange thoroughly before mounting the new saw blade.
6. Mount the new saw blade, and tighten the hexagon screw. Check for concentricity, and
ensure that it runs freely, by turning the blade by hand.
Note:
The direction in which the blade rotates must be the same as the direction of the
arrow marked on the guard.
7. Ensure that the spindle lock button is released.
8. Before using the saw again, make sure the safety devices are in good working order.
ON/OFF TRIGGER SWITCH WITH LOCK-OFF BUTTON
The tool can only be used when both buttons are depressed. The main switch can also be
locked in the “OFF” position in order to help prevent accidents.
Fig. 4


