14
Installing the Adaptor Plate cont.
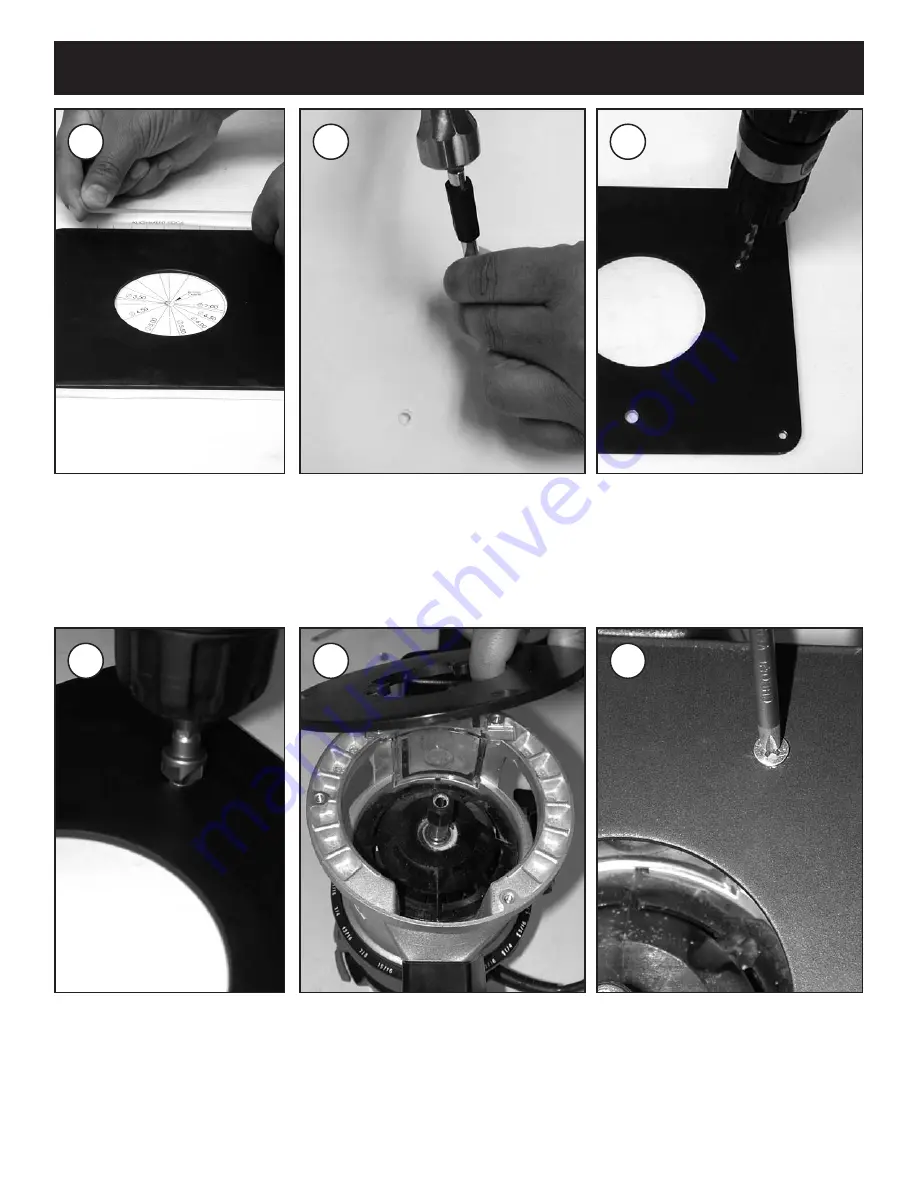
Using adhesive tape, secure
template and adapter on all
four edges.
7
Rotate the template and router adapter
on to its back and mark with center
punch holes for router retaining
screws.
8
Using
Table1/1a (pg.11-12)
, drill
the correct hole size on all marked
spots.
9
Using 3/4" (19,05mm) dia. x
81º steel countersinking tool,
countersink all holes.
10
Remove router base plate if required.
(See Table 1/1a pg.11-12)
11
Using
Table 1/1a (pg. 11-12)
use
correct countersunk screws to
secure router adapter to router.
(Please Note! Screw must be flush
with top of adapter for proper
alignment).
12
Summary of Contents for 480410
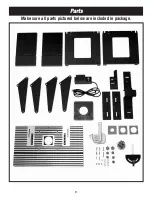
Page 6: ...6 Parts Make sure all parts pictured below are included in package...
Page 21: ...21...
Page 22: ...22...
Page 23: ...23...
Page 24: ...24...


