14
MAINTENANCE
3. MAINTENANCE
3.1 Blade Removal and Replacement
1. Ensure the Engine Shutdown switch and ON/OFF switch on the engine are turned to the
“
OFF
“
position.
2. Place the MFG10 Saw on a stable level working surface.
3. Ensure the blade is raised and the raise/lower rod is locked into position.
4. Raise the blade by appling a downward pressure on the handlebars to raise the blade
and allow the raise/lower rod to drop into the
“
raised-position
“
slot.
5. Lift up the blade guard cover to gain access to the diamond blade.
6. Use the provided blade nut and blade shaft locking wrenches to install the diamond blade.
7. While holding the blade shaft with the locking Wrench, remove the blade hex nut
(clockwise direction) and outer blade flange.
8. Remove the old blade and install a new blade in the same rotational direction as marked
on the blade.
9. Reinstall the outer blade flange and hex nut. Tighten the nut firmly (counter-clockwise
direction). DO NOT OVER TIGHTEN.
3.2 Blade Guard Check
1. CHECK the following on the
“
blade guard
”
: Ensure the capacity of the blade guard
matches the diameter of your diamond blade.
2. Check that the guard is bolted firmly upon the saw frame.
3. Check that the spring tensioned front cover of the guard is firmly seated with the rear
section of the guard, and there are no gaps. NEVER lift the blade guard while cutting.
3.3 V-belt Alignment and Tensioning
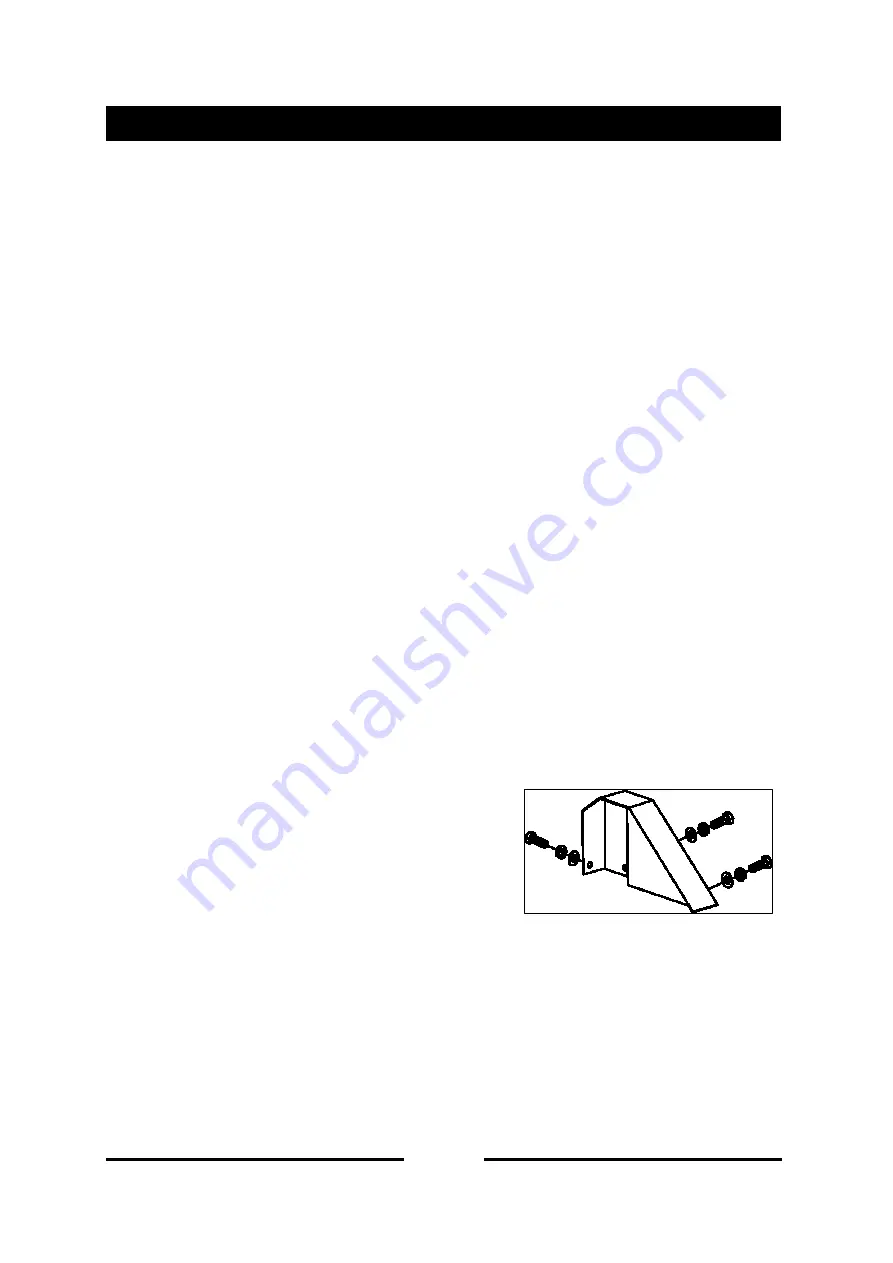
1. Remove the bolts that secure the V-belt cover to the saw frame.
2. Check uniform parallelism of V-belt and pulley (sheaves). Use a straight-edge or
machinist
’
s square against both pulleys and adjust both pulleys until equally aligned.
3. DO NOT over or under tighten the V-belt. Severe damage can occur to the saw and engine
crank shaft if the belt is over-tensioned. A decrease of power to the blade and poor
performance will result if the belt is under-tensioned (loose on pulleys).
Summary of Contents for PFG10 Series
Page 1: ......


