HIGH PRESSURE HOSE
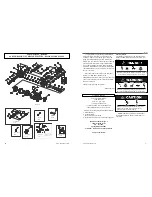
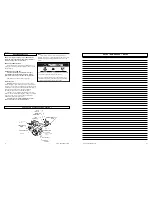
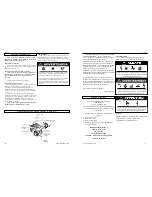
Attach the high pressure hose to the fitting located on the
pump. (See Figure 1, page 6).
NOTE: DO NOT use a high pressure hose from
another manufacturer.
WATER CONNECTION
Before connecting to unit, run water through the garden
hose (not supplied) to flush out any foreign matter. Check that
the screen is clean and is in the inlet of the pump. Attach
garden hose to the pressure washer water inlet. (See Figure 1,
page 6).
NOTE: The water supply must provide a minimum of
4 g.p.m. at 20 p.s.i. or the pump will be damaged.
START-UP PROCEDURE
1. Ensure water supply is connected and turned on.
2. Release gun safety lock.
3. To allow air to escape from the hose, squeeze trigger on
the gun until there is a steady stream of water coming
from the nozzle.
4. Remove any dirt or foreign matter from the gun outlet and
the male connector of the wand.
5. Insert the nozzle wand into the gun wand and tighten the
twistfast fitting securely by hand.
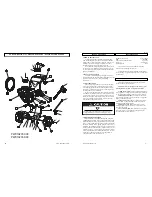
STARTING THE ENGINE (See Figure 1, page 6)
1. Check oil and fuel level.
2. Adjust choke as necessary.
3. Set the engine switch to the “ON” position.
4. Squeeze trigger on pressure washer to release pressure
while pulling on the engine starter rope with a fast steady
pull. Pressure may otherwise build up making starting the
unit difficult.
5. As the engine warms up, readjust the choke.
1. Attach injection tube assembly to the siphon injector on
the pump. (See Figure 1, page 6).
2. Open a container of pressure washer chemical and place
next to the unit near the injection tube.
3. Visually inspect strainer at the end of the injection tube to
verify that it is not clogged.
4. Insert the injection tube into the container all the way to
the bottom.
5. Remove the high-pressure nozzle from the wand
and install the black injection nozzle. The solution will
automatically be mixed with the water and discharged
through the nozzle.
NOTE: For certain models, if the engine throttle is not in
the “fast” position, the injection of the solution
may be decreased or stopped.
If the wand is not securely locked into place, it could be
ejected under high pressure when operating the gun,
possibly causing injury or damage.
This pressure washer is intended for use only with
liquid car wash detergents, developed specifically for
pressure washers and with mild soaps. Only use chemicals
compatible with the aluminum and brass parts of the
pressure washer. Powdered soaps may clog the injection
system. Always use chemicals according to manufacturer
directions. MAT Industries, LLC assumes no responsibility
for any damages caused by chemicals injected through this
pressure washer.
OPERATING CONNECTIONS
OPERATING INSTRUCTIONS
CHEMICAL INJECTION
7
English
www.powermate.com
Español
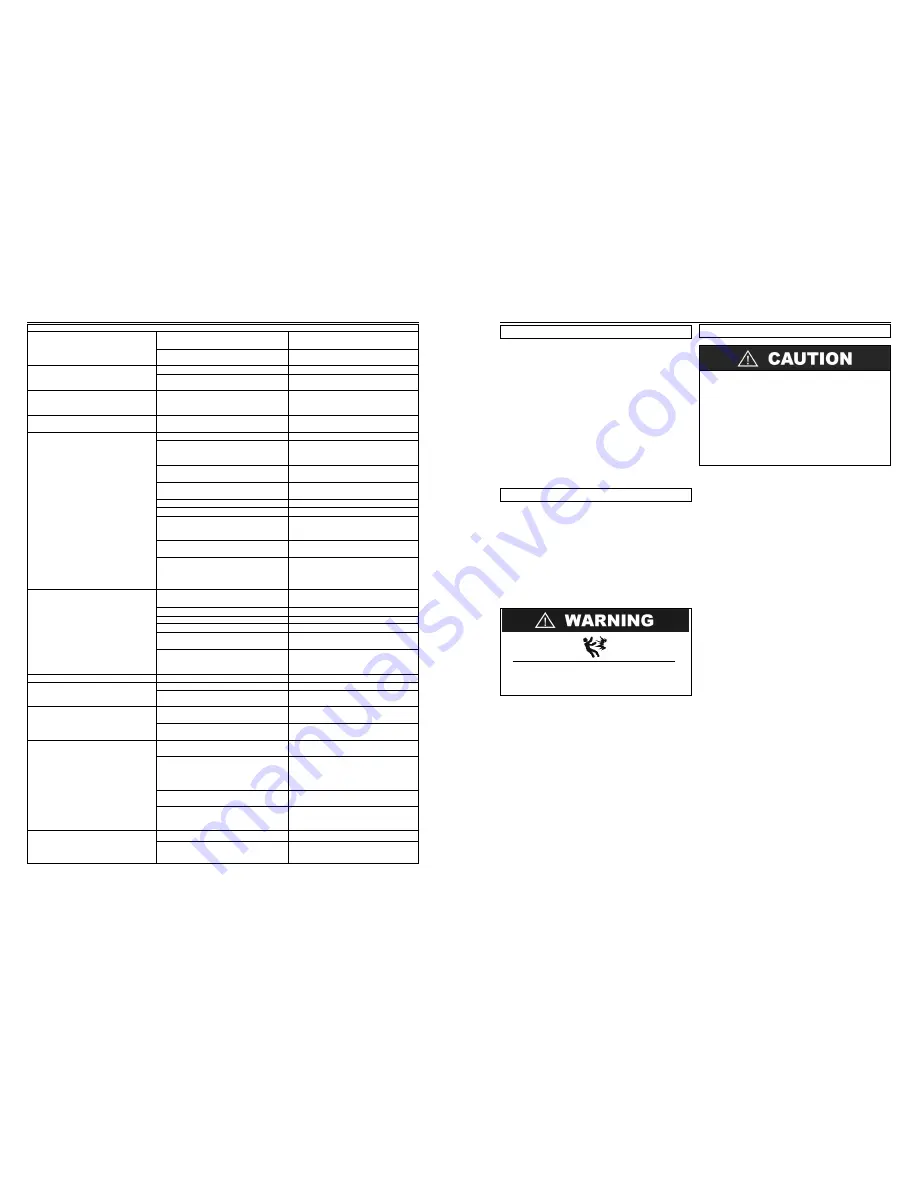
PROBLEMA
El motor no arranca o se detiene durante
la operación.
El motor está sobrecargado.
Hay fugas de agua o aceite desde la parte
inferior de la bomba.
La presión aumenta cuando la pistola
está cerroda.
El motor funciona pero la bomba no
logra producir la presión máxima o tiene
presión irregular.
No hay entrada de productos química.
El gatilo no se mueve.
Agua en el cárter.
Operación ruidosa.
Operación agitada/palpitante con abrupta
caída de nivel de presión.
Elevada temperatura en el cárter.
CAUSA POSIBLE
Cierre por bajo nivel de aceite.
La llave del motor no se encuentra en
posición de encendido a (“ON”).
Combustible.
Boquilla parcialmente obstruida.
Demasiada presión.
Una pequeña cantidad de fugas es normal.
La válvula auxiliar no funciona de manea
efectiva.
Grifo cerrado.
La unidad ha sido almacenada a temperat-
uras de comgelamiento.
Suministro de agua inadecuado.
La pantalla de entrada de agua está
taponada.
Hay un nudo en la manguera de jardín.
Boquilla de varilla gastada o dañada.
Hay aire en la bomba.
Las válvulas de succión o descarga está
taponadas o gastadas.
La válvula de auxiliar no funciona de
manera efectiva.
El tubo de inyección no está bien insertado
en la lanza de espuma.
El tubo está agrietado o partido.
Boquilla equivocada.
El colador del tubo de inyección está
taponado.
La boquilla está bloqueada.
Hay jabón o cera secos en el inyector.
Está activado el dispositivo de seguridad.
Elevado grado de humedad.
Sellos gastados.
Rodamientos gastados.
Aire mezclado en el agua.
Empaquetadura gastada
Restricción de entrada.
Descargador
Aire mezclado com agua.
Grado de aceite equivocado.
Inadecuada cantidad de aceite en el cárter.
CORRECCIÓN
Llene el motor de aceite.
Coloque la llave en posición de (“ON”).
Cargue combustible.
Limpie la boquilla.
Reduzca la presión usando el botón de ajuste
de presión.
Si ocurren fugas excesivas, llame al
Departamento de servicio para los Clientes.
Llame al Departamento de Servicio para los
Clentes.
Abra el grifo.
Descongele la unidad completamente,
incluyendo la manguers, la pistola y la
varilla.
Suministre un mímimo de 4 gal. p.min. a 20
p/plug².
Limpie la pantalla.
Enderezca la manguera.
Cambie la boqilla.
Deje que la pressure washer funcione con la
pistola abierta y sin la varilla hasta que
libere unchorro parejo de agua.
Llame al Departamento de Servicio para los
Clientes.
Llame al Departamento de Servicio para los
Clientes.
Empuje con fuerza hacia adentro de la
máquina.
Cambie el tubo.
Cambie por boquilla de baja presión.
Limpie el colador.
Limpie la boquilla.
Disuelva haciendo pasar agua caliente a
través del tubo de inyección.
Libere el dispositivo de seguridad.
Cambie el aceite con mayor frecuencia.
Llame al Departamento de Servicio para los
Clientes.
Llame al Departamento de Servicio para los
Clientes.
Cambie las líeas de entrada en caso de
restricciones y/o calibración inadecuada.
Llame al Departamento de Servicio para los
Clients.
Revise el sistema para versi hay obstruc-
ciones. fugas de aire y si los accesories de
entrada tienen el tamaño que coresponde a la
bomba.
Varifique que el descargador funcione
correctamente.
Verifique que no haya restricciones en las
líneas de entrada y/o que tengan la cali-
bración adecuada.
Use el aceite que se recomienda.
Corrija el nivel de aceite a la cantidad cor-
rects.
www.powermate.com
26


