29
MUSTS5003_05 20211101
●
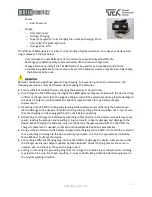
Batteries are heavy. If you are unable to lift that much weight, be sure to get help. Use proper lifting
techniques and avoid lifting beyond your capacity. Do not mix old and new batteries. Always replace
both batteries at the same time.
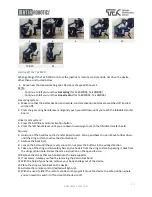
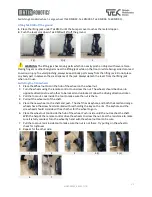
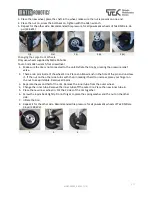
Changing the Standard Back Wheels (casters)
Only use wheels supplied by Matia Robotics.
Tools: Socket wrench size 19mm, Open-end wrench size 19mm
1.
Remove the tail off the unit or lift the unit up with the lifting jack or
tilt the device to the other side with the help of a support person.
2.
Remove the tail rubbers by unscrewing the screws.
3.
Unscrew the fiber nut.
4.
Remove the caster by pulling it down.
5.
Apply Loxeal (Loctite) thread sealant to the fiber nut.
6.
Assemble the casters to the Tail with the fiber nut.
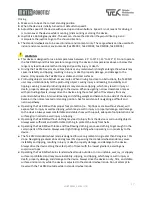
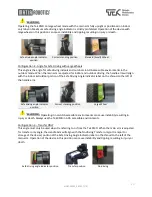
Changing the Standard Front wheels
Only use wheels supplied by Matia Robotics.
Tools: Socket wrench size 17mm
1.
Make sure the motor brakes are locked, and wheels are not freely turning.
2.
Lift the unit up with the lifting jack or tilt the device to the opposite side by the help of a support
person. Make sure the support person holds the device on tilted position for the steps 3 through 8.
3.
Unscrew the nut and washers in the center of the wheel.
4.
Remove the front wheel by pulling it out.
5.
Place the new wheel back on
6.
Put the washer and nut back on and screw it tightly.
7.
Repeat for the other side.
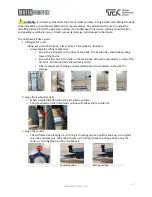
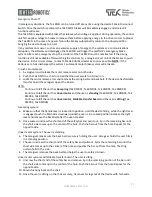
WARNING:
When changing the standard front wheels, free-moving wheels may cause pinching or movement of the
device, resulting in injury. Always lock the motor brakes so that the wheels do not rotate when
removing or replacing wheels.
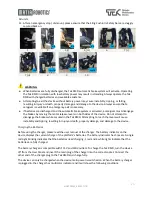
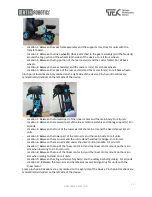
Changing Large Back Wheels
Only use wheels supplied by Matia Robotics.
Tools: 5mm Allen wrench, Socket wrench size 17mm, open-end wrench size 17mm
1.
Make sure the tail is not connected to the unit. Unscrew the center nut holding the wheels. Take the
wheel shaft out. May need to give extra push with a plastic hammer. Remove the wheel by pulling it.
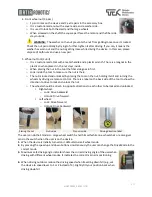
2.
Change the inner tube.
a.
Deflate the tire and unscrew the 5 screws holding the rim
b.
Remove the upper rim
c.
Remove the bearing
d.
Remove the tire
e.
Remove the inner tube off the outer tire
f.
Place the new inner tube in
g.
Place the tire on the on the first half of the rim, the pressure relief valve on the tire should come
to the rim’s channel
h.
Place the bearing on its place
i.
Place the second half of the rim in its place.
j.
Screw the 5 screws holding the rim and inflate the tire
Summary of Contents for TEKRMD01
Page 1: ......
Page 42: ...41 MUSTS5003_04 20210501...


