background image

2000

B

D

Before disposing of carton and/or commencing assembly, please check all the parts to ascertain that none are missing and they are all 
undamaged

.  

No claim for missing/damaged parts will be accepted once the packing carton has been disposed of and/or assembly has 

commenced.
In case of query contact your Stockist with details of model number and details of serial number.

PREPARATION IMPORTANT

1. Please read complete installation instructions before fitting for Enclosure and Tray (if fitting). 

2. We recommend the use of Safety glasses and Non slip gloves when handling the glass panels. 

3. Ensure that the product can be

 fixed

 to a 

solid masonry wall 

or suitable 

timber stud work grade C16/C24

 in the area behind the 

Wall frames.

4. Shower trays or tiled floors 

must be absolutely level

 where enclosures are fitted

5. If fitting a tray we recommend a 

drainage test 

is carried out before the tray is tiled in position.

6. The assembly should be installed onto a waterproof wall covering and installed after the Tray and wall coverings are in place. Where 
Tiling lips are provided Trays should be let into the Wall with the Tiling lip flush with the wall to allow the Tiling to overlap the Tiling lip.

7. Seal between tray and tiles.  Remove any excess sealant from the area/joint between the tray and the tiles where the Wall Mount is 
to be fitted. This will ensure the Wall mount fits correctly to the wall and tray/or tiled floor. 

CAUTION:  TEMPERED GLASS CANNOT BE CUT, POLISHED METAL AND CHROME CAN BE SCRATCHED. 

C

AREFULLY 

REMOVE ASSEMBLY FROM CARTON, DO NOT PLACE GLASS ON HARD FLOOR OR EXPOSE EDGES TO IMPACT.

IMPORTANT

TOOLS REQUIRED

Masonry Drill bit 6mm, Tape Measure, Screw Drivers, Safety Glasses, Electric Drill, Level, Pencil, 

Adjustable Spanners, Non Slip Gloves, 2mm/3mm/4mm Allen Keys 

Dimensions are approximate 

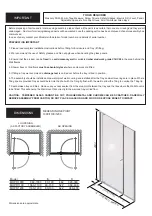
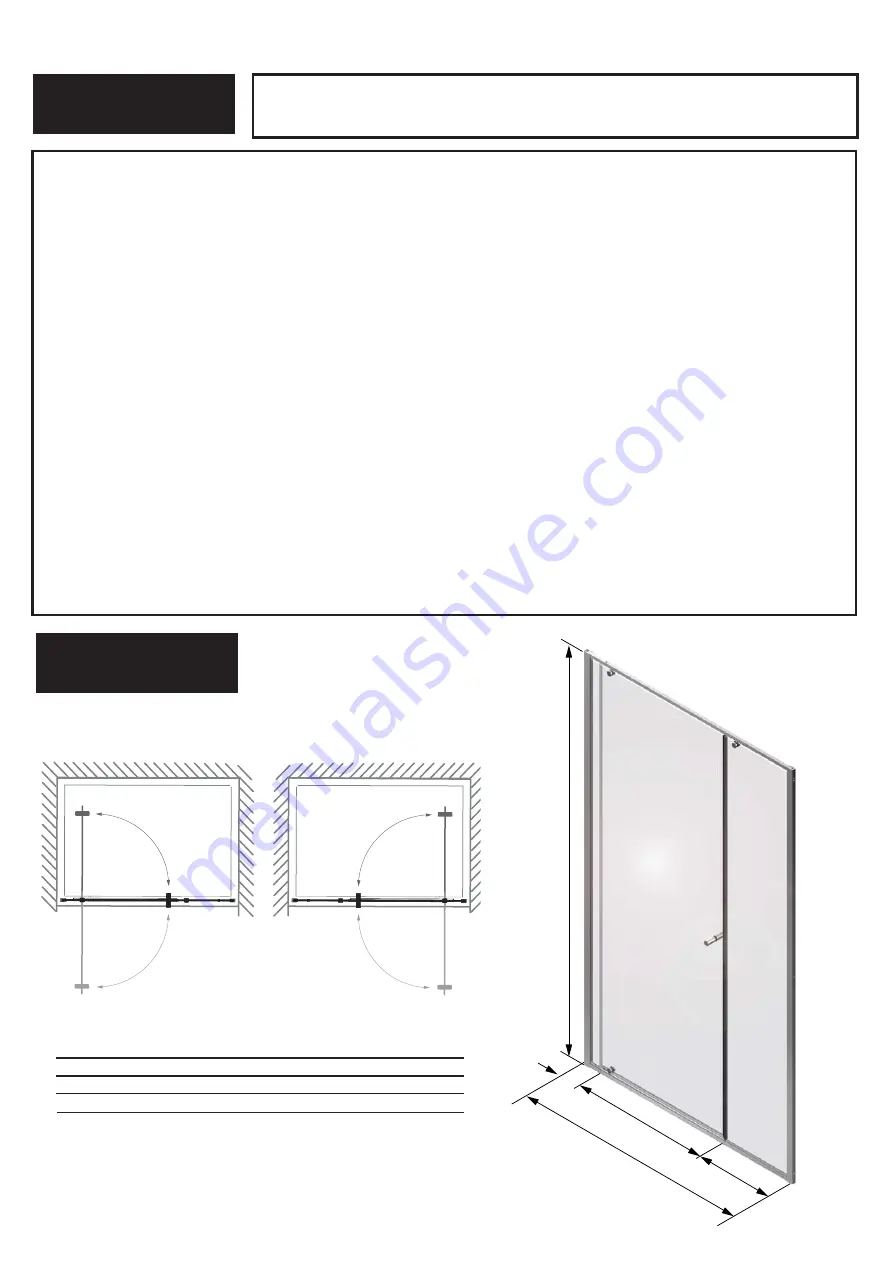
DIMENSIONS

LH OPENING

(AS FACTORY ASSEMBLED)

RECESS INLINE PIVOT
1000/1100/1200

RH OPENING

C - DOOR OPENING 

A - OVERALL

 WIDTH

Model                     A                B             C             D                             
MOPR1000        960-1000     80-100       482      329-349       
MOPR1100      1060-1100     80-100       522       389-409       
MOPR1200      1160-1200     80-100       622       389-409


Summary of Contents for MATKI ONE MOPR Series

Page 1: ...l BS37 5PL EN 14428 2008 A1 MATKI ONE MOPR RECESS INLINE PIVOT INSTALLATION PARTS LIST MATKI PLC CHURCHWARD ROAD YATE BRISTOL BS37 5PL TELEPHONE 01454 322888 CUSTOMER SERVICES EMAIL techsupport matki...

Page 2: ...should be installed onto a waterproof wall covering and installed after the Tray and wall coverings are in place Where Tiling lips are provided Trays should be let into the Wall with the Tiling lip f...

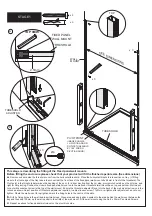
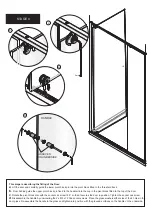
Page 3: ...all mount on to the wall over threshold wall mount has a top and bottom Wall mount cut out with socket set screw is the top of the wall mount Ensure the threshold adjuster fits up into the back of the...

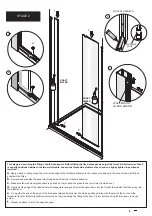
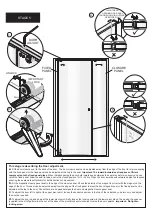
Page 4: ...nd set aside the panel stop fixing screws from the threshold extrusion c Make sure the wall mount glass guard is pushed up fully to allow the glass to easily slot into the wall mount d Lightly wet the...

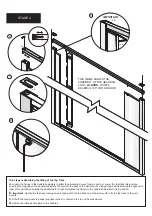
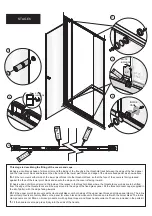
Page 5: ...he tongues on the headrail adjusters fit down into the back of the wall mounts Using a long spirit level align the upper and lower pivot points by adjusting the headrail left or right Re tighten the f...

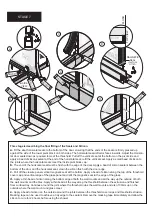
Page 6: ...the headrail into the cup in the pivot block fitted to the top of the door c Rotate the pivot block disc with the socket csk screw 180 so that it secures the door in position Tighten the socket csk sc...

Page 7: ...suring the seals works effectively for both directions of movement b Fit the magnetic closure panel seal to the edge of the closure panel Check the polarity of the magnet is correct with the magnet on...

Page 8: ...nward c Apply a bead of silicon all around the inside of the recess in the threshold track where the threshold cover caps are to be fitted from the edge of the threshold cover all the way around to th...

Page 9: ...n the bottom of the door and the horizontal seal clean the silicon flush with the door edge c Pull off the closure panel vertical magnetic seal at the bottom Apply a bead of silicon along the top of t...

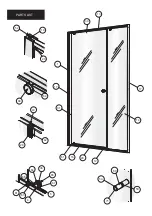
Page 10: ...17 13 14 29 12 30 1 31 4 63 5 65 36 64 67 61 66 42 28 64 20 52 66 71 60 54 53 17 61 16 43 19 PARTS LIST...

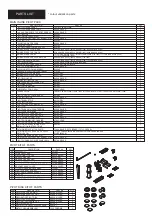
Page 11: ...SK SKT SCREW ST ST 40 1 8421 AF PIVOT PIN 41 1 8255 A SILVER PIVOT DISK WITH COUNTERSINK 42 1 8256 A SILVER PIVOT DISK WITH BOSS 43 1 8414 GREY BOTTOM PIVOT GLASS BUSH 44 1 8418 GREY BOTTOM PIVOT GLAS...

Reviews: