44
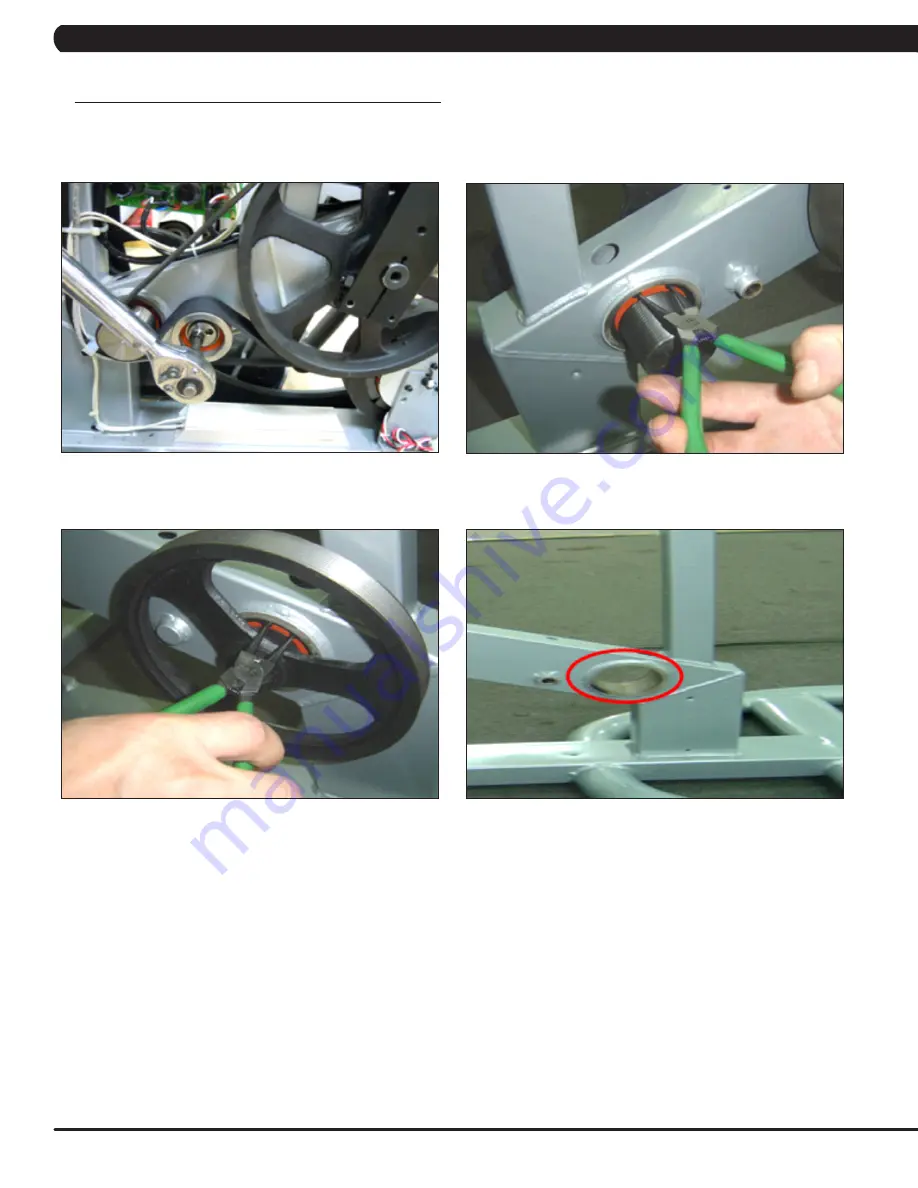
9.7 PULLEY AXLE SET REPLACEMENT
1) Turn off the power and disconnect the cord from the machine.
2) Remove both front disks from the machine as outlined in Section 9.1.
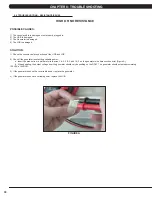
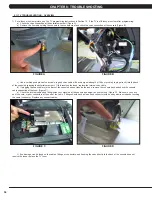
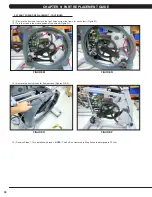
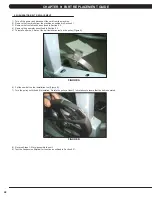
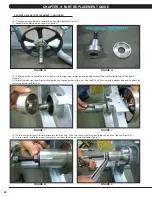
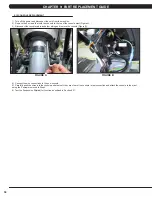
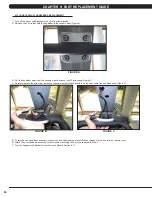
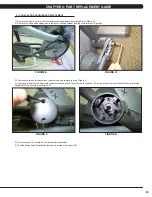
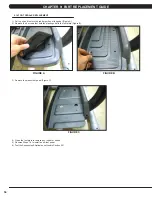
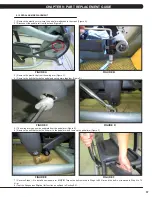
3) Loosen the belt tension bolt on the right side until there is enough slack to remove the drive belt (Figure A).
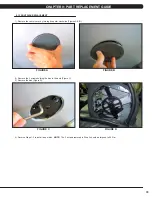
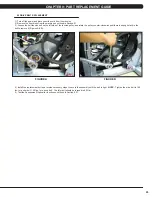
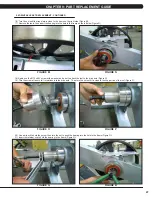
4) On the right side of the frame, remove the retaining clip that holds the pulley axle bearing into the frame (Figure B).
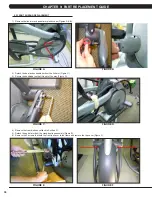
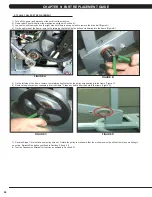
5) On the left side of the frame, remove the retaining ring that holds the pulley axle bearing into the frame (Figure C).
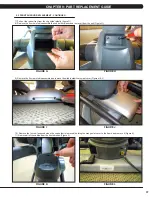
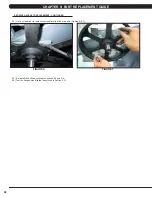
6) Remove the pulley axle set assembly from the frame. Clean any debris from the hole in the frame (Figure D).
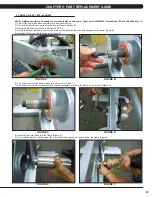
7) Reverse Steps 1-6 to install a new pulley axle set. Rotate the pulley to make sure that the motion is smooth and that there is no wobbling to
one side. Re-install the belts as outlined in Sections 9.5 and 9.6.
8) Test the Suspension Elliptical for function as outlined in Section 9.21.
FIGURE A
FIGURE B
FIGURE C
FIGURE D
CHAPTER 9: PART REPLACEMENT GUIDE
Summary of Contents for E3XE - 01
Page 1: ...E 3 X E 0 1 S U S P E N S I O N E L L I P T I C A L S E R V I C E M A N U A L...
Page 4: ...1 1 1 SERIAL NUMBER LOCATION CHAPTER 1 SERIAL NUMBER LOCATION SERIAL NUMBER LOCATION...
Page 26: ...23 8 1 ELECTRICAL DIAGRAMS CHAPTER 8 TROUBLESHOOTING...
Page 27: ...24 CHAPTER 8 TROUBLESHOOTING 8 1 ELECTRICAL DIAGRAMS CONTINUED P21 DIGITAL COMMUNICATION WIRE...
Page 28: ...25 8 1 ELECTRICAL DIAGRAMS CONTINUED CHAPTER 8 TROUBLESHOOTING G14 HAND PULSE CONNECTING WIRE...
Page 90: ...87 NOTES...

