32
9.1 fRont diSk REplacEMEnt
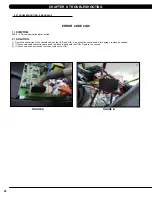
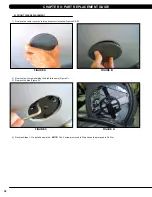
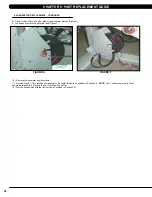
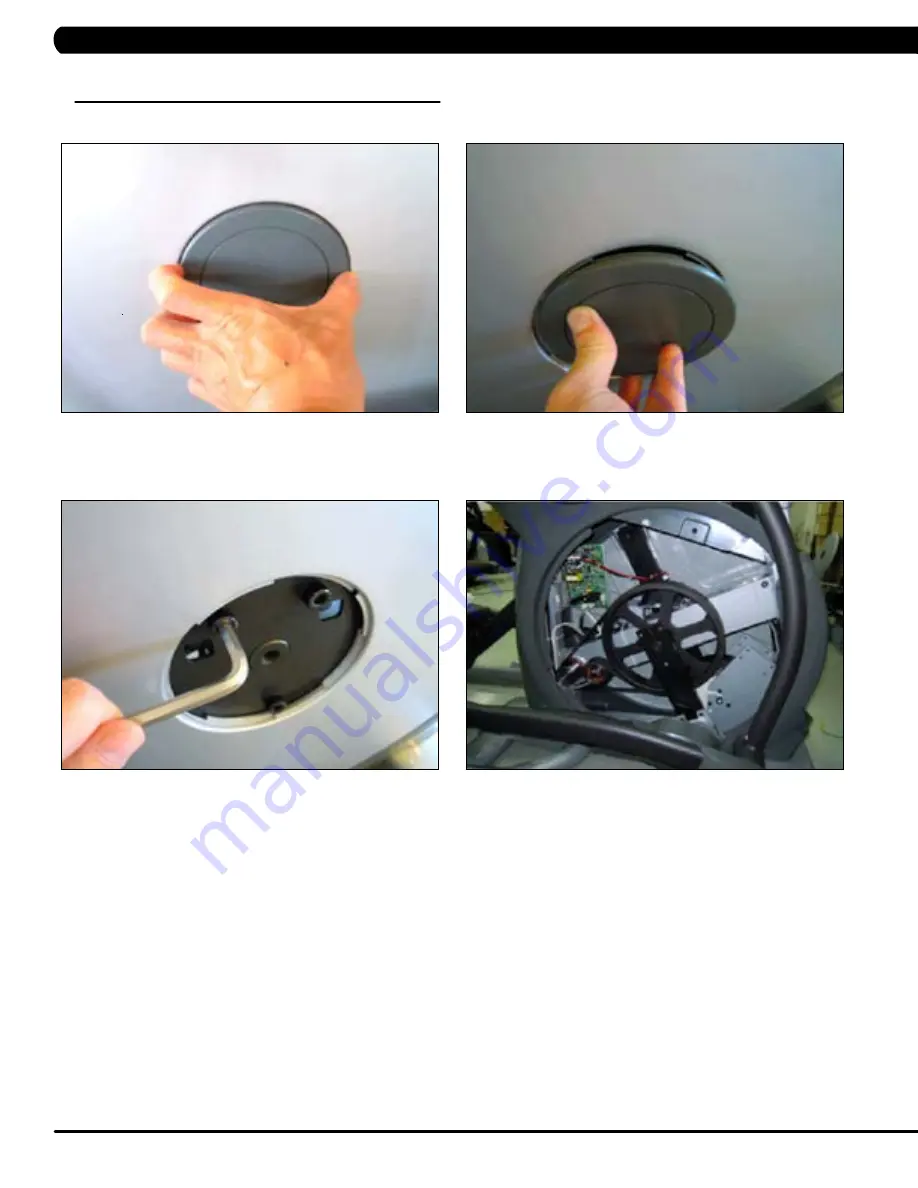
1) Remove the center cover by turning it counter clockwise (Figures A & B).
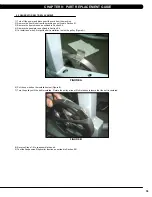
2) Remove the 3 screws holding the disk to the axle (Figure C).
3) Remove the disk (Figure D).
4) Reverse Steps 1-3 to install a new disk.
note:
The 3 screws removed in Step 2 should be torqued to 25 N-m.
figuRE a
figuRE b
figuRE c
figuRE d
cHaptER 9: paRt REplacEMEnt guidE
Summary of Contents for E5X-04
Page 4: ...1 1 1 SERIAL NUMBER LOCATION SERIAL Number LOCATION CHAPTER 1 Serial Number Location...
Page 18: ...15 8 1 Electrical DiagramS CHAPTER 8 Troubleshooting HURES5x C Electrical block diagram...
Page 19: ...16 8 1 electrical diagramS CONTINUED Pulse Sensor Wire Chapter 8 Troubleshooting...
Page 21: ...18 POWER RESISTANCE WIRE ECB Wire 8 1 electrical diagramS Continued CHAPTER 8 Troubleshooting...
Page 24: ...21 8 4 LCB1_ErP wiring connection CHAPTER 8 Troubleshooting...
Page 84: ...81 notes...


