7
ENGLISH
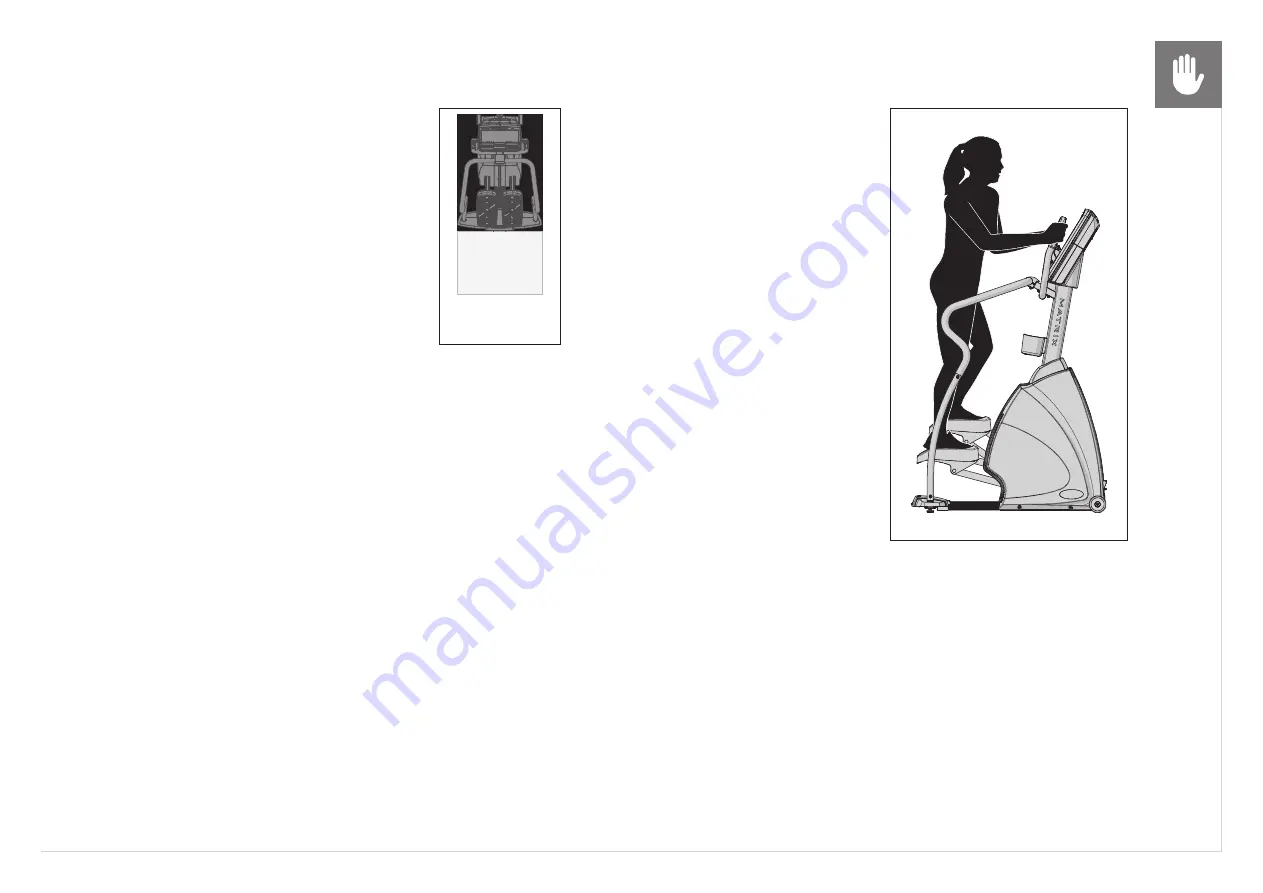
PROPER USAGE
MOUNTING THE STEPPER
1. Stand behind the unit.
2. While holding both of the rear
arm handles, place one foot on
the corresponding footpad. Wait
until the footpad comes to a stop
at the bottom of the stroke.
3. Then place your other foot
on the opposite pedal.
4. Your unit offers a variety of foot positions.
Moving your foot to the forward most
position of the foot pad increases your
step height, which will create a feel
similar to a step machine. Placing your
foot toward the back of the foot pad
decreases your step height and creates
more of a gliding feel, similar to a
smooth walk or run. Always make sure
your entire foot is secured on the foot
pad. The pedal motion is dependent.
5. To determine proper workout position,
stand on the pedal with your foot on
the center of the pedal. Keep your
knees slightly bent at all times.
BEFORE YOU BEGIN
LOCATION OF THE UNIT
Place the unit on a level and stable surface away from direct
sunlight. The intense UV light can cause discoloration on the
plastics. Locate your unit in an area with cool temperatures
and low humidity. Please leave a clear zone behind the unit
that is at least 24” (600 mm). This zone must be clear of any
obstruction and provide the user a clear exit path from the
machine. Do not place the unit in any area that will block
any vent or air openings. The unit should not be located
in a garage, covered patio, near water or outdoors.
LEVELING THE EQUIPMENT
Locate a level, stable surface to position the Stepper.
The Stepper has leveling feet located under the foot support. If your
Stepper wobbles in the location where you intended to use it, loosen
the lock nut on the adjusting foot and adjust the feet until stable. Once
level, lock the adjusting feet by tightening the lock nut to the frame.
WARNING!
Our equipment is heavy, use care and additional help if necessary when
moving. Failure to follow these instructions could result in injury.
FREE AREA
0.6
m
(2
ft
)


