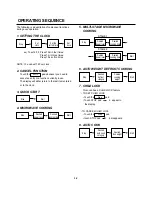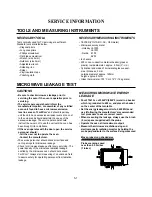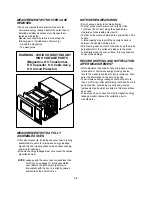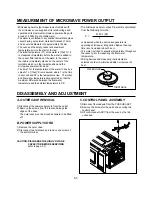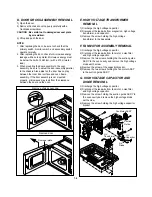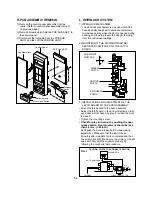
OPERATING SEQUENCE
The following is a description of component functions
during oven operation.
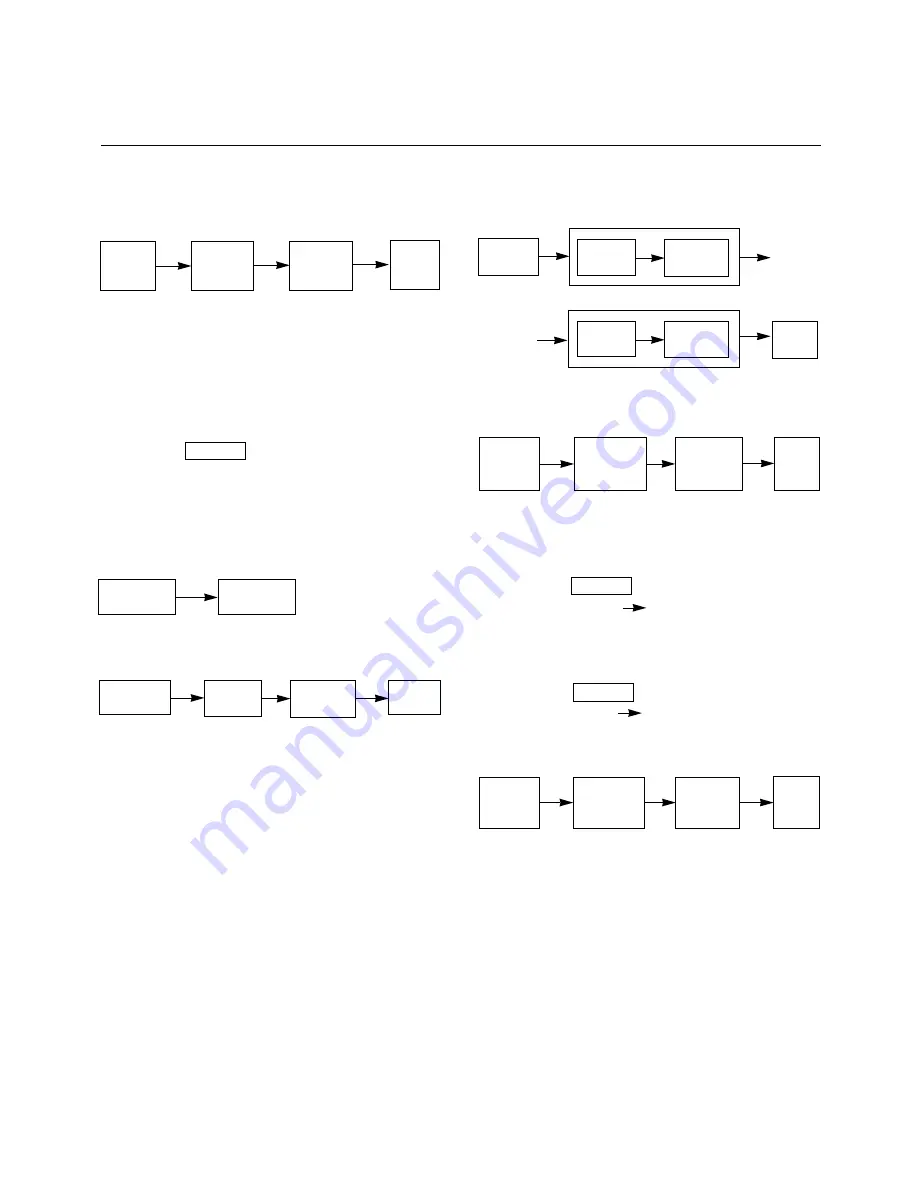
1. SETTING THE CLOCK
ex) To set 4:35, Press 10 min four times.
Press 1 min three times.
Press 10 sec five times.
NOTE: You can set 12 hour clock.
2. CANCEL FUNCTION
Touch the pad whenever you need to
cancel an entry or a function currently in use.
The display will either return to the last item entered
or to the clock.
3. QUICK START
4. MICROWAVE COOKING
5. MULTI-STAGE MICROWAVE
COOKING
6. AUTO WEIGHT DEFROST COOKING
7. CHILD LOCK
This oven has a CHILD LOCK feature
• TO SET CHILD LOCK
• Touch the pad
• Touch STOP pad L appear in
the display.
•TO CANCEL CHILD LOCK
• Touch the pad
• touch STOP pad L disappears.
8. AUTO COOK
4-2
Stop
Set
clock
Set the
correct time
Stop
Start
Stop
Desired
auto cook
category
STOP
STAGE 1
Set
clock
Stop
Stop
Desired
defrost
category
Desired
cooking
weight
Desired
food weight
Start
Start
Start
Stop
Desired
power level
Desired
cooking time
Start
STAGE 2
Stop
Stop
Desired
power level
Desired
cooking time
Desired
power level
Desired
cooking time
Summary of Contents for M130TCS
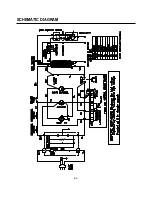
Page 9: ...SCHEMATIC DIAGRAM 4 3 OVEN THERMAL CUT OUT MGT THERMAL CUT OUT ...
Page 28: ...6 2 13536A 15006A 13552A 13213A 13352A 13720D 14970A 14026A 13581A DOOR PARTS EV ...
Page 29: ...6 3 24781M 268711 WTP015 250201 23506A 24510L 23572A 24970A 23550D CONTROL PANEL PARTS EV ...
Page 30: ...6 4 34036W 34960A 36549S 33112U WTT021 WTP013 33052A 33390G 35889A OVEN CAVITY PARTS EV ...
Page 31: ...6 5 466001 43500A 466001 466003 WSZ085 43501A LATCH BOARD PARTS EV ...
Page 33: ...6 7 63303A 63302A WTT021 WSZ002 65006B 56170D 948501 BASE PLATE PARTS EV ...
Page 34: ...8 1 SCHEMATIC DIAGRAM OF P C B ...
Page 35: ...8 2 PRINTED CIRCUIT BOARD ...
Page 36: ......


