background image

6

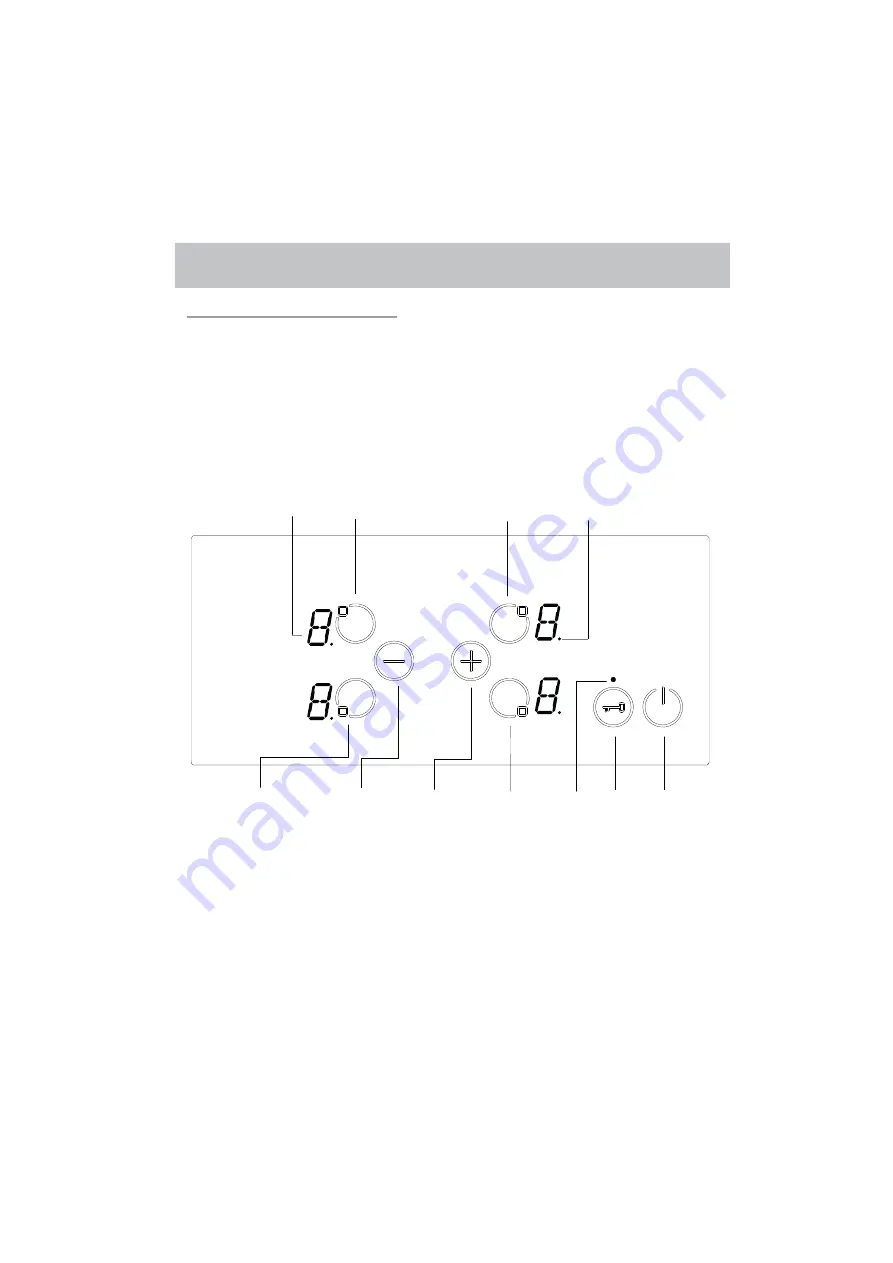
control panel MCE61TC

Touch screen control panel

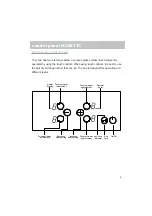
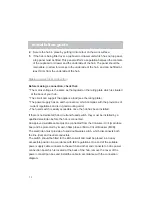
Your hob has four elements below a ceramic glass surface. Each element is
operated by using the touch controls. When using touch controls, it is best to use
the ball of your finger rather than the tip. The hob is designed for operating at 9
different levels.

Heater

Display

To select upper

left element

To select upper

right element

Decimal

Point

To select lower

left element

Decrease

Heat Setting

Increase

Heat Setting

To select lower

right element

Key Lock

Indicator

Key

Lock

On/Off

Summary of Contents for MCE61TC

Page 1: ...MCE61TC...

Page 2: ...getting to know your hob 3 important safety notes 4 control panel MCE61TC 6 instructions for use MCE61TC 7 hints and tips 9 installation guide 11 specifications 15 contents 2...

Page 3: ...Please read the instructions in this user guide before using the hob and keep it for future reference PLEASE NOTE The electrical connection of this hob should be carried out by a qualified electricia...

Page 4: ...an authorised service centre Adaptors multiple sockets and or extension leads must not be used Never leave the hob unattended when cooking with fat or oil They can rapidly catch fire if overheated Thi...

Page 5: ...cut bread on the glass of the Vitroceramic hob If you notice any cracks on your Vitroceramic hob surface disconnect it from the supply source to avoid the possibility of an electric shock It is advisa...

Page 6: ...using touch controls it is best to use the ball of your finger rather than the tip The hob is designed for operating at 9 different levels Heater Display To select upper left element To select upper...

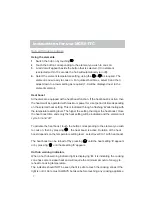
Page 7: ...rnating with the temperature setting level The higher the setting the longer the heat boost Once the heat boost time ends only the heat setting will be indicated and the element will cycle on and off...

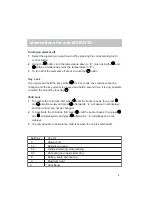
Page 8: ...ously and press afterwards L will disappear in the displays 3 It is only possible to activate the child lock when the hob is switched off instructions for use MCE61TC Turning an element off 1 Select t...

Page 9: ...in on the hob If left this becomes difficult to remove Clean the hob after every use Energy saving Using a lid will reduce cooking times When liquid comes to the boil reduce the temperature setting Pl...

Page 10: ...r cleaning food or residues Sticky foods must be cleaned immediately when they spill before the glass has time to cool down Be careful not to scratch the silicon adhesive placed on the edges of the gl...

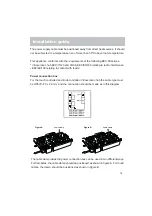
Page 11: ...not be valid This appliance must be earthed installation guide Installation safety Any adjacent units or furniture which are higher than the hob must be at least 15cm from the hob This includes objec...

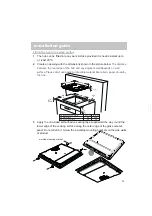
Page 12: ...wall surface Please don t use easily combustible material like curtain paper at nearby the hob 3 Apply the one sided self adhesive sealing tape supplied all the way round the lower edge of the cookin...

Page 13: ...tall the cable in accordance with the connection diagram 4 Secure the hob in place by putting it into cutout on the work surface 5 If the hob is being fitted over a cupboard or drawer unit which has n...

Page 14: ...relating to radio interference EEC 89 109 relating to contact with foods Power connection box For the touch controlled and knob controlled Vitroceramic hob the cable type must be H05VV F 3 x 2 5mm 2 a...

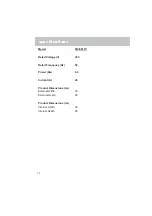
Page 15: ...MCE61TC Rated Voltage V 230 Rated Frequency Hz 50 Power Kw 6 0 Current A 26 Product Dimensions cm External Width 59 External Depth 52 Product Dimensions cm Internal Width 56 Internal Depth 49 specifi...

Page 16: ...ation please contact the local authority or your retailer where you purchased the product MGH60WH D3 qxd 27 6 06 10 12 Page 20 Visit Partmaster co uk today for the easiest way to buy electrical spares...

Reviews:

Related manuals for MCE61TC