7.03
3
1
2
TI013G0008
Maintenance
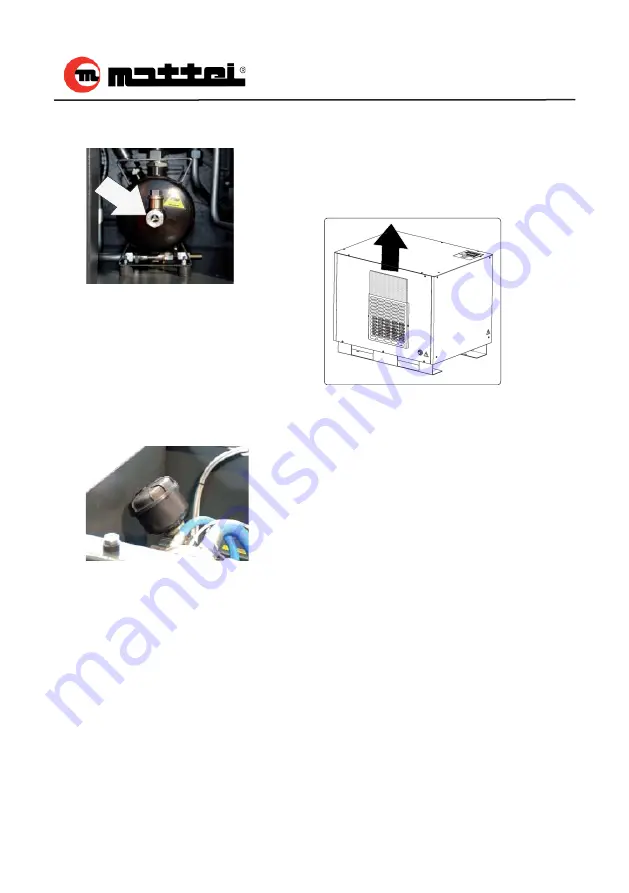
Check of oil level
(Pict. 1)
When the compressor is off and all inter-
nal pressure has been relieved the oil level
completly
fi
lls the sight glass.
When the compressor is running and on
load, the oil level should be about half of
the sight glass.
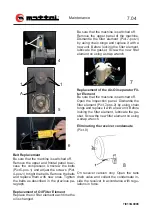
Cleaning and/or replacing the air fi lter
(Pict. 2)
Ensure that the machine is off. Access the
machine by removing the upper panel.
Unscrew the
fi
lter body clamp. Take the
fi
l-
ter out of the machine. Unscrew the
fi
lter
cover; withdraw the
fi
ltering cartridge; cle-
an the cartridge with compressed air, while
directing the jet from inside the cartridge.
Carefully clean the
fi
lter housing and cover.
Assemble back in opposite order.
Cleaning of Air/Oil Radiator
The radiator is placed on the rear side of
the machine structure.
The cooling
fl
ow passes through the radia-
tor from the outside of the cabinet to the
inside of the cambinet.
Blow a stream of compressed air into the
radiator from the outside.
Then remove any possible dirt which may
fall into the structure from the inspection
panel.
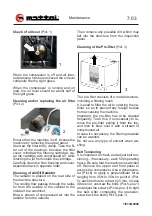
Cleaning of the Pre-fi lter
(Pict. 3)
The pre-
fi
lter consists of a metal structure,
including a
fi
ltering mesh.
It is used to
fi
lter the air to entering the ca-
binet, so as to prevent any foreign bodies
from accessing the machine.
Important: the pre-
fi
lter has to be cleaned
frequently. To do this, it is necessary to re-
move the pre-
fi
lter pulling it from the top,
and then to blow over it with a stream of
compressed air.
In case it’s necessary, the
fi
ltering material
can be washed.
Do not use any type of solvent when wa-
shing.
Belt Tensioning
It is important to check and adjust belt ten-
sioning – if necessary - each 500 operating
hours. Be sure that the machine is switched
off. Remove the upper and front panel to
access the compressor. Use a dynamome-
ter (Pict.6) to apply a perpendicular force
ranging from 25N to 35N on point A (Pict.
5); each belt has to retract by 5 mm. In case
it does not, unscrew the bolts (Pict.5-pos.1)
and adjust the screws (Pict.4-pos.1) to tight
the belt. After completing the operation,
screw back the bolts (Pict.5-pos.1).


