14
15
MAXDATA SN 40 M1 – User Guide
Getting Started
14
15
MAXDATA SN 40 M1 – User Guide
Getting Started
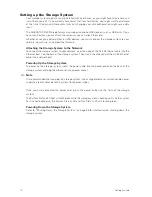
Setting up the Storage System
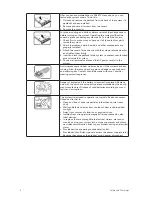
Your storage system might come pre-installed with hard drives, or you might have to purchase and
install them yourself. If you currently have fewer than four hard drives, you might want to add more
at this time. (You can add more disks later, but changing your disk configuration might cause data
loss.)
The MAXDATA SN 40 Storage System also supports optional USB devices, such as USB disks. If you
have such devices, you can attach them now, or you can attach them later.
Whether or not you add hard disks or USB devices, you must connect the storage system to your
network, power it up, and upload the firmware.
Attaching the Storage System to the Network
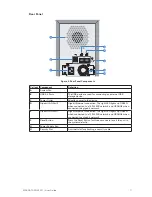
To connect the storage system to your network, insert one end of the RJ-45 Ethernet cable into the
Ethernet port 1 on the back of the storage system. Then insert the other end of the RJ-45 Ethernet
cable into a network port.
Powering Up the Storage System
To power up the storage system, insert the power cable into the power outlet on the back of the
storage system and plug the other end into a power socket.
Note
It is recommended that you plug the storage system into a surge protector or uninterruptible power
supply to prevent damage to the system from power surges.
Once you have connected the power cord, press the power button on the front of the storage
system
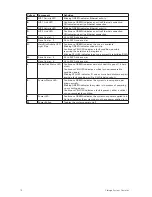
The System Status LED light will blink green while the storage system is booting up. Once the system
has finished booting up, the System Status LED and Disk Status LED will remain green.
Powering Down the Storage System
Refer to “Shutting Down the Storage System” on page 56 for information on shutting down the
storage system.
Summary of Contents for SN 40 M1
Page 1: ...User Guide MAXDATA SN 40 M1 Rev 1 1...
Page 2: ...2 Contents...
Page 6: ...6...
Page 32: ...32...
Page 84: ...84...


