38
39
MAXDATA SN 40 M1 – User Guide
Managing Your Storage System
38
39
MAXDATA SN 40 M1 – User Guide
Managing Your Storage System
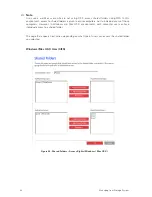
Adding a Group
When you create a group, you typically specify which users should be members of that group, although
you can create an empty group and add users later. (You must add users as described in “Adding
Users” on page 19 before you can add those users to a group.)
Each user can be a member of multiple groups. For example, the user “Alice” might be a member
of both the “Marketing” and “Executives” groups.
You can create up to 16 groups.
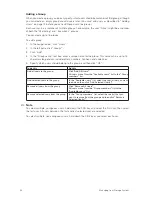
To add a group:
1. In the navigation bar, click “Users”.
2. In the left pane, click “Groups”.
3. Click “Add”.
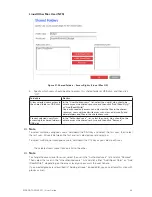
4. In the “Group name” text box, enter a unique name for the group. This name can be up to 15
characters long and can include letters, numbers, hyphens, and underlines.
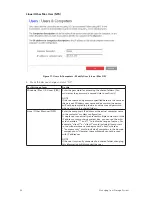
5. Specify which users should belong to this group, and then click “OK”:
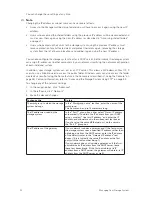
To do this
Do this
Add all users to the group
Click “Add All Users”.
All users move from the “Available users” list to the “Group
members” list.
Add selected users to the group
In the “Available users” list, select the user(s) that you want
to add and then click “Add Selected User(s)”.
Remove all users from the group
Click “Remove All Users”.
All users move from the “Group members” list to the
“Available users” list.
Remove selected users from the group
In the “Group members” list, select the user(s) that you
want to remove from the group and then click “Remove
Selected User(s)”.
Note
To select multiple, contiguous users, hold down the Shift key and select the first user, then select
the last user. All users between the first and last selected user are selected.
To select multiple, non-contiguous users, hold down the Ctrl key as you select each user.
Summary of Contents for SN 40 M1
Page 1: ...User Guide MAXDATA SN 40 M1 Rev 1 1...
Page 2: ...2 Contents...
Page 6: ...6...
Page 32: ...32...
Page 84: ...84...

