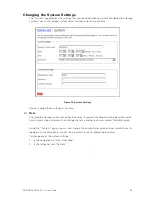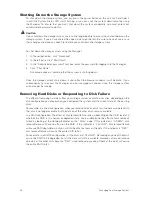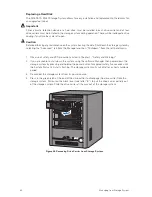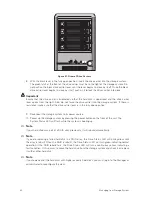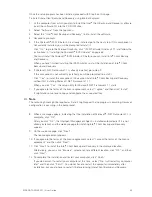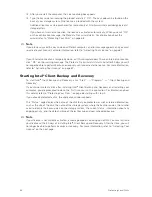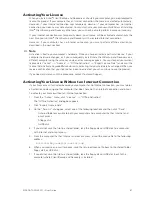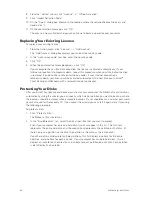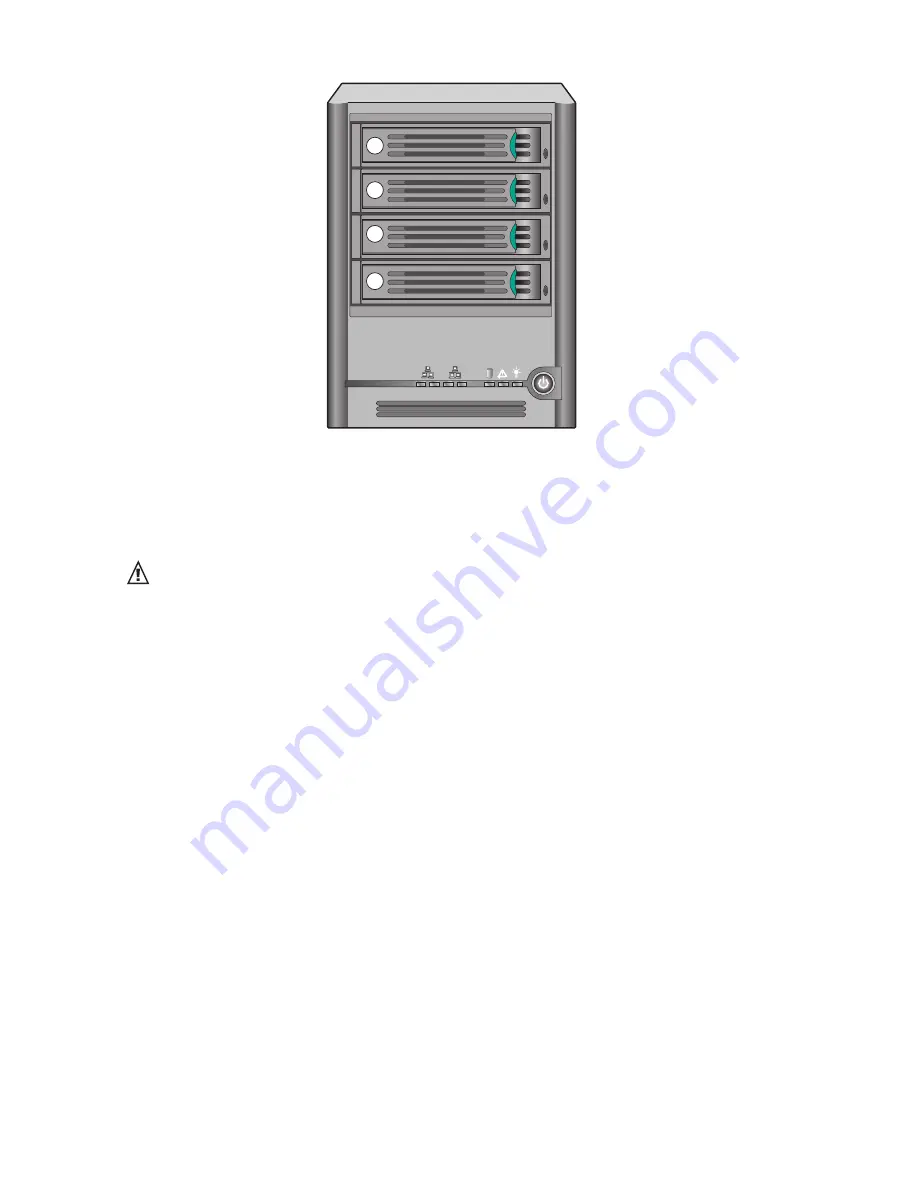
Figure 31. Order of Drive Carriers
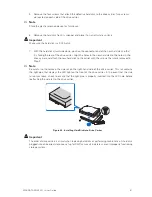
8. With the black lever in the fully open position, insert the drive carrier into the storage system.
The green latch at the front of the drive carrier must be to the right of the storage system. Do
not push on the black drive carrier lever until the lever begins to close by itself. Once the black
drive carrier lever begins to close by itself, push on it to lock the driver carrier into place.
Important
Ensure that the drive carrier is orientated so that the hard disk is uppermost and the drive carrier
lever opens from the right. Also, do not force the drive carrier into the storage system. If there is
resistance, make sure that the drive carrier lever is in the fully open position.
9. Reconnect the storage system to its power source.
10. Power up the storage system by pressing the power button on the front of the unit. The
System Status LED will flash while the system is booting up.
Note
If your hard drive was part of a RAID array previously, it will rebuild automatically.
Note
If you are replacing a failed hard disk in a RAID array, the Drive Status LED will blink yellow until
the array is rebuilt. Once the RAID is rebuilt, the Drive Status LED will turn green indicating normal
operation. If the RAID rebuild fails, the Drive Status LED will turn a continuous yellow, indicating a
fault condition. If this occurs, remove the hard drive from the storage system and check it or replace
it with another hard disk.
Note
If you replace all of the hard disks with higher-capacity hard disks, you must log in to the Manager as
administrator to reconfigure the disks.
62
Managing Your Storage System
1
2
3
4
1
2
4
3
2
1
Summary of Contents for SN 40 M1
Page 1: ...User Guide MAXDATA SN 40 M1 Rev 1 1...
Page 2: ...2 Contents...
Page 6: ...6...
Page 32: ...32...
Page 84: ...84...

