background image

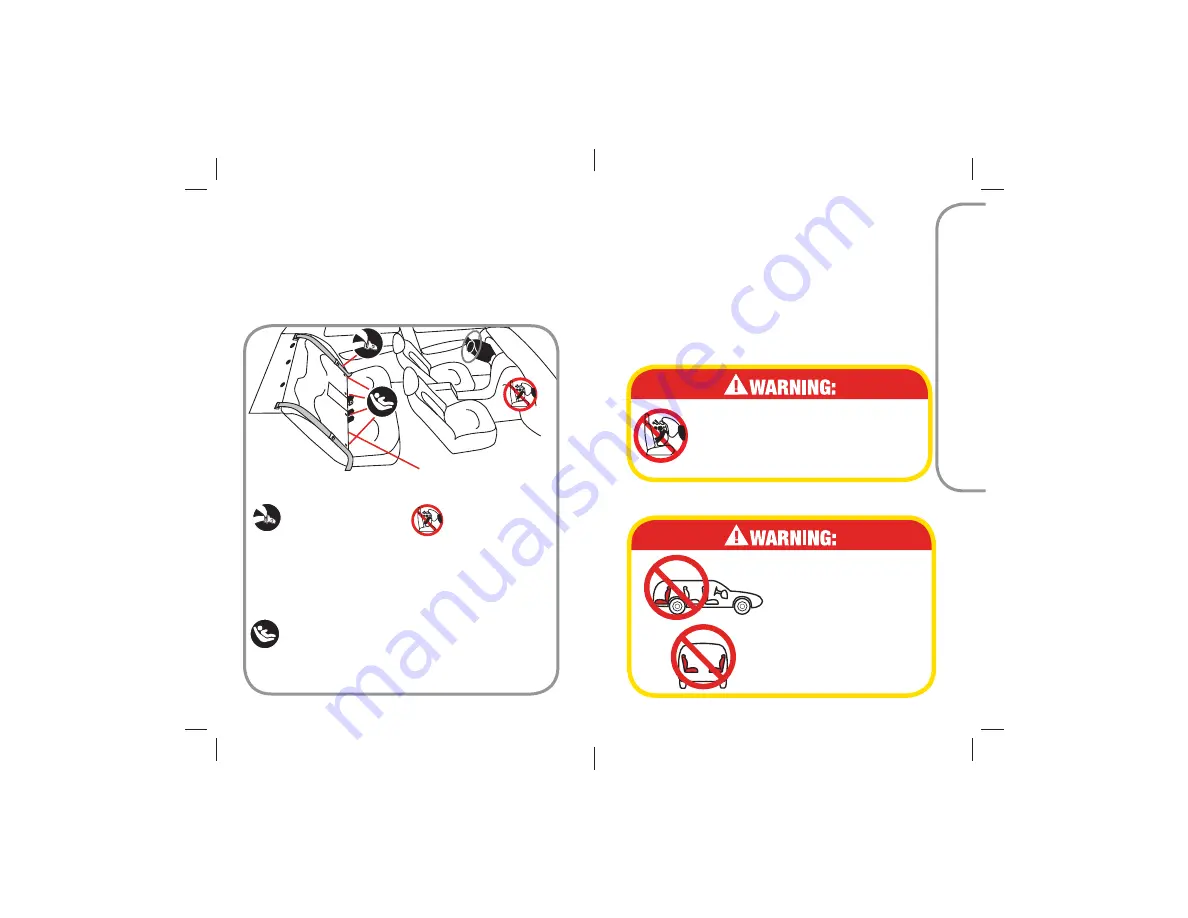
Your vehicle’s features may be considerably 
different than those pictured here. Consult your 
vehicle owner’s manual to help identify your 
vehicle’s specific features and locations.

 D-1 

Understanding Your Vehicle

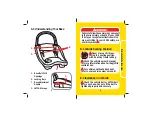
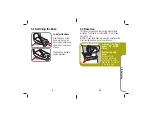
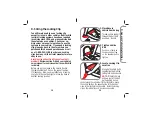
LATCH Anchors  

Located in the 
seat bight.

Seat Bight

Vehicle Seat 
Belts  

Consult your 
vehicle owner’s 
manual for vehicle 
belt use.

D. General Vehicle Installation

Air Bags  

Consult your 
vehicle owner’s 
manual for all air 
bag locations.

11

12

 D-2 

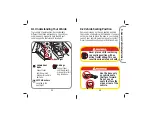
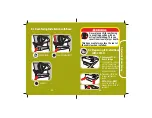
Vehicle Seating Position

Some vehicles do not have a seating position 
that can be used safely with this base. If you are 
not sure where to place the base in your vehicle, 
consult your vehicle owner’s manual or contact 
Dorel Juvenile Group Consumer Relations Dept.

Never place a child rear-facing 
in a seating position with an 
active frontal airbag. This can 
result in serious injury or death.

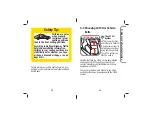
Use the base only 
on vehicle seats 
that face forward. 
Do not use on 
seats that face the 
sides or rear of the 
vehicle.

Summary of Contents for Mico Deluxe

Page 1: ...Mico Deluxe 4358 6508 Mico Deluxe 4358 6508...

Page 2: ...E 3 Installing Base with LATCH E 4 Installing Base with Vehicle Belts E Vehicle Installation Pages 23 32 D General Vehicle Installation Pages 11 22 D 1 Understanding Your Vehicle D 2 Vehicle Seating...

Page 3: ...1 ThankYou Maxi Cosi Website http www maxi cosi com Fax 1 800 207 8182 Mailing Address Dorel Juvenile Group Inc P O Box 2609 Columbus IN 47202 2609 Telephone 1 800 951 4113 8 A M to 6 P M EST M TH 8 A...

Page 4: ...icle owner s manual for more information about air bag child restraint use For vehicles without a back seat refer to your vehicle owner s manual Failure to follow these warnings can result in the seri...

Page 5: ...the back of the child restraint slide the base release handle up the back of the child restraint and lift the restraint out of the base To Attach Child Restraint to Base Align the slots on the side of...

Page 6: ...3 Base Use This base is to be used rear facing with children weighing 5 22 lbs 2 3 10 kg AND 19 29 inches tall 48 74 cm NOTE If your child does not meet the criteria for the Rear Facing position do n...

Page 7: ...onsult your vehicle owner s manual for all air bag locations 11 12 D 2 Vehicle Seating Position Some vehicles do not have a seating position that can be used safely with this base If you are not sure...

Page 8: ...e seat s upholstery from damage use a single layered towel underneath and behind base D 3 Choosing LATCH orVehicle Belts LATCH Anchor Bars The LATCH System LATCH Lower Anchors and Tethers for CHildren...

Page 9: ...ATCH belt and vehicle belt at the same time Vehicle Belts Automatic Passive vehicle seat belts You MUST have a vehicle lap belt to install any base with the vehicle belts An automatic passive shoulder...

Page 10: ...ng the vehicle belt go back into the retractor an inch or two Follow the instructions in the installation sections 17 18 ELR lap only vehicle belts MUST NOT be used with this base Check the Latch Plat...

Page 11: ...ith child restraints Before you put your base in the vehicle buckle the lap shoulder belt Pull on the lap belt portion If it loosens or slips you must either use a locking clip to hold the seat belt t...

Page 12: ...re than 1 inch NOTE If base moves more than 1 inch redo all of the steps or try another seating location Remove the locking clip when the vehicle seat belt is not being used with a child restraint D G...

Page 13: ...sult in serious injury or death This base must always face the rear of the vehicle when installed E 2 Preparing to Install Base with LATCH Remove LATCH from Storage To use LATCH unhook LATCH connector...

Page 14: ...lder belt Check LATCH belt before each use Use only if the belt can be tightened properly and securely Failure to follow these warnings can result in serious injury or death Tighten LATCH Belt Push do...

Page 15: ...Align the slots on the side of child restraint with the locking bars in the base Push down firmly on the carrying Check for Proper Recline Make sure level line on side of child restraint is level wit...

Page 16: ...ase in the chosen seating position 2 Thread Vehicle Belt Thread the vehicle lap or lap shoulder belt combination through belt path as shown With an ALR belt pull the belt all the way out before thread...

Page 17: ...base 6 Attach Child Restraint to Base With child secured in child restraint attach to base Align the slots on the side of child restraint with the locking bars in the base Push down firmly on the car...

Page 18: ...medies as set forth are exclusive and in lieu of all others oral or written expressed or implied In no event will DJG or the dealer selling this product be liable to you for any damages including inci...

Reviews: