21
20
model no.
058-9342-6
| contact us 1-888-670-6682
Troubleshooting
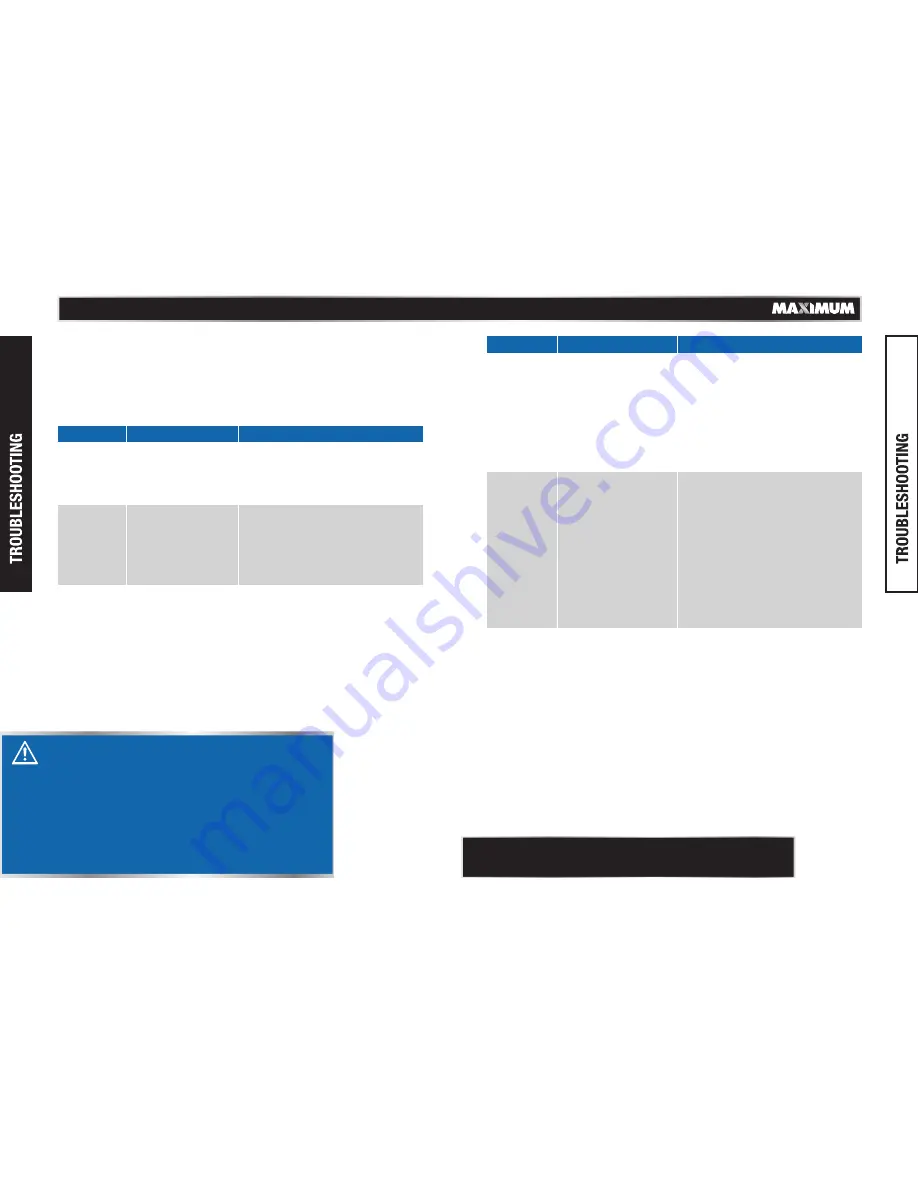
The following chart lists common operating system issues and solutions.
Please read it carefully and follow all instructions carefully.
- Disconnect the tool from the air supply before making any
adjustments.
- Repairs and replacement must be performed only by a qualified
service technician or in an authorized service centre.
NOTE:
For further repair information, please
call 1-888-670-6682.
PROBLEM
POSSIBLE CAUSES
SOLUTIONS
The tool does
not operate
properly - it
does not drive
the fasteners
or operates
sluggishly.
Have the tool serviced by a qualified
service technician.
The tool
skips
fasteners.
The tool jams.
DANGER!
Potential hazard that will result in serious injury or
loss of life.
If any of the following symptoms appear while the tool
is in use, turn it off and disconnect it from the air supply
immediately. Failure to comply will lead to serious
injury or loss of life.
• Disconnect the tool from the air supply before making
any adjustments.
• Repairs must be performed by a qualified service
technician only.
(See section “Clearing a Jammed
fastener”).
Air leakage
near the
bottom of
the tool
PROBLEM
POSSIBLE CAUSES
SOLUTIONS
Contact a qualified service technician
Air leakage
between the
body and the
cylinder cap
Have the tool serviced by a qualified
service technician.
The fasteners
are being
driven too
deep.
TM
Screws are loose.
The O-rings or the
bumper is/are
damaged.
1.
2.
The screws are loose.
The O-rings or the
seals are worn or
damaged.
1.
2.
The bumper is worn.
The air pressure is
too high.
The depth adjustment
dial is not adjusted
properly.
1.
2.
3.
The air supply is
inadequate.
Lubrication is
inadequate.
The O-rings or seals
are worn or damaged.
The exhaust port in
the cylinder head is
blocked.
1.
2.
3.
4.
Fasteners are
incorrect or damaged.
The driver guide is
damaged or worn.
The magazine screw
is loose.
There is dirt in the
magazine.
1.
2.
3.
4.
The bumper is worn or
the spring is damaged.
There is dirt in the
front plate.
Fasteners cannot
move freely in the
magazine because
of dirt or damage.
The O-ring on the
piston is worn or dry
or there is not enough
lubrication.
The cylinder cover
seal Is leaking.
1.
2.
3.
4.
5.
1.
2.
To tighten the screws.
To inspect and replace the O-rings
or seals.
1.
2.
Tighten the screws.
Inspect and replace the O-rings or
the seals.
1.
2.
3.
Replace the bumper.
Adjust the air pressure.
Adjust the depth setting by turning
the depth adjustment dial counter-
clockwise (see section “Adjusting
the Fastener Depth”).
1.
2.
3.
4.
Verify that the air supply is adequate.
Pour up to 6 drops of oil into the air
inlet.
Inspect and replace O-rings or seals.
Replace the damaged internal parts.
1.
2.
3.
4.
Use the proper fasteners.
Inspect and replace the driver.
Tighten the magazine.
Clean the magazine.
1.
2.
3.
4.
5.
Replace the bumper or pusher spring.
Clean the drive channel on the front
plate.
Clean the magazine.
Replace the O-ring.
Replace the sealing washer.
Have the tool serviced by a qualified
service technician.
Have the tool serviced by a qualified
service technician.
Have the tool serviced by a qualified
service technician.
Have the tool serviced by a qualified
service technician.


