Page | 9
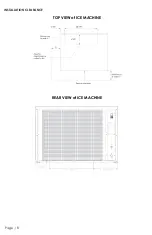
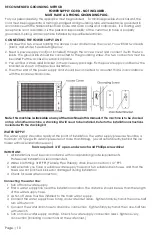
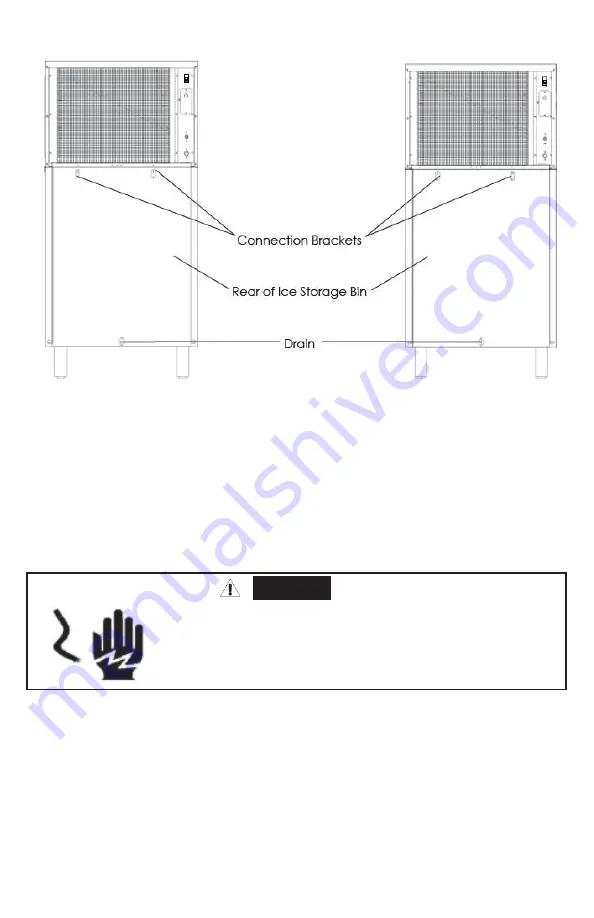
REAR VIEW if ATTACHING to an ICE BIN
The (2) security latch holes are used when securing to an ice bin.
T
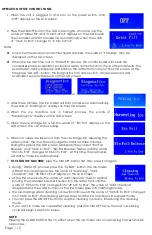
O INSTALL ICE MACHINE to a ICE STORAGE BIN
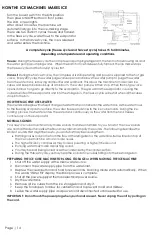
Two connecting brackets are attached to the upper rear edge of the ice storage bin.
Turn the brackets up (180°) and use two screws to connect the main machine and ice storage bin.
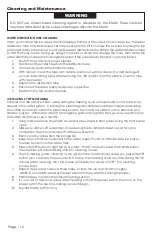
The feet of most bins can be rotated to adjust the height if necessary Follow instructions
accompanying the bin you purchase.
The feet of most bins can be rotated to adjust the height if necessary.
The ice maker and bin should be located on a firm and level surface. It is important for the ice
maker to be perfectly level for proper operation; otherwise water may not flow properly through the
evaporator (ice mold) Ice production will be less than expected and operation will be noisy.
ELECTRICAL REQUIREMENTS
Before you move your ice maker into its final location:
Be sure you have the proper electrical connection.
Refer to the nameplate rating at the left of the ice machine to make sure proper voltage,
properly grounded in accordance with National Electrical Code and local codes and
ordinances, is required.
The ice maker should always be plugged into its own individual electrical outlet It is
recommended that a separate circuit, serving only your ice maker, be provided.
Use receptacles that cannot be turned off by a switch or pull chain The fuse (or circuit breaker)
size should be 20 amperes
DANGER
Plug into a grounded 3-prong outlet.
Never remove the grounding prong from the plug.
Never use an adapter. Never use an extension cord.
Failure to follow these instructions can result in fire, electrical shock or
death.


