background image

Summary of Contents for 335344

Page 1: ...les for Safe Use in your Use and Care Manual before using your range L TOOL LIST KEEP THIS GUIDE For Future Reference The following tools are needed to install your new range 1 l lY16 and VZ open wren...

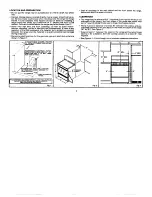
Page 2: ...t damage during range use CLEARANCES l The ran e may be placed with 0 clearance flush against the back and side wa Is of the range if the front edges of the range side panels stick B out l t beyond ca...

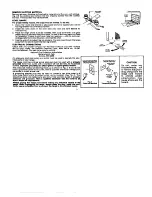
Page 3: ...ur area If there are no local codes the Nat onal Electrlcal Code ANSI NFPA No 70 1967 P LEG LEVELER must be followed Ybu can get a copy by wrltlng Natlonal Fire Protection Assoclatlon Batterymarch Par...

Page 4: ...kup of the new range is fims ed See Figures 6 and 7 for rigid and flexible pipe hookups Never reuse an old connector when lnstalllng a new range Use a P ipe wrench to make gas connections Hold the pre...

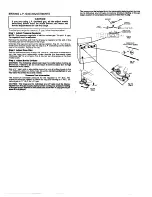
Page 5: ...turn the oven pilot adjustment screw beside the thermostat stem clockwise l Y to a full stop Fig 2 Do not turn the screw in the ther mostat stem Stop 3 AdJuat Burner Orlfkes CAUTION The following odj...

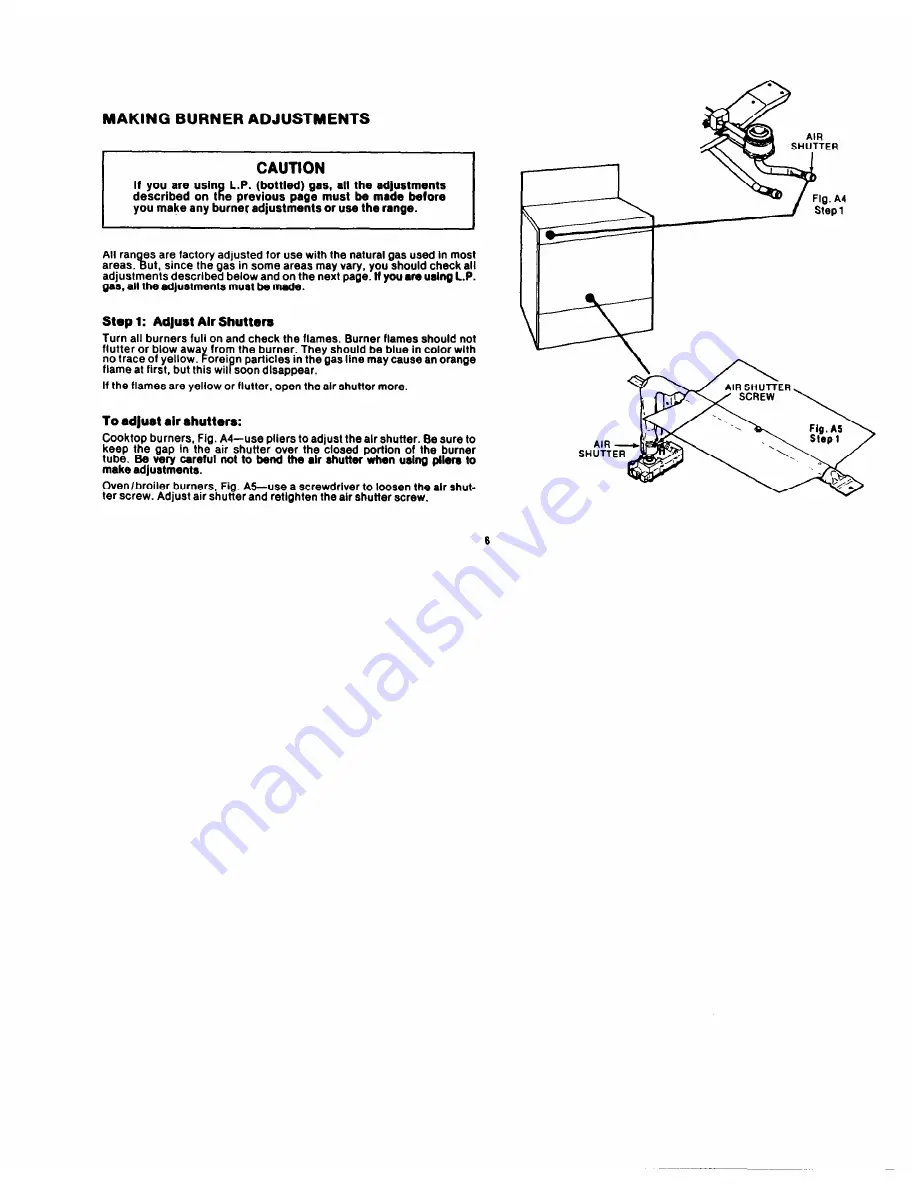
Page 6: ...l on and check the flames Burner flames should not flutter or blow awa from the burner They should be blue in color wlth no trace of yellow n particles in the gas line may cause an orange flame at fir...

Page 7: ...elow If the flame must be adjusted use a 35 open end wrench or adjustable joint pliers to adjust the orifice hood To shorten the cones tighten the orifice hood by turnin in the L P direction To length...

Reviews: