SERVICING
57
For installations above 4500/5500 feet, please refer to your
distributor for required kit(s). Contact the distributor for a
tabular listing of appropriate manufacturer’s kits for propane
gas and/or high altitude installations. The indicated kits
must be used to insure safe and proper furnace operation.
All conversions must be performed by a qualified installer,
or service agency.
In some areas the gas supplier may artificially derate the
gas in an effort to compensate for the effects of altitude. If
the gas is artificially derated the appropriate orfice size must
be determined based on the BTU/ft
3
content of the derated
gas and the altitude. Refer to the National Fuel Gas Code,
NFPA 54/ANSI Z223.1, and information provided by the gas
supplier to determine the proper orifice size.
S-312 CHECKING FOR DELAYED IGNITION
Delayed ignition is a delay in lighting a combustible mix-
ture of gas and air which has accumulated in the combus-
tion chamber.
Furnace design makes this extremely unlikely unless safety
controls have been by-passed or tampered with. Never by-
pass or alter furnace controls.
If delayed ignition should occur, the following should be
checked:
1. Improper gas pressure - adjust to proper pressure (See
S-307 CHECKING GAS PRESSURE
).
2. Improper burner positioning - burners should be in lo-
cating slots, level front to rear and left to right.
3. Carry over (lighter tube or cross lighter) obstructed -
clean.
4. Main burner orifice(s) deformed, or out of alignment to
burner - replace.
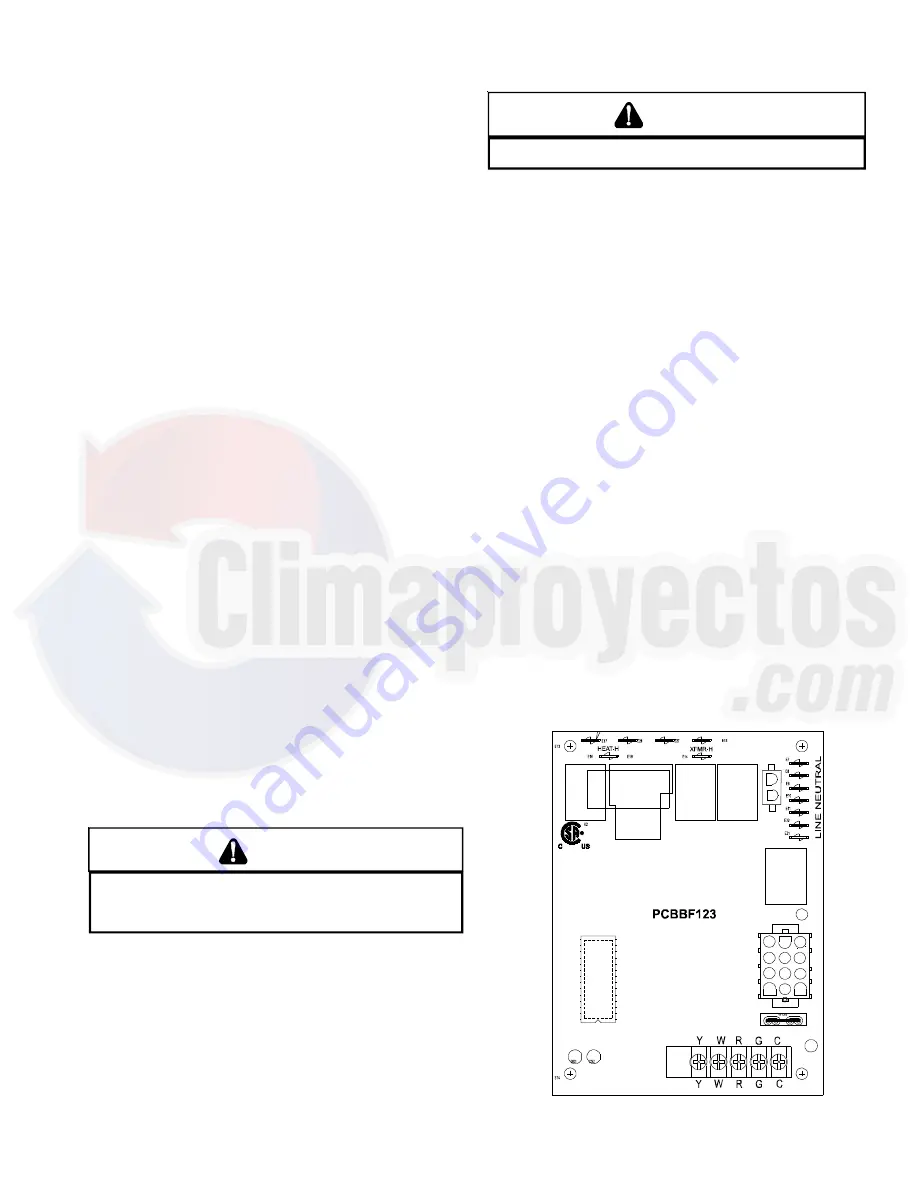
S-313 CHECKING INTEGRATED IGNITION
CONTROL BOARDS
NOTE:
Failure to earth ground the furnace, reversing the
neutral and hot wire connection to the line (polarity), or a
high resistance connection in the neutral line may cause
the control to lockout due to failure to sense flame.
T
O AVOID THE RISK OF ELECTRICAL SHOCK, WIRING TO THE UNIT
MUST BE PROPERLY POLARIZED AND GROUNDED.
D
ISCONNECT POWER
BEFORE PERFORMING SERVICE LISTED BELOW.
WARNING
The ground wire must run from the furnace all the way back
to the electrical panel. Proper grounding can be confirmed
by disconnecting the electrical power and measuring re-
sistance between the neutral (white) connection and the
burner closest to the flame sensor. Resistance should be
less than 10 ohms.
The ignition control is a combination electronic and elec-
tromechanical device and is not field repairable. Complete
unit must be replaced.
L
INE VOLTAGE NOW PRESENT
WARNING
These tests must be completed within a given time frame
due to the operation of the ignition control.
NOTE:
The models use
White-Rodgers 50A55- 289 or
50T55-289
ignition control board.
1. Check for 120 volts from Line 1 (Hot) to Line 2 (Neutral)
at the ignition control. No voltage, check the door switch
connections and wire harness for continuity.
2. Check for 24 volts from W to C terminal on the ignition
control. No voltage. Check transformer, room thermo-
stat, and wiring.
If you have 24 volts coming off the transformer but re-
ceive approximately 13 volts on the terminal board be-
tween (C) and (R), check for blown fuse.
3. Check for 120 volts to the induced draft blower by mea-
suring voltage between Pin 1 (on the 2-pin connector)
and Line (Neutral) on the control board. No voltage, re-
place ignition control.
4. If voltage is present in Steps 1 through 3 and the in-
duced draft blower is operating, check for 120 volts to
the ignitor during the preheat cycle. Measure voltage
between Pin 2 (on the 2-pin connector) and Line (Neu-
tral) on the control board. No voltage, check pressure
switch.
5. After the ignitor warmup time, begin checking for 24
volts to the gas valve. Voltage will be present for seven
seconds only if proof of flame has been established.
1
2
DS2
COOL-H
DS1
PARK
PARK
LINE-H


