10
Leveling
Leveling ensures proper condensate drainage from the
heat exchanger. For proper flue pipe drainage, the furnace
must be level lengthwise from end to end. The furnace
should have a slight tilt from back to front with the access
doors downhill from the back panel approximately 1/2” to
3/4”. The slight tilt allows the heat exchanger condensate,
generated in the recuperator coil, to flow forward to the
recuperator coil frontcover.
Alternate Electrical and Gas Line Connections
This furnace has provisions allowing for electrical and gas
line connections through either side panel. In horizontal
applications the connections can be made either through
the “top” or “bottom” of the furnace.
Drain Pan
A drain pan must be provided if the furnace is installed
above a conditioned area. The drain pan must cover the
entire area under the furnace (and air conditioning coil if
applicable).
Freeze Protection
Refer to Horizontal Applications and Conditions - Drain
Trap and Lines.
HIGH ALTITUDE INSTALLATION
The furnace, as shipped, requires no change to run
between 0-4500 feet. At all altitudes, the air temperature
rise must be within the range listed on the Specification
Sheet applicable to your model for the fuel used. All
installations above 4,500 feet require manifold pressure
adjustments and combustion analysis. Refer to the “Gas
Supply Pressure Measurement” section for instruction on
how to accurately measure and adjust manifold “outlet”
pressure. The furnace should operate for a minimum of 15
minutes before taking a combustion sample. Combustion
samples should be taken from beyond the furnace exhaust
and must be within provided CO2% range. See table “2”
for recommended manifold pressure adjustments and
proper CO2% range. Gas heating values can vary; further
pressure adjustment may be necessary to ensure furnace
operates within acceptable CO2 range.
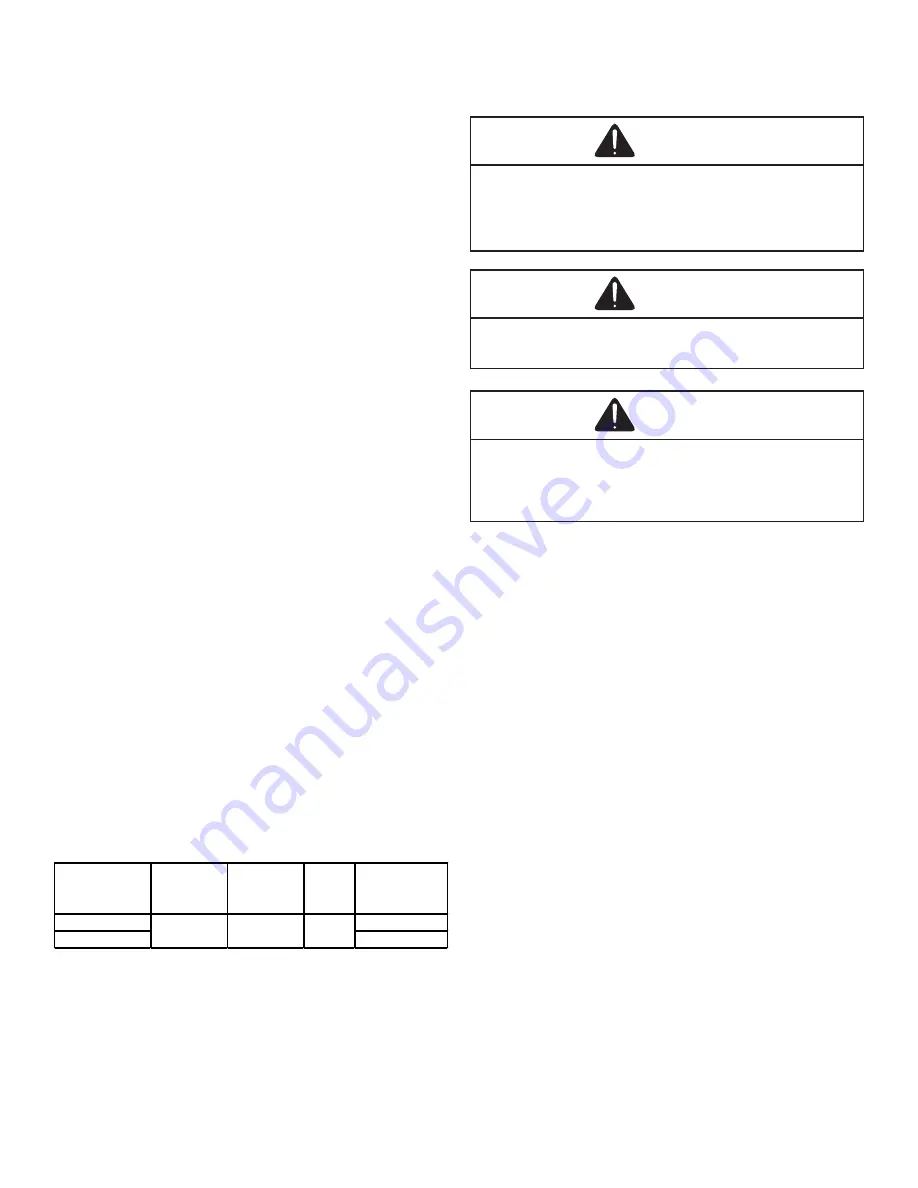
96% Model
Manifold
Pressure at
5000 ft
Manifold
Pressure at
7500 ft
CO2%
Natural
Gas
Max Allowable
Venting
(3 in only)
*MVS960603BU
100 ft
*MVS960805CU
80 ft
2.5" w.c.
2.4" w.c.
6.5 - 8.5
Table 2
Vent Pipe & Combustion Air Pipe
This manual will refer to the pipe that discharges products
of combustion to the outdoors as the “vent” pipe or
“flue” pipe. The pipe that supplies air for combustion
to the furnace will be referred to as the “intake” pipe or
“combustion air” pipe.
This furnace is dual certified and may be installed as a
non-direct vent (single pipe) or direct vent (dual pipe)
appliance.
WARNING
Upon completion of the furnace installation, carefully
inspect the entire flue system both inside and outside of the
furnace to assure it is properly sealed. Leaks in the flue
system can result in serious personal injury or death due to
exposure to flue products, including carbon monoxide.
WARNING
Failure to follow these instructions can result in bodily
injury or death. Carefully read and follow all instructions
given in this section.
WARNING
To avoid bodily injury, fire or explosion, solvent cements
must be kept away from all ignition sources (i.e. sparks,
open flames, and excessive heat) as they are combustible
liquids. Avoid breathing cement vapors or contact with skin
and/or eyes.
Materials
PVC, CPVC, or ABS pipe & fittings are typically used as
venting and intake pipe materials. All 90° elbows must
be medium or long radius types. A medium radius elbow
should measure ~3-1/16” minimum from the plane of
one opening to the center line of the other opening for 2”
diameter pipe, and ~4-9/16” minimum for 3” pipe.
In addition to these materials, Innoflue® by Centrotherm
Eco Systems and PolyPro® by M&G Duravent are
also approved vent and combustion air materials for
installations in the U.S.A. Manufacturers Installation
instructions for these products must be followed. These
products have specific instructions for installing, joining
and terminating. Do not mix materials or components of
one manufacturer with materials or components of another
manufacturer. Refer to the following chart for plastic pipe &
fittings specifications


