9
8
Mo
ist
ur
e Se
nsi
ng
Irr
iga
tio
n K
it
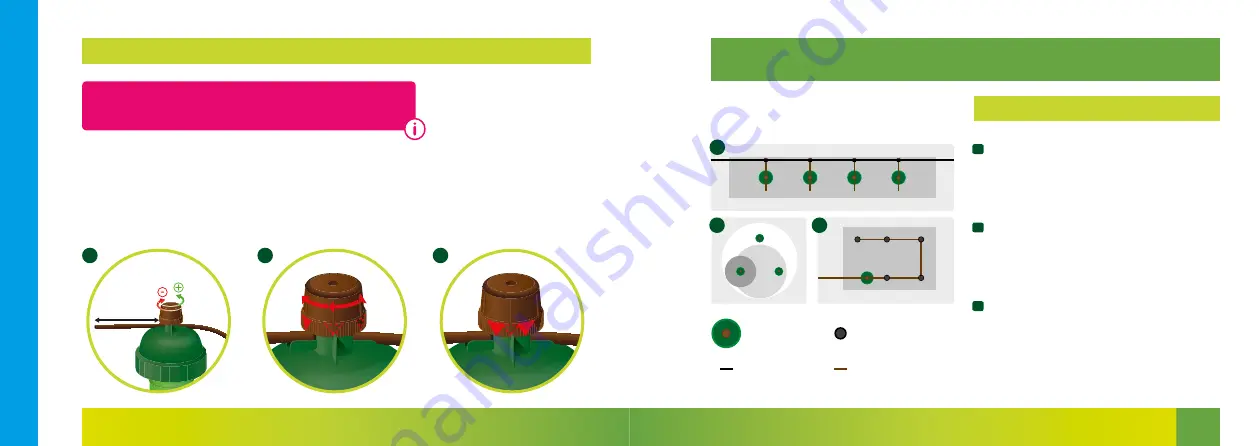
To evacuate the air from the
feeding tube open the adjust-
ment screw by turning it anti-
clockwise. Water will now run
out of the drip tube which must
extend about 8 cm out of the
Watering Sensor
(E)
. Then
close the adjustment screw
again, turning it slowly clock-
wise and leaving just one drop
of water sitting on the drip tube.
Then close the adjustment
screw further, turning it by an-
other 2 arrows (1/4 turns) clock-
wise
(F)
. The Watering Sensor
must not release any water if
the soil is wet.
CHECKS
After installation check the
water discharge for about 1-2
weeks and, if necessary, adjust
the setting by opening (more
water) or closing (less water).
In most cases the setting will
only need to be adjusted by
1/2
an arrow (G).
STEP 6 - CORRECT WATERING SENSOR SETTING
ca. 8
cm
E
F
G
IMPORTANT:
All the Watering Sensors must be “closed” before
adjusting the setting. Turn on the tap. There must be no drips
coming from anywhere.
REQUIRED QUANTITY OF WATERING SENSORS
One Watering Sensor will water a diameter of
approx. 20-25 cm of soil.
A
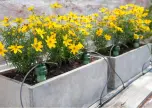
e.g. to water balcony flower boxes:
100 cm [39”] in length: min. 4 Watering Sensors
80 cm [32”] in length: min. 3 Watering Sensors
60 cm [24”] in length: min. 2 Watering Sensors
C
Distribution drippers can also be used in rel-
atively
large pots, containers or beds
instead of
additional watering sensors. One Watering Sen-
sor and 5 distribution drippers will water an area
measuring 40 cm in width and 50 cm in length.
B
e.g. to water tubs and planters:
Up to 25 cm [10”] Ø: 1
Watering Sensors
(B1)
25 to 40 cm [10 to 16”] Ø: 2
Watering Sensors
(B2)
40 to 50 cm [16” to 20”] Ø: 3 Watering Sensors
(B3)
WHAT YOU NEED:
A
C
B
100 cm
20 c
m
40 cm
25cm
B1
B2
B3
50cm
50cm
4
0
cm
Watering
Sensor
Distribution dripper
Feeding tube
Drip tube
Summary of Contents for Moisture Sensing Irrigation Kit
Page 1: ...INSTRUCTIONS EN Moisture Sensing Irrigation Kit...
Page 8: ......


