Need help or have any questions? Call us at 1-714-963-0329 or send us an email to service@globalhobby.net
7
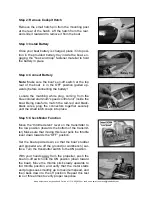
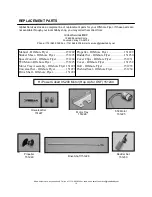
Step 2: Remove Cockpit Hatch
Remove the small hatch pin from the mounting post
at the rear of the hatch. Lift the hatch from the rear,
and slide it rearward to remove it from the boat.
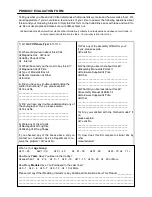
Step 3: Install Battery
Once your boat battery is charged, place it into posi-
tion in the provided battery tray inside the boat, en-
gaging the “hook and loop” fastener material to hold
the battery in place.
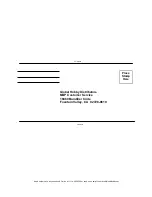
Step 4: Connect Battery
Note:
Make sure the boat’s on-off switch at the top
rear of the boat is in the OFF position (pulled up-
wards) before connecting the battery!
Locate the matching white plug, coming from the
blue colored aluminum “speed control unit” inside the
boat. Being careful to match the red-red and black-
black wires, plug the connectors together securely
until the small latch snaps into place.
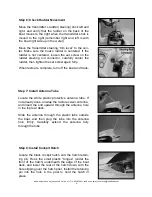
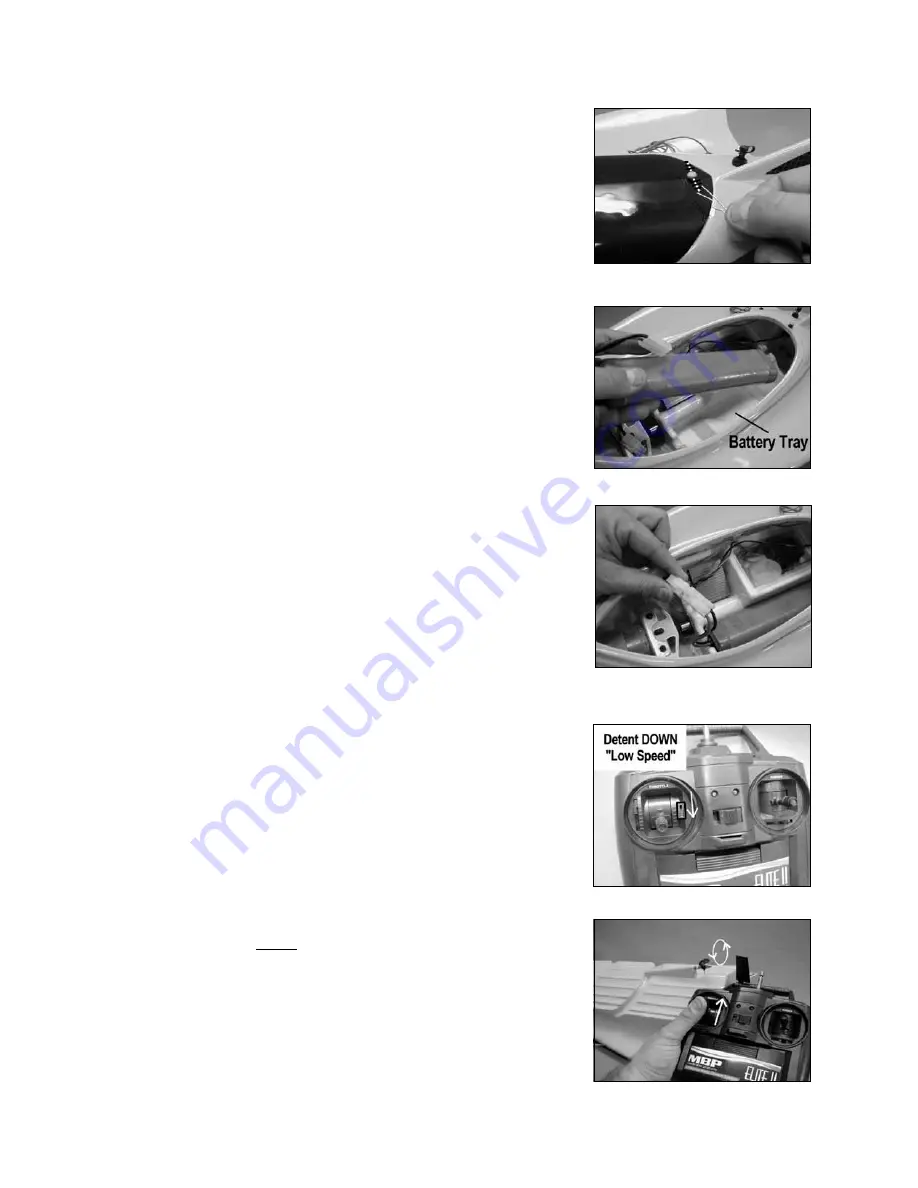
Step 5: Check Motor Function
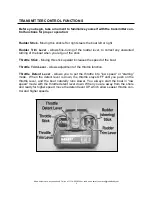
Move the “throttle detent” lever on the transmitter to
the low position (towards the bottom of the transmit-
ter) Make sure that moving this lever pulls the throttle
lever down towards the “OFF” position.
Set the boat upside down, so that the boat’s rudder
and propeller are off the ground (or workbench) sur-
face. Turn the transmitter switch to the ON position.
With your hands away from the propeller, push the
boat on-off switch into the ON position (down toward
the boat). Move the throttle stick slowly upwards to
full throttle position, and verify that the motor starts
and progresses smoothly up to maximum speed, and
then back down to the off position. Repeat this test
two or three times to verify proper response.


