21
SETTINGS MENUS
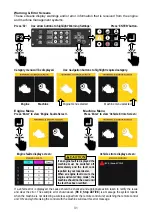
Access to Settings Sub-Menus
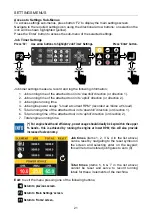
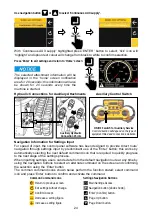
To access settings sub-menus, press button ‘F2’ to display the main settings screen.
Navigate to the required settings icon using the directional arrow buttons; on selection the
icon will be shown highlighted (yellow).
Press the ‘Enter’ button to access the sub-menu of the selected settings.
Job Timer Settings
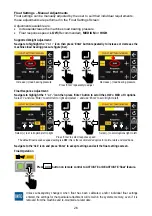
Press ‘F2’. Use arrow buttons to highlight ‘Job Timer’ Settings. Press ‘Enter’ button.
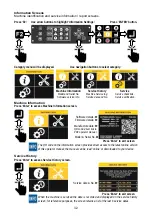
Job timer settings measure, record and log the following information;
1. Job running time of the attached tool in its ‘downhill’ direction (or direction 1).
2. Job running time of the attached tool in its ‘uphill’ direction (or direction 2).
3. Job engine running time.
4. Job engine power usage: % load at current RPM*
(recorded as %time at %load).
5. Total running time of the attached tool in its ‘downhill’ direction (or direction 1).
6. Total running time of the attached tool in its ‘uphill’ direction (or direction 2).
7. Total engine running time.
(*) For engine health and efficiency, power usage should ideally be kept within the upper
% bands - this is achieved by running the engine at lower RPM; this will also provide
increased fuel economy.
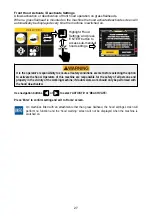
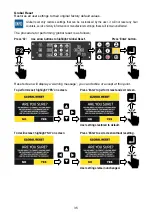
Job times
(items 1, 2, 3 & 4 in the list above)
can be reset by navigating to the reset symbol on
the screen and selecting enter on the keypad;
this will return all stored job figures to zero (0).
Total times
(items 5, 6 & 7 in the list above)
cannot be reset and serve to record running
totals for these 3 elements of the machine.
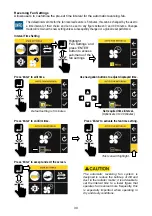
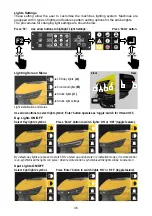
Exit:
to exit the menu pressing one of the following buttons;
Return to previous screen.
Return to ‘Main Settings’ screen.
Return to ‘Home’ screen.


