129
Operation
5
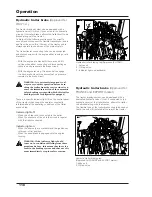
Operating the power lift
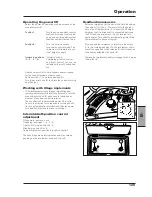
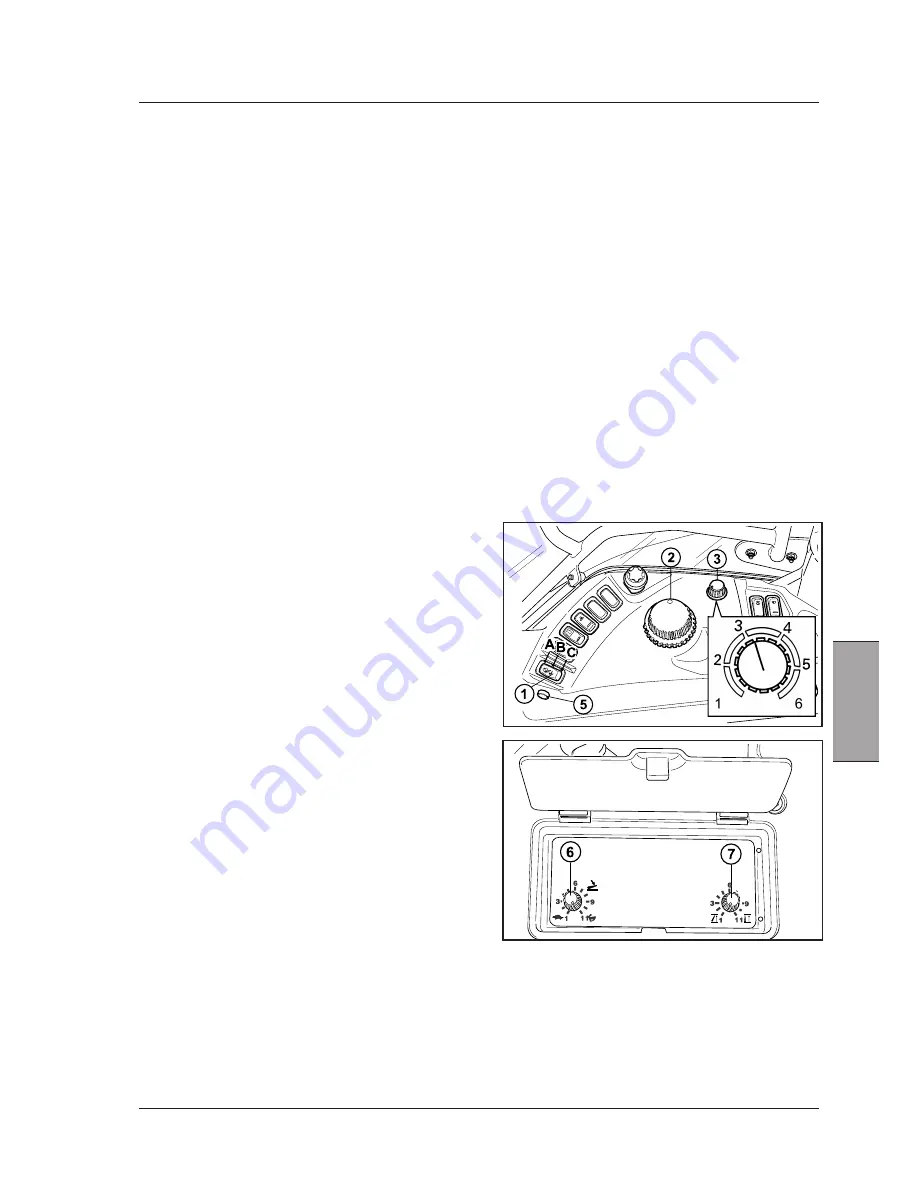
- Select the power lift operating mode by means of the
mode selector (3).
Position 1 -
Turn the knob anti-clockwise for
draft control mode. Use for plou-
ghing and similar operations that
require constant tractive force.
Position 6 -
Turn the knob clockwise
for position control mode. The
implement will remain at a con
stant height or depth.
Intermed. positions
“Intermix” mode.
(2 - 3 - 4 - 5)
Combining position control
and draft control; for use on
variable soils or with subsoilers,
etc.
- Use the selector (6) to set a suitable descent speed
for the type of implement being used.
- Set the switch (1) to working position (A).
- Turn the control knob (2) to obtain the correct working
depth/height.
Working with tillage implements
- If the implement pitches (makes large lifting and
lowering adjustments) in draft control mode, turn the
mode selector knob (3) clockwise to introduce an
element of position control (Intermix).
The sensitivity of the electronic power lift to varia-
tions in the traction force required in working condi-
tions is automatically controlled and thus the opera-
tor need not intervene to make corrections.
Intermix/draft/position control
adjustment
Tillage work: position 3 or 4.
Ploughing: positions 1 - 2 - 3 - 4.
Light soil turning: positions 4 - 5.
Grubbing: position 3 or 4.
Carried implement: position 6 (position control).
These settings are purely indicative and may vary de-
pending on the implement used and the soil.
Headland manoeuvres
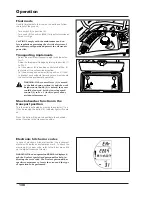
- Raise the implement at the end of the field by setting
the switch (1) to Pos. C. The arms lift to the height
set on the lift height limiter (7). Adjust the lift height
limiter so that if a drive shaft is connected between
the PTO and the implement, it is not twisted into
acute angles. This will also avoid wasting time lifting
the implement to transport height.
- To re-engage the implement, simply turn the switch
(1) to the working position (A). The implement will lo-
wer at the speed set with selector (7) until is reaches
the position selected with knob (2).
- To make the implement quickly re-engage the soil, press
the button (5).
Summary of Contents for X60 Series
Page 39: ...39 Controls Cab 3 Section 3 Controls Cab...
Page 61: ...61 Instruments and Programming 4 Section 4 Instruments and Programming...
Page 90: ...90 Instruments and Programming This page has been left blank intentionally...
Page 91: ...91 Operation 5 Section 5 Operation...
Page 151: ...149 Tyres Wheels Ballasting 6 Section 6 Tyres Wheels Ballasting...
Page 168: ...166 Tyres Wheels Ballasting This page has been left blank intentionally...
Page 169: ...167 Maintenance 7 Section 7 Maintenance...
Page 229: ...Electrical system 227 8 Section 8 Electrical system...
Page 242: ...Electrical system 240 Page left intentionally blankf...
Page 256: ...Technical specifications 254 This page has been left blank intentionally...
Page 262: ...260 Alphabetical index...

