29
Final Adjustments
1.
Unfold the unit into the field position.
2.
Pull the completed unit ahead a few feet to check that everything is properly assembled and
that nothing is binding or misaligned.
3.
Check to make sure that all bolts and fasteners are tight.
4.
With the unit in the transport position, attach the red and amber reflectors at the widest visible
points. The red reflectors should be visible from the rear of the unit, and the amber reflectors
should be visible from the front of the unit.
5.
Do not detach the unit from the tractor unless the jack stand is down and the wings are
secured in the wing rests.
6.
After the first few hours of operation, check all fasteners and tighten if necessary. Include
wheel lugs.
This completes the assembly of your harrow and transport cart. Before using the unit, double
check that all components have been assembled properly. If there are any questions regarding any
of the assembly steps, contact your local dealer for an explanation. Do not operate this or any
equipment unless you are sure that all components operate as they were designed to operate.
Summary of Contents for HDL-1000 Series
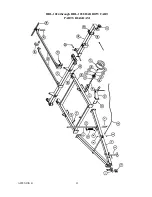
Page 32: ...APPENDIX B 32 HDL 1024 through HDL 1038 HARROW CART PARTS DIAGRAM...
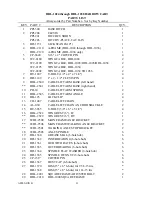
Page 35: ...APPENDIX B 35 HDL 1040 THROUGH HDL 1050 HARROW CART PARTS DIAGRAM...
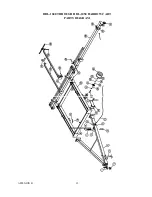
Page 38: ...APPENDIX B 38 HDL 1052 THROUGH HDL 1060 HARROW CART PARTS DIAGRAM...
Page 48: ...APPENDIX C 48...
Page 49: ...APPENDIX C 49...
Page 50: ...APPENDIX C 50...
Page 51: ...APPENDIX C 51...
Page 52: ...APPENDIX C 52...
Page 53: ...APPENDIX C 53...
Page 54: ...APPENDIX C 54...
Page 55: ...APPENDIX C 55...
Page 56: ...APPENDIX C 56...
Page 57: ...APPENDIX C 57...
Page 58: ...APPENDIX C 58...
Page 59: ...APPENDIX C 59...
Page 60: ...APPENDIX C 60...
Page 61: ...APPENDIX C 61...
Page 62: ...APPENDIX C 62...
Page 63: ...APPENDIX C 63...
Page 64: ...APPENDIX C 64...
Page 65: ...APPENDIX C 65...
Page 66: ...Notes...
Page 68: ......
Page 69: ......

