4
INFORMATION AND SAFTY WARNINGS :
1.1 Introduction:
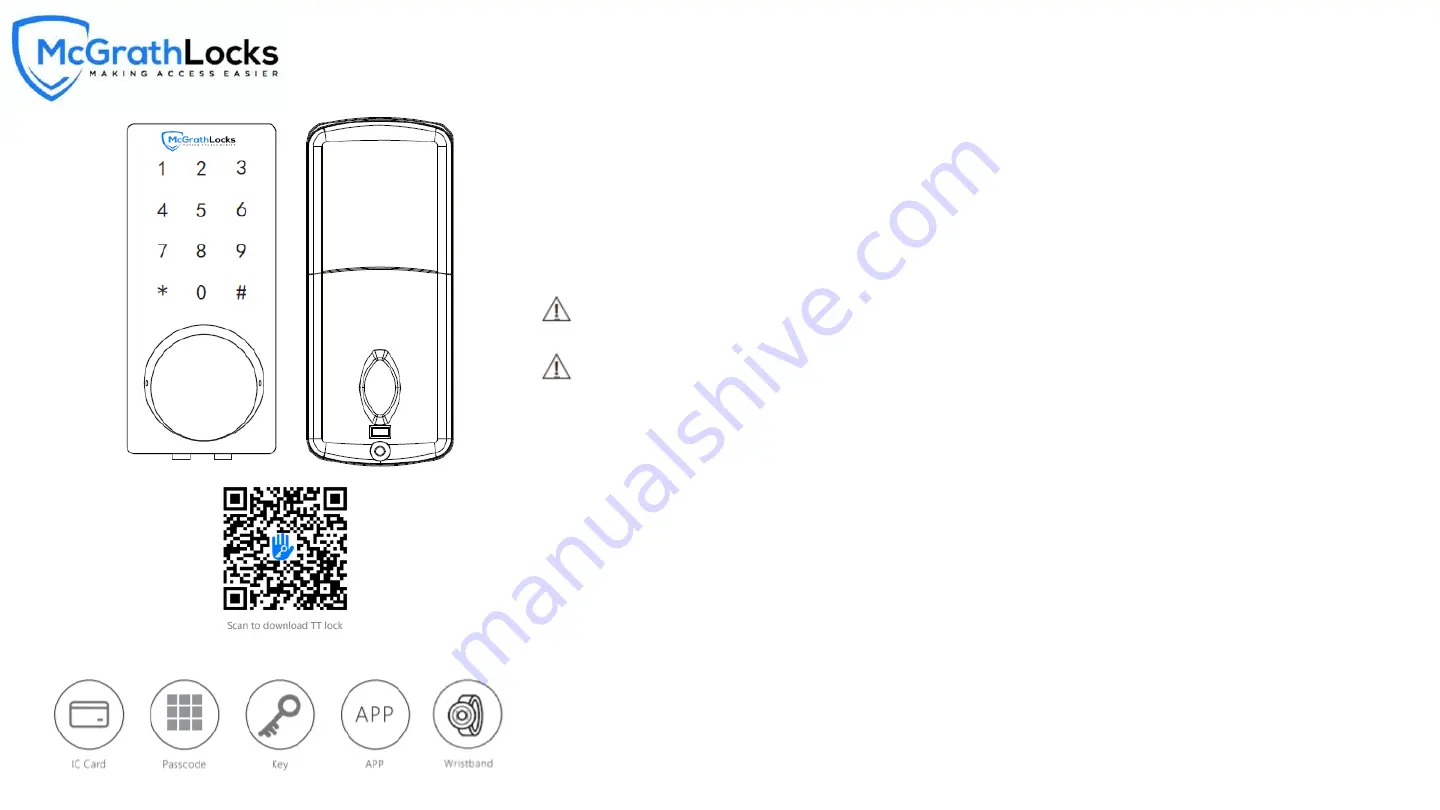
This user manual will guide you through the functions and usages of our MLX2 Bluetooth enabled smart
lock. It is important that you follow the instructions and regard all notes that appear throughout this
manual. Consult this manual before you attempt to use the lock. If you have questions not answered by
this manual or are in need of non-routine service, contact our customer service (Phone Number)
1.2 Safety Warnings:
When reading this manual, note these icons: notes with this icon MUST be read, understood and
obeyed to prevent injury or damage.
General Usage
:
▪
This lock shall only be used as described in this manual.
▪
Verify that all parts of the lock are account for. If any parts are missing, contact our customer service.
▪
In factory default status, the lock is on always open state after you install the lock (no power on). It
means handle is free and lock can’t be closed, you have to power on the lock with batteries or set
admin and pair the lock with app and then the open mode will be changed to private mode
automatically.
▪
Handle directions are reversible, please kindly follow chapter 4 (installation steps3) to change the
direction. Should you have any problem, please contact our customer service.
▪
There is a protective film on the front touch panel, if there are some scratches on the film, don’t be
scared. The protective film can be removed if you need.
▪
Use only four AAA batteries. Do not mix old and new batteries or batteries from different brands. Never
insert objects into the lock other than batteries as described in this manual.
▪
Verify all surfaces are flat and level before beginning installation, installation on doors or surface with
any types of deformity such as gaps or warping may cause the lock to malfunction or fail to operate
entirely.
▪
Never apply any cleaner directly to any part of the lock. Only use clean water and mild cleaner on a
soft non-abrasive cloth when cleaning.
▪
Potential shock warning: do not allow water or liquids to get into lock’s electric parts.
▪
The lock must be used with TT lock app. The lock will function without the app but full functionality may
only be achieved when the app is used.
MLX2
Summary of Contents for MLX2
Page 1: ...1 MLX2...
Page 12: ...12 MLX2...


