10
Power On the MCD85
To power on the MCD85, press and release the Right
Knob. To power the MCD85 off, do this again.
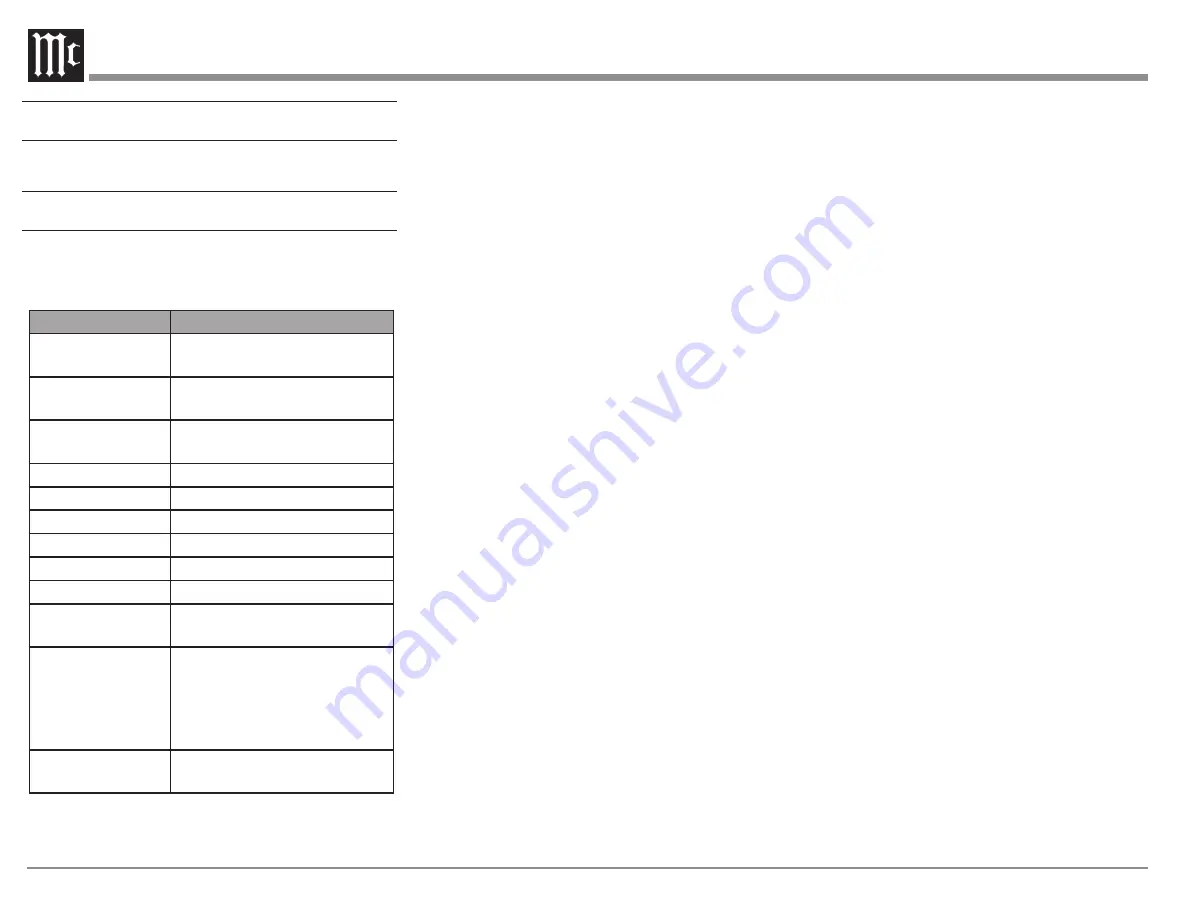
Setup Menu
To enter the Setup Menu, push and release the Left
Knob.
Turning the Left Knob will scroll through the
available options.
Setting
Options
MCD85
Displays current firmware
version
S/N AJGxxxx
Displays the serial number of
the MCD85
DA FW Vx.x
Displays the current firmware
for the digital adapter
Auto-Off
ON (default) / OFF
AutoMute
ON (default) / OFF
IR Code
Norm (default) / Alt
Front IR
ON (default) / OFF
Power IR
ON (default) / OFF
IR Input
ON (default) / OFF
DATA
All (default), COAX 1, COAX
2, OPT 1, OPT 2
Inputs (HOLD)
Hold Left Knob to
enter submenu
Submenu Choices:
CD
PLAYER, COAX 1, COAX 2,
OPT 1, OPT 2, USB
Options for each:
ON (default)
/ OFF
BAUD
115200 (default), 9600, 19200,
38400, 57600
Firmware Version
Firmware is internal software that controls the
MCD85’s functionality.
The version of the main firmware of the MCD85
can be viewed by entering the Setup Menu. Enter
this by pressing and releasing the Left Knob. The
first setting is called MCD85. The number to the
right is the version number. For example, if the VFD
displays “MCD85 V1.01”, then the main firmware
is version 1.01.
There is also firmware for controlling the digital
audio hardware. To see the Digital Audio (DA)
firmware version, enter the Setup Menu. Rotate
the Left Knob until you see “DA FW”. The number
following the V to the right is the Digital Audio
firmware version.
Firmware upgrades when available can be installed
by qualified technicians.
Serial Number
The MCD85’s unique serial number can be viewed
by entering the Setup Menu and rotating the Left
Knob until you see “S/N:”. The number (and letters)
to the Right are the unit’s serial number. This
number can also be found on the rear of the unit.
Auto-Off
Auto-Off can be toggled On (default) or Off. Enter
the Setup Menu. Select On or Off by rotating the
Right Knob.
When the Auto-Off feature is enabled, the MCD85
will power off when no audio input or user
interaction has been detected for approximately 30
minutes.
AutoMute
The Automute Feature helps to ensure noise free
playback of streaming music via the USB Input.
With AutoMute enabled, the MCD85 will employ
a brief mute as the Digital Audio Signal format
changes (PCM, DSD, etc.). Occasionally, because of
the particular way a recording was produced, it may
be desirable to switch Off the Automute Feature.
This will eliminate the brief gap between different
formats.
To toggle AutoMute On or Off, enter the Setup
Menu. Select On or Off by rotating the Right Knob.
IR Code
The IR Code setting allows you to select an
alternative set of remote control codes to use for the
remote control of the MCD85. The default is to use
the Normal control codes which will be perfectly
fine for the vast majority of situations. If you have
another unit being controlled with the same control
codes, conflicts can arise. If this is the case, change
IR Code setting to “Alt”. The remote control for the
MCD85 must also be set to use the alternate codes.
To set the MCD85’s remote control to use alternate
(Alt) codes, press and hold the SELECT button and
press the “2” button. Hold until the two LEDs to the
right of the SHIFT button flash twice.
To set the MCD85’s remote control to use normal
codes, press and hold the SELECT button and press
the “1” button. Hold until the two LEDs to the right
of the SHIFT button flash twice.
Front IR
Front Panel Sensor, which receives the signals
from the Remote Control, can be switched off to
prevent interference when an external IR Sensor


